background image

INSTRUCTION MANUAL /

 MANUEL D'INSTRUCTIONS

5

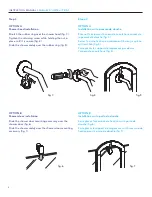
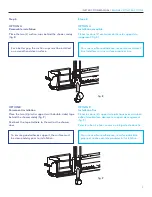
OPTION B   
Permanent installation

Place the two (2) plastic supports with double-sided tape 

behind the shower caddy (fig. 9).
Peel back the tape. Adhere to the wall or the shower 

door.

OPTION B 
Installation fixe

Placer les deux (2) supports de plastique avec du ruban 

adhésif double-face derrière le support de rangement 

(fig. 9).
Peler le ruban. Le fixer au mur ou à la porte de douche.

To ensure good adhesive support, the surface must 

be clean and dry prior to installation.

Pour une meilleure adhérence, la surface doit être 

propre et sèche avant de procéder à l’installation.

fig. 9

Step 4 

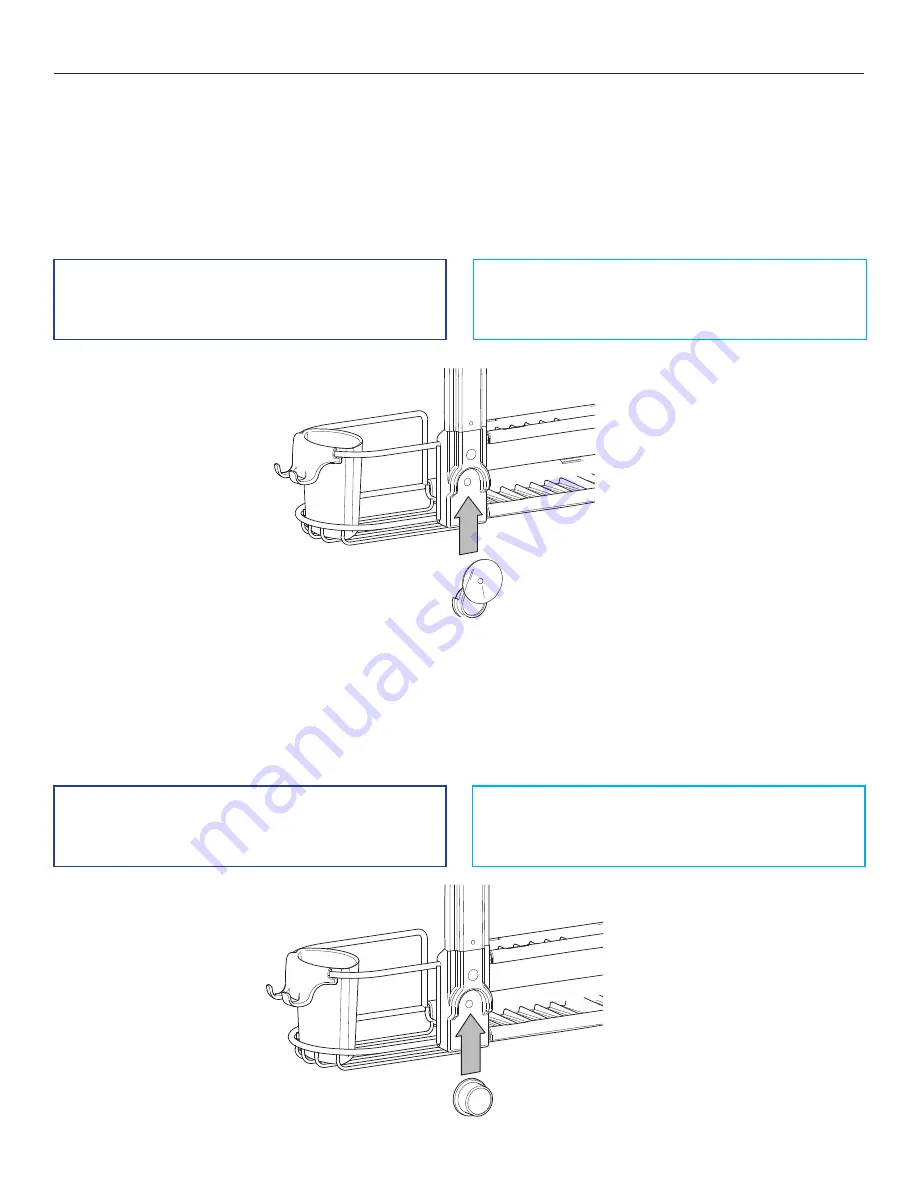
OPTION A   
Removable installation

Place the two (2) suction cups behind the shower caddy 

(fig. 8).

Étape 4

 
OPTION A 
Installation amovible

Placez les deux (2) ventouses derrière le support de 

rangement (fig. 8).

fig. 8

For a better grip, the suction cups must be installed 

on a smooth and clean surface.

Pour une meilleure adhérence, les ventouses doivent 

être installées sur une surface propre et lisse.

Summary of Contents for N4NMV2-RN

Page 1: ...R CONSULTATION ULT RIEURE LIRE ATTENTIVEMENT Artika For Living Inc 1756 50th ave Lachine Quebec Canada H8T 2V5 Customer service Monday to Friday 9 am 5 pm EST Service la client le Lundi au vendredi 9...

Page 2: ...d installation 7 Large tray 8 Large tray with soap dishes 9 Small tray A 10 Small tray B 11 Support structure 1 Anneau de caoutchouc 2 Accessoire de fixation pour la porte de douche 3 Deux Q CupsMC 4...

Page 3: ...anguette 90 fig 1 Ins rer le plateau dans la glissi re r glable Ajuster la hauteur souhait e et refermer la languette pour maintenir le plateau dans cette position R p ter l tape 1 pour les autres pla...

Page 4: ...ower caddy over the shower door mounting accessory fig 7 tape 3 OPTION A Installation sur la pomme de douche tirer et faire passer l anneau de caoutchouc autour de la pomme de douche fig 3 Serrer la v...

Page 5: ...orte de douche To ensure good adhesive support the surface must be clean and dry prior to installation Pour une meilleure adh rence la surface doit tre propre et s che avant de proc der l installation...

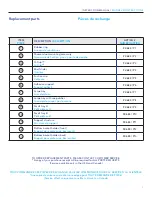
Page 6: ...INSTRUCTION MANUAL MANUEL D INSTRUCTIONS 6 Replacement parts Pi ces de rechange 3 9 3 5 12 7 4 10 6 13 8 11 1 2...

Page 7: ...PTION ARTIKA NUM RO ARTIKA 1 Rubber ring Anneau de caoutchouc 92 684 P1 2 Shower door mounting accessory Accessoire de fixation pour la porte de douche 92 684 P2 3 Q Cup Q CupMC 92 684 P3 4 Shelf slid...

Page 8: ...ses made in the USA or Canada Warranty Garantie Artika For Living Inc est fi re de vous offrir une garantie de un 1 an Nous garantissons que notre produit est exempt de tout d faut de fabrication ou d...

Reviews: