26
KEY
www.ArtisticCreativeProducts.com
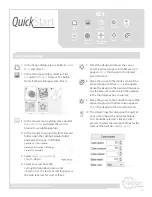
1. Click on the
New
icon.
2. Place a bullet in the
Cut
and
Embroidery
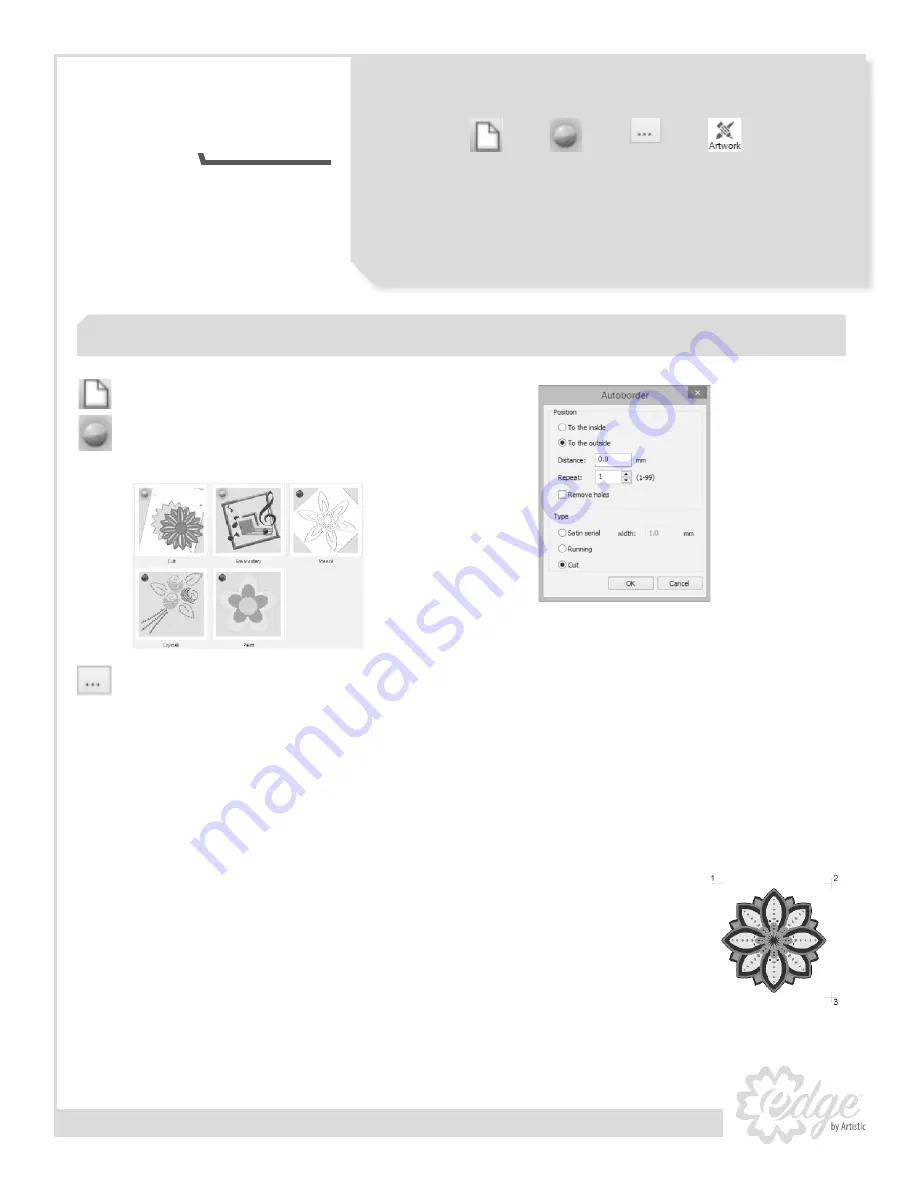
technique options. Remove the bullets from
all other techniques (
See Fig. 21
). Click <Next
3. In the
Fabric
dialog, click <Next> for the
Standard background.
4. In the
Artwork source
dialog, place a bullet in
From Artwork
and select the icon to browse
for available graphics.
5. In the
Creative Drawings SimpleCut Samples
folder, select
ASC-00069.cmx
and <Open>
Click <Next> and <Finish>
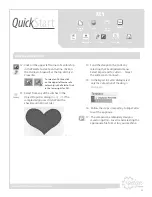
6. Select the design by clicking on the plate
in the
Sequence Manager
.
7. In
Object Properties
select
Artwork
.
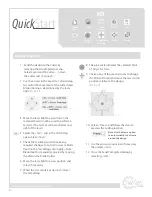
8. <Right Click> on the active design and
select
Autoborder
.
9. Place bullets to select
To the Outside
and
Cut
(
See Fig. 22
). Distance = 0.0 <OK>
10. Send the design to the Cutter by
selecting the
File
dropdown menu.
Select
Export
and To
Cutters
… Select the
cutter and <Connect>
11. Select
Print & Cut
. The wizard provides
detailed instructions.
12. Select
and <OK> to send to a
Printer. <Next>
13. Affix the printout to the Low Tack mat,
aligning with the grid.
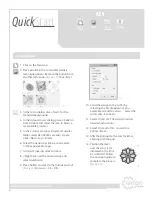
14. Position the laser
over the cross (1) as
indicated in the Print
& Cut Wizard. Follow
the onscreen guide to
complete the process
(
See Fig. 23
).
Fig. 23
Create Print & Cut
Fig. 21
Create
New
Bullet
From
Artwork
Artwork
Fig. 22
Quick
Start

