112
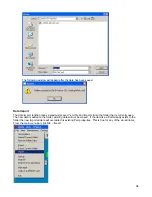
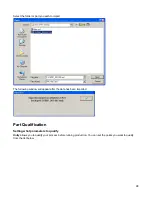
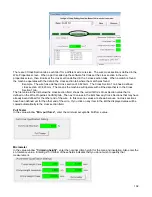
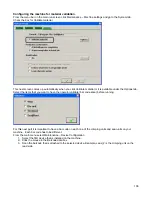
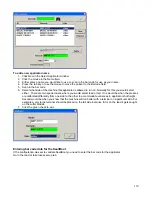
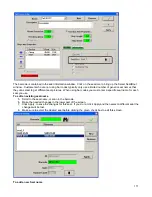
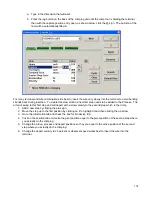
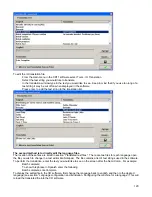
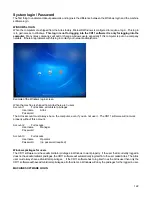
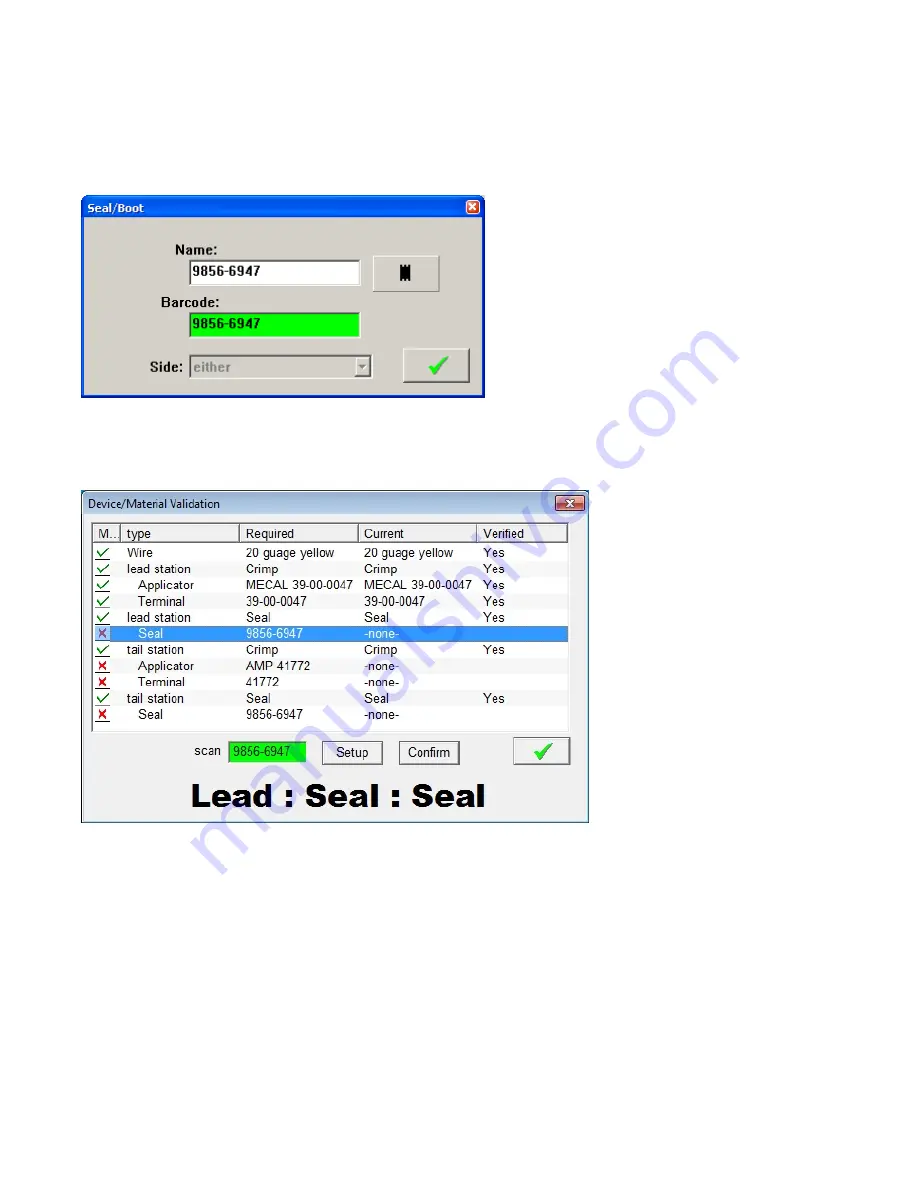
16. Click New in the Select Seal/Boot window.
17. Click the mouse in the Name field.
18. Either enter a name you would like to use or, scan in the bar code for use as your name.
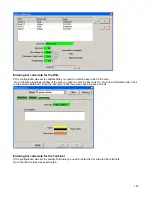
19. Press the tab key or use the mouse to move the pointer to the Barcode field.
20. Scan in the bar code
21. Use the mouse to select what seal picture you would like to use.
22. Click the green check to exit.
Operation of material validation
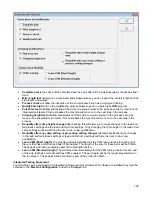
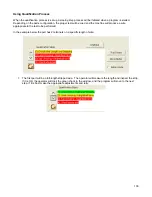
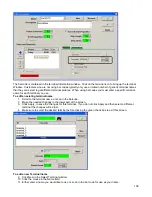
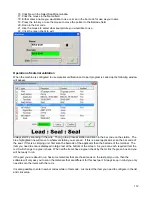
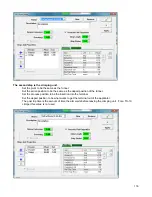
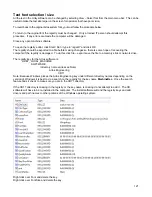
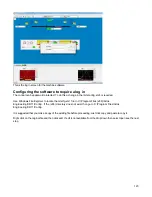
When the machine is configured to use material verification and a part program is called up the following window
will appear.
Always start by scanning in the wire. Then go to a process station and scan in the bar code on the station. The
blue highlighted line will move to whatever station you scanned. If this is a seal applicator, scan the bar code of
the seal. If this is a crimping unit, first scan the barcode of the applicator then the barcode of the terminal. The
item you need to scan is displayed in large text at the bottom of the screen. As you scan each required item the
red X will change to a green check. When all the items have a green check by them click the green box and you
will be ready to run.
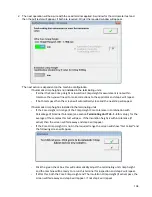
If the part you are about to run has some materials that are the same as on the last part you ran, then the
software will only ask you to scan the materials that are different for this next part. Always keep in mind you only
need to scan the items with the red x.
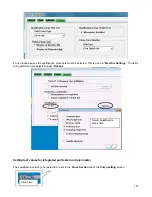
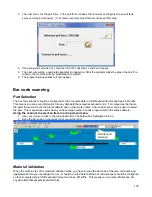
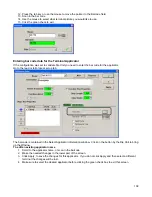
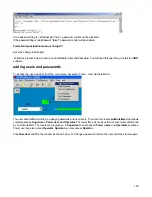
It is also possible to enter new bar codes while in this mode. Just select the item you need to configure in the list
and click setup.

