66
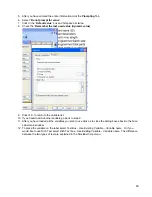
Core dimension programmed in the crimping settings screen. Keep in mind this does not account for core crimp
spring back and applicator expansion. If a large change was made you should repeat the test by clicking the
green check and running the Micrometer test again.
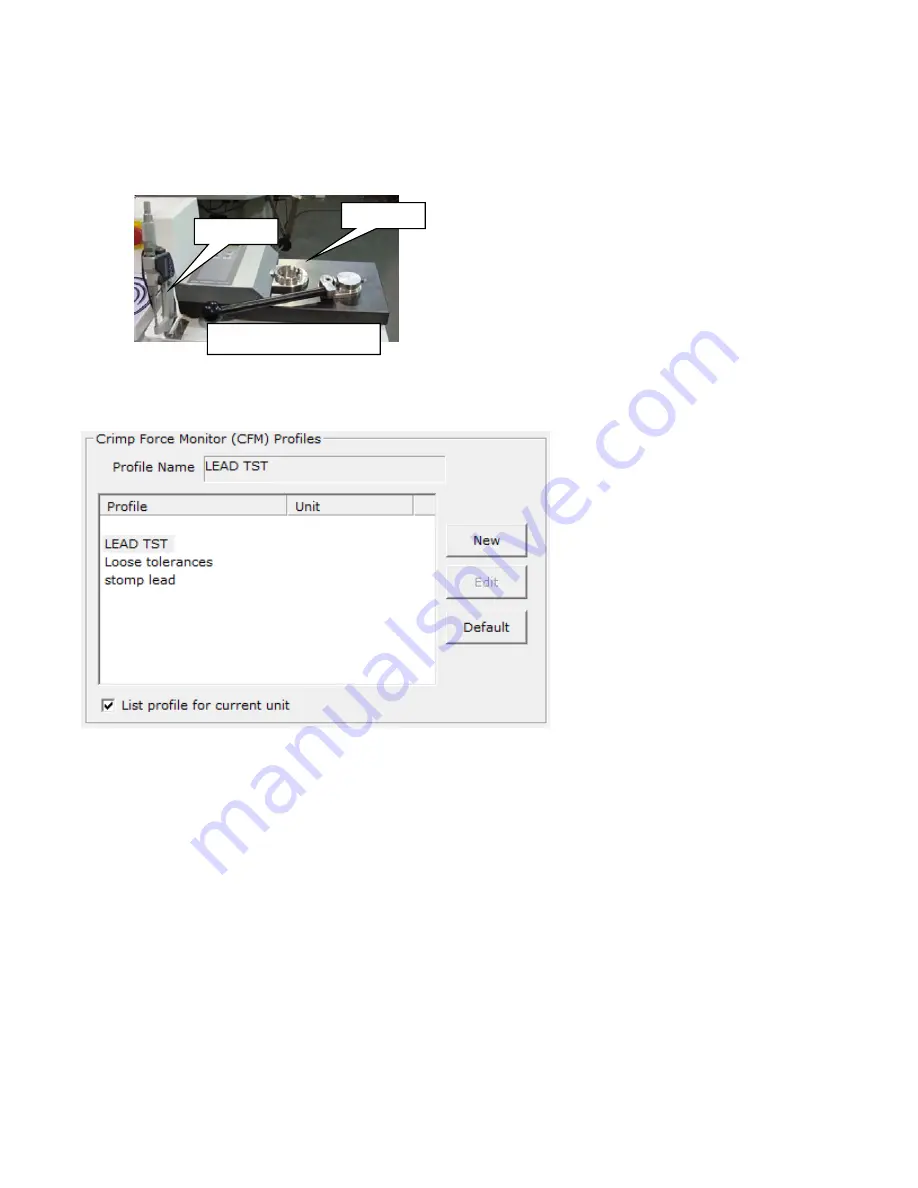
Devices used for part qualification.
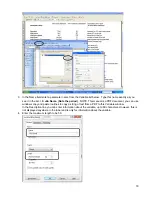
Crimp Force Monitor (CFM) Profiles section
See also section Crimp force monitor operation CFM2100
To select a different profile, click the name of the profile.
New
- Before you click new you should know that the name that is displayed in the Name field is automatically
filled into the new window. If you want to start with one of the Crimping setting names listed, click on that
name to transfer it to the Name field. If you want to use the Crimping Setting name click on the blank
profile at the top of the list, and the crimping setting name will be filled into the Name field.
Default
- This will load the default CFM parameters to the currently selected Name.
Edit
- This will open the configuration window in the Forceview software.
List profile for current unit –
The CFM profiles are stored individually for each crimping unit. If this box is
checked you will only see the profiles for the unit you are working on. If the box is not checked you will see the
profiles that are defined for all crimping units. It can be useful to see all the crimping units if you are transferring
an applicator from one side of the machine to the other. In this case you can select the profile you already made
for the other side, the software will then use this data to create a new profile for the side you are currently on.
Creating or editing a pre-process
WIRE MARKING
The
CR
can be equipped with wire a marking Preprocess. Artos WM 6, Kingsley hot stamp and Imaje ink jets can be
connected with an optional interface device. Consult Artos for the correct interface for your marker.
Pull Tester
Micrometer
Inspection Station


