ARTURIA – ORIGIN – USER’S MANUAL
101
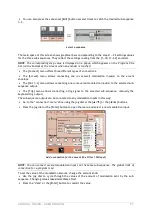
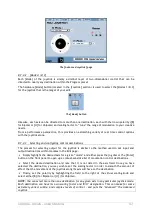
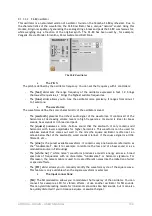
The [Advanced Joystick] page
8.7.4.2
[Modes 1/2/3]
Each [Mode] of the joystick is simply a distinct layer of two-dimensional control that can be
directed to nearly any destination within the Program preset.
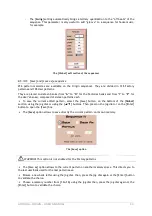
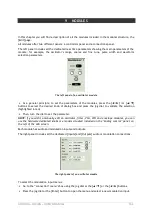
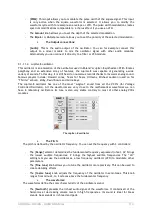
The hardware [Mode] button (located in the [Joystick] section) is used to select the [Modes 1/2/3]
for the joystick that is the target of your edit.
The [Mode] button
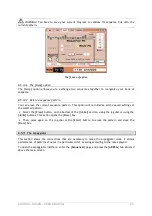
Likewise, each axis can be directed to more than one destination, each with their own polarity ([B]
for Bipolar or [U] for Unipolar) and scaling factor to “tune” the range of modulation to your creative
needs.
From a performance perspective, this provides an astonishing variety of real time control options
with the joystick alone.
8.7.4.3
Selecting and configuring control destinations
The process for selecting output for the joystick is similar to the method used to set input and
output destinations within modules in the Edit page.
Simply highlight the desired axis for a given “mode” and either press the jog dial or the [Enter]
button on the front panel to open up a context-sensitive list of modulation control destinations.
Select the desired destination and note that it is not listed in the axis field. Once you have
selected the destination, you may wish to set the scaling factor in order to smooth the amount of
effect that the movement of the joystick along its axis will have on the destination.
Finally, set the polarity by highlighting the field to the right of the virtual scaling knob and
select either [B] (for Bipolar) or [U] (for Unipolar).
NOTE:
You can select more than one destination for any given axis in any particular joystick mode.
Each destination can have its own scaling factor and "B/U" designation. This can make for some
extremely varied, subtle, and complex levels of control - and puts the “advanced” the Advanced
Joystick.

