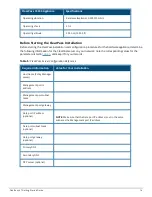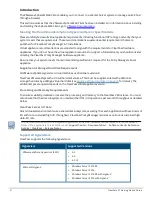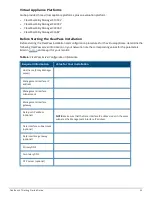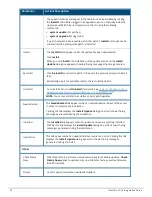
For the latest test information on the recommended disk sizes for a virtual hard disk, refer to the Release Notes in
the appropriate version folders under
Aruba Support Center
>
Documentation
>
Software User & Reference
Guides > ClearPass
>
Release Notes
.
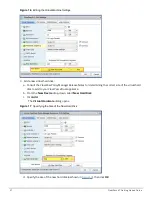
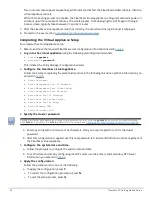
4. Make sure that the network adapters are assigned correctly:
a.
Network adapter 1
:
Management port
b.
Network adapter 2: Data port
c. Click
OK
.
Launching the ClearPass Virtual Appliance
To launch the ClearPass virtual appliance:
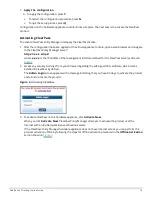
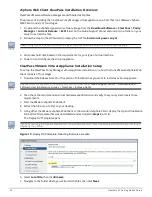
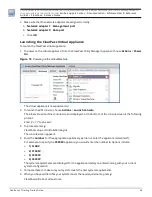
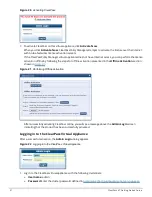
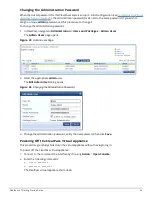
1. To power on the virtual appliance, from the ClearPass Policy Manager Appliance, choose
Actions
>
Power
On
.
Figure 18
Powering on the Virtual Machine
The virtual appliance is now powered on.
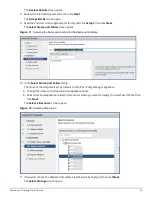
2. To launch the VM console, choose
Actions
>
Launch Console
.
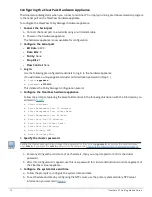
The initial virtual machine console screen is displayed. At the bottom of the console screen is the following
prompt:
Enter 'y' or 'Y' to proceed:
3. To proceed, enter
y
.
ClearPass setup and installation begins.
The console screen appears.
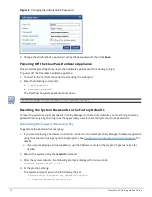
4. Enter the
number
for the appropriate appliance type (do not enter the appliance model itself).
For example, to specify the
C3000V
appliance, you would enter the number
4
. Options include:
n
1) CLABV
n
2) C1000V
n
3) C2000V
n
4) C3000V
The system requirements are displayed for the appliance model you entered, along with your current
system configuration.
5. Compare these to make sure your system meets the new system requirements.
6. When you have verified that your system meets the new requirements, press
y
.
ClearPass will reboot at least once.
ClearPass 6.7 Getting Started Guide
28

