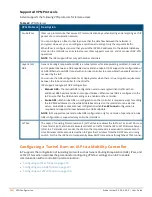
For information on the GRE tunnel configuration on the controller, refer to the
ArubaOS 6.5.x.x User Guide
.
In the Instant UI
To configure a GRE tunnel:
1. Click the
More > VPN
link located directly above the Search bar in the Instant UI. The
Tunneling
window is
displayed.
2. Select
Manual GRE
from the
Protocol
drop-down list.
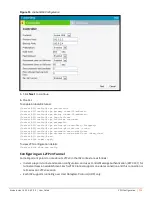
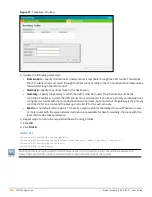
3. Specify the following parameters. A sample configuration is shown in
.
a. Enter an IP address or an FQDN for the main VPN/GRE endpoint in the
Host
text box.
b. Enter a value in the
GRE type
text box.
c. Select
Enabled
or
Disabled
from the
Per-AP tunnel
drop-down list. Enable this option to create a GRE
tunnel from each IAP to the VPN/GRE endpoint rather than the tunnels created just from the master
IAP. When enabled, the traffic to the corporate network is sent through a Layer-2 GRE tunnel from the
IAP itself and need not be forwarded through the master IAP.
By default, the
Per-AP tunnel
option is disabled.
Figure 52
Manual GRE Configuration
4. Click
Next
to continue. When the GRE tunnel configuration is completed on both the IAP and the controller,
the packets sent from and received by an IAP are encapsulated, but not encrypted.
In the CLI
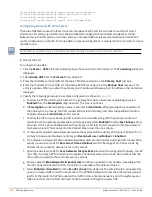
To configure a manual GRE VPN tunnel:
(Instant AP)(config)# gre primary <name>
(Instant AP)(config)# gre type <type>
(Instant AP)(config)# gre per-ap-tunnel
(Instant AP)(config)# end
(Instant AP)# commit apply
To view VPN configuration details:
(Instant AP)# show vpn config
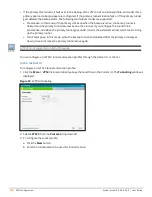
To configure GRE tunnel on the controller:
(Instant AP)(config)# interface tunnel <Number>
(Instant AP)(config-tunnel)# description <Description>
(Instant AP)(config-tunnel)# tunnel mode gre <ID>
Aruba Instant 6.5.0.0-4.3.0.0 | User Guide
VPN Configuration |
232


