X-3D-BL User’s Manual
By clicking ”Load” or ”Save” parameter sets can be
stored on or loaded from the PC. The button ”trans-
mit” transmits the actual parameterset, but doesn’t
store the setting on the UFO! Only a click on ”Write
parameters” writes the setting in the permanent me-
mory of the UFO.
Click on ”Ready” and ”Transmit and disconnect” af-
ter you done.
3.3 Configuration of the
X-ACC
If you have the X-ACC installed, you need to perform
the following steps to make it work. Please note that
in this case you need to upload a different firmwa-
re version to X-Base and X-3D than the ones descri-
bed above or the ones which were installed as factory
default.
3.3.1 Installing the X-ACC Firmware
on X-3D and X-Base
First of all, you have to install the correct firmware
versions on X-Base and X-3D. You can request the
X-ACC software on http://www.asctec.de using the
code which is printed on the X-ACC packaging, and
the serial number of your X-3D. The X-3D serial
number is displayed by the X-Control software as
soon as the connection to the X-3D is established.
It is also written on the back of your X-3D (three
or four digits). Make sure you enter the code and
the serial number correctly. You can request and
obtain the software as often as you need using your
numbers. You will receive an e-mail with all the data
you need.
Please also download the most recent version of
the X-Control PC-software (version 2.0 or higher)
from http://www.x3d-shop.de. Use the X-Control
software to upgrade the firmware of your X-3D and
X-Base (cf. 3.1.1 and 3.1.3), using the firmware
versions which you have received by e-mail. Make
sure you install the X-Base firmware file which fits
to your receiver (ACT receiver (35 or 40MHz) or
PPM-receiver).
3.3.2 Uploading parameters for the
X-ACC (only X-3D)
Once the X-ACC firmware is installed there are only
two (instead of four) parameter sets which can be se-
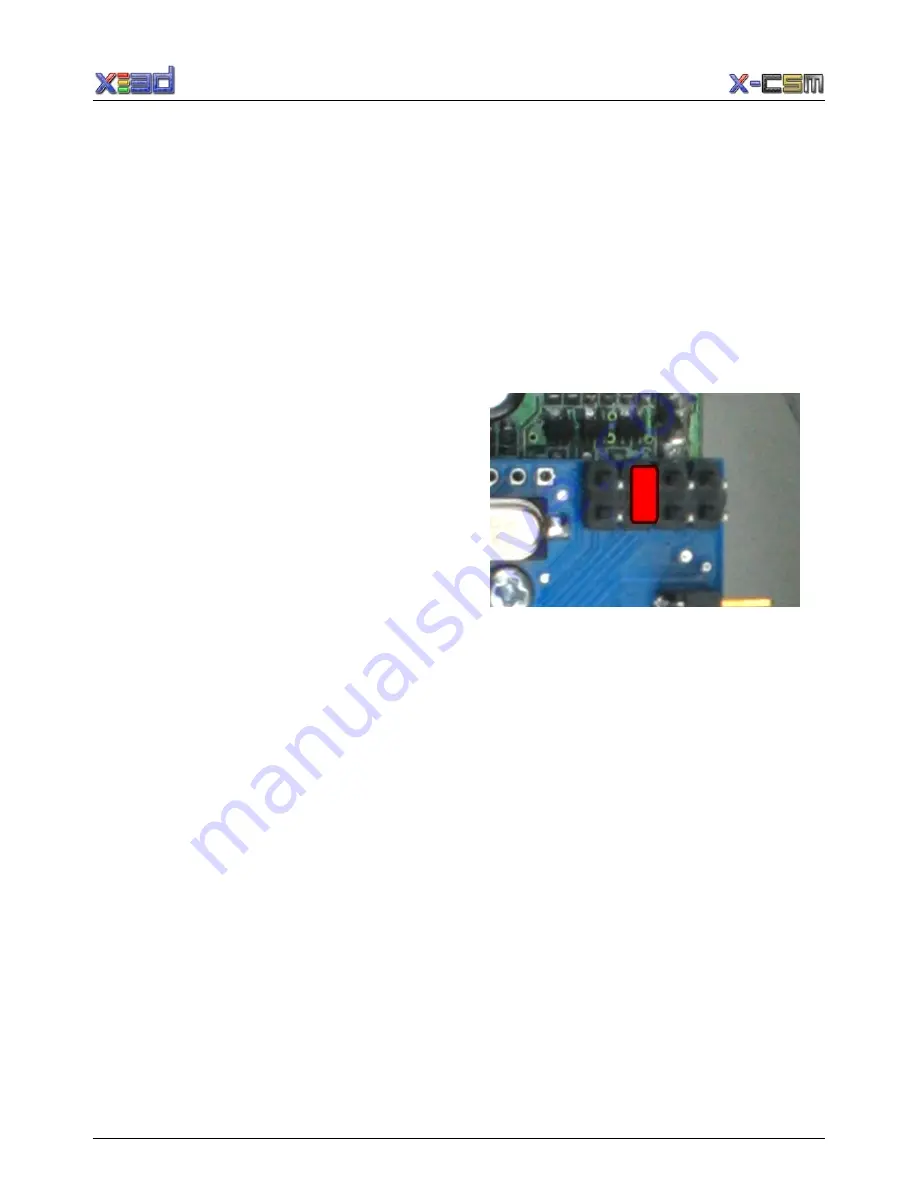
lected by the jumper marked in the following picture.
The jumper selects parameter set 0 or 1.
Both parameter sets contain settings for flying in
heading hold mode and for the X-ACC mode. You
can use one of the EXT-functions (i.e. a switch
on your remote control) to select Heading-Hold or
X-ACC mode during flight. To do so, one of the
channels 5 to 8 of your remote has to be assigned
to an EXT-function. This can be done during the
teach-in of your remote control (cf. 3.2.2). If you are
using a remote control with 4 channels only or if you
only want to fly in the X-ACC mode, you can define
this in the parameter set you use.
The .zip-file you received via e-mail contains a
recommended X-ACC setting. You can upload it to
the X-3D using the X-Control software as described
in 3.2.3. For the Heading-Hold mode you can use
any of the standard parameter sets (see 3.2.3). Just
make sure that you do not confuse a standard setting
with the X-ACC setting, as this might make your
X-3D-BL uncontrollable.
www.x3d-shop.de
- 26 -
www.asctec.de


