15
AEU-350 / AEU-350S
3
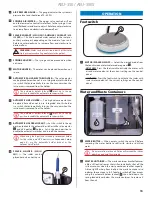
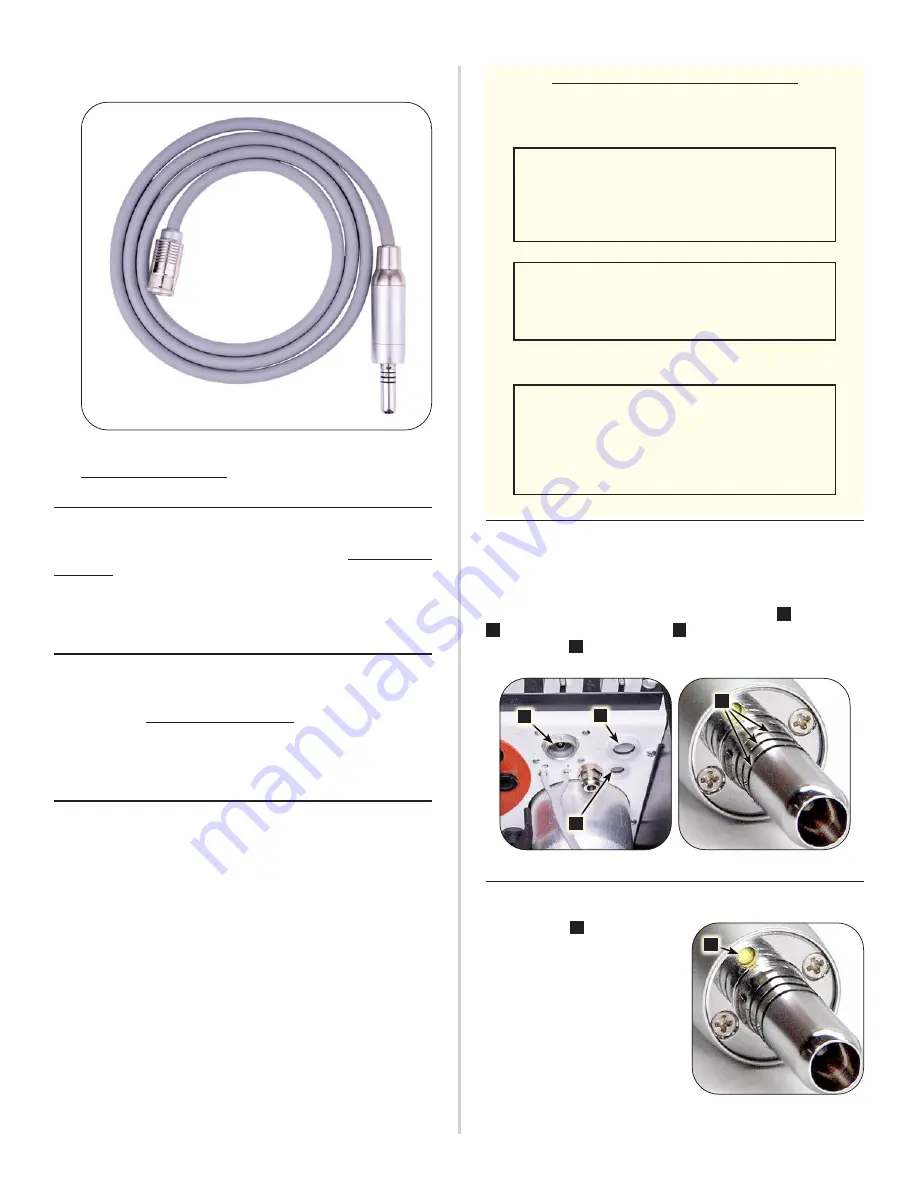
Loosely coil the motor cord when autoclaving. Avoid sharply
bending the cord.
4
Sterilize the motor and cord assembly using any one of the
STERILIZATION METHODS listed below ( page 15).
Syringe Tips
Syringe tips are autoclavable using any one of the STERILIZATION
METHODS listed below (page 15). Wipe off the syringe hand-
piece and hose using a soft cloth dampened with a disinfectant
solution. Do not immerse the syringe handpiece in any liquid nor
spray any liquid directly on the handpiece.
Scaler
(AEU-350S ONLY)
The scaler handpiece cover and scaler tips are autoclavable using
any one of the STERILIZATION METHODS listed below (page 15).
Wipe off the scaler handpiece and hose using a soft cloth damp-
ened with a disinfectant solution. Do not immerse the scaler hand-
piece in any liquid nor spray any liquid directly on the handpiece.
Unit and Footswitch
Clean the unit and footswitch by wiping with a soft cloth moist-
ened with a mild detergent or 1:10 bleach solution (1-part bleach
to 9-parts water). Use of solvents or other solutions may cause
damage and void the warranty.
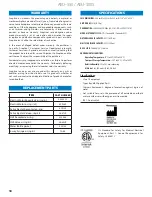
STERILIZATION METHODS:
Wrapped Sterilization
— Place in an appropriately sized steriliza-
tion pouch and seal.
A Standard autoclaving
(Gravity displacement
method)
Time
: 15 min
Temperature
: 132° C (270° F)
Dry time
: 30 minutes
B Pre-vacuum
(Dynamic air removal method)
Time
: 4 minutes
Temperature
: 132° C (270° F)
Dry time
: 40 minutes
Flash
Sterilization
— For immediate use only.
C Unwrapped standard autoclaving
(Gravity
displacement method)
Time
: 10 minutes
Temperature
: 132° C (270° F)
Dry time
: No dry time is required for flash
sterilization.
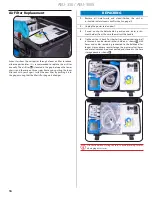
O-Rings
Periodically apply PTFE lubricant to all o-rings to keep the system
operating at peak efficiency. Damaged or worn o-rings can leak
and degrade performance; replace as needed. Bulkhead o-rings
are located in the fittings for the saliva ejector line
A
the HVE line
B
and the electric motor cord
C
(x3) on the bulkhead. Electric
motor o-rings
D
(x3) are located on the motor shaft. Refer to the
Replacement Parts
table on page 18 for o-ring part numbers.
A
B
C
D
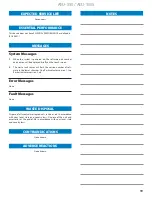
Electric Motor LED
The LED lens
A
on the motor is
soft and can easily be damaged
by sharp objects. Dust or debris
may cause a significant decrease in
optical output. Clean the LED using
a lint-free swab and isopropyl
alcohol. Do not use other solvents
as they may damage the LED lens.
A

