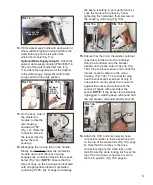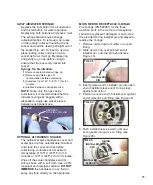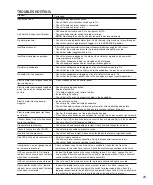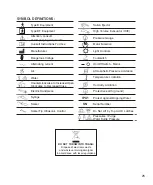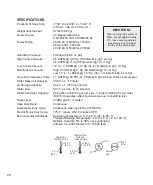
CUSTOMIZING RATIOS:
The user can enable or disable individual
handpiece ratio options, so that only preferred
or commonly used ratios are displayed during
the ratio selection process. Follow these steps
to reprogram the unit with customized ratio
options:
1.
Press and hold the Ratio button to enter the
Ratio Customization Mode.
2.
Press the Ratio button repeatedly to switch
between the available ratio options. Each Ratio
displays in the Ratio window as the user cycles
through the five options.
3.
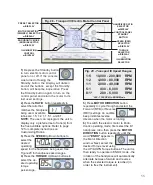
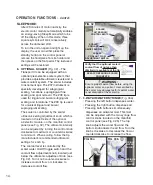
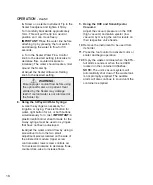
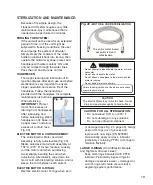
When the desired ratio is displayed, press the
Preset button to toggle the ratio to either
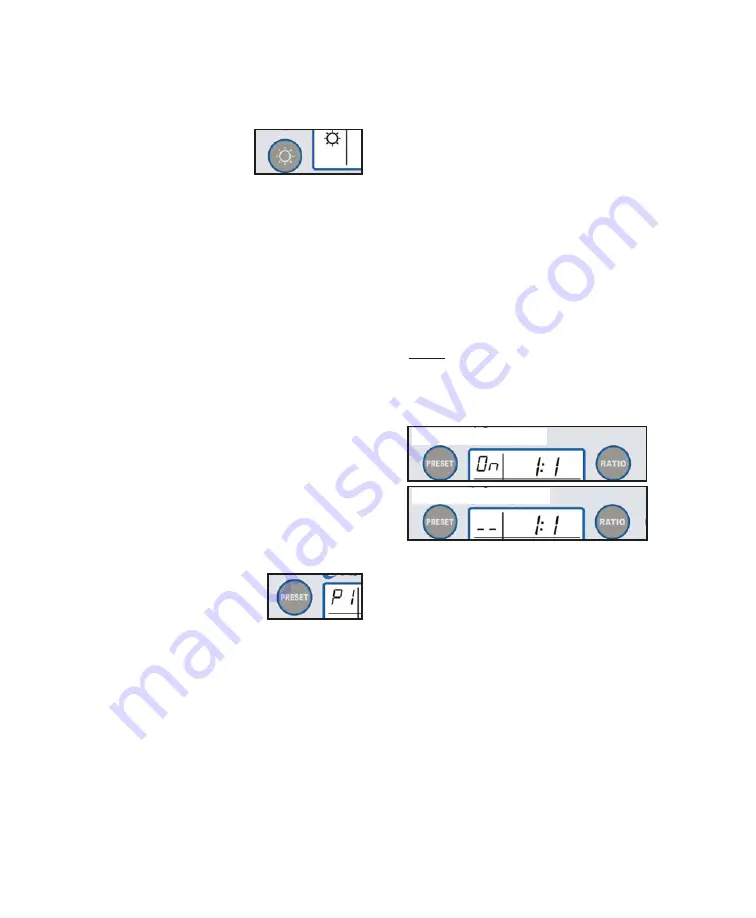
enabled or disabled status. The word "On" will
appear in the Preset display window when
enabled, and two dashes "_ _" will appear when
disabled (see Figs. 30a & 30b).
4.
Repeat Step 3 above for the remaining four
ratio options until only the desired ratios are
enabled.
5.
Press and hold the Ratio button to exit the Ratio
Customization Mode. Only the enabled ratios
will be displayed when selecting Ratio options;
any ratio that has been disabled will not be
displayed (unless you re-enable it).
NOTE:
The system must always have at least
one ratio option enabled. If the user attempts to
disable the last operational ratio, the system will
emit a beep sound and ignore the user's
command to disable this remaining option.
NOTE:
If the factory defaults are restored, all
customized Ratio option settings will be
overwritten.
12.
7)
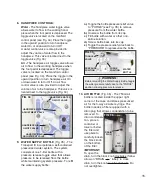
Press and release the
ILLUMINATION
button to turn the hand-
piece LED On/Off. To
activate the handpiece
and LED, remove the handpiece from its
holder, turn the Illumination button 'On',
and press the foot pedal to operate the
motor. When the foot pedal is released
and the motor has stopped, the light will
turn off after approximately 20 seconds.
Press and hold the Illumination button for
three seconds to enter the LED intensity
adjustment mode. When in this mode, press
the Torque Up/Down buttons to select the
desired illumination in 10% increments, from
10% to 100%. The handpiece LED will
automatically turn on and change intensity
as the adjustments are made. The display
icon will also blink as the adjustments are
made. To exit the adjustment mode, press
and release the Illumination button.
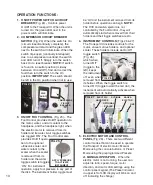
B. PRESET OPERATION
- The Transport
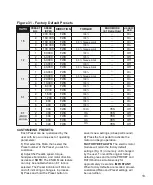
III electric motor module is shipped with
five preprogrammed factory Presets for
each ratio (see Fig. 31, page 13). This
allows the user to instantly access a wide
range of settings. After the handpiece ratio
has been selected, press the Preset
Button repeatedly to cycle
through five different
Presets (P1 - P5). When
the desired Preset is displayed, its
operating parameters are automatically
activated. Each Preset can store the
following parameters:
- Bur/Drill Speed
- Motor Direction
- Torque Setting
- LED Light 'On' or 'Off'
- Endo Mode Activation (8:1
handpiece ratio only)
NOTE:
The electric motor is programmed at
the factory to initially start up with Ratio 1:5
and Preset No.1 active. Subsequently, when
the System power is turned on, the last
settings used will be activated.
OPERATION FUNCTIONS -
Cont'd:
Fig. 30a -Enabled
Fig. 30b -Disabled

