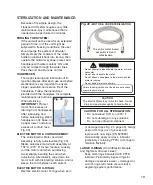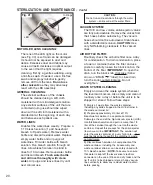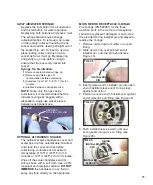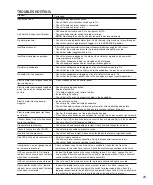
17.
OPERATION:
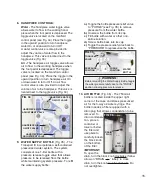
TORQUE -
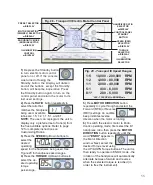
Adjust the up/down TORQUE
arrows on the display to the desired
torque.
MOTOR DIRECTION -
Select either
forward (FWD) or reverse (REV) direction
on the display.
ILLUMINATION -
If using a handpiece
with LED illumination, turn the LED button
on the display On or Off.
ENDO MODE -
To select endodontic
operating mode (8:1 handpiece ratio must
first be selected) press the Motor Direction
button repeatedly until “ENDO” appears in
the Motor Direction window.
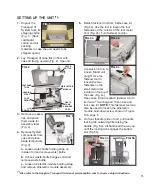
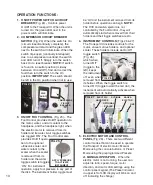
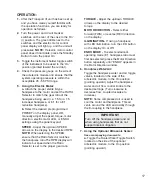
6. Handpiece Water/Air:
Toggle the handpiece water and air toggle
valves, located on the side of the
air/electric module, to the On position
(pointing upward). Adjust the handpiece
water and air flow control knobs to the
desired settings. (Turn clockwise to
decrease flow, counterclockwise to
increase.)
NOTE:
Some compressed air is used to
cool the motor and handpiece. This air
vents around the LED and axially through
the E-coupling to the handpiece.
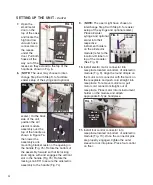
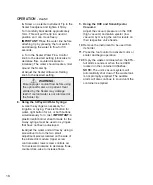
7. Using the Optional Ultrasonic Scaler:
See accompanying documents.
a.
Toggle the Scaler Water Toggle Switch,
located on the side of the optional
air/electric module, to the On position
(pointing upward).
IMPORTANT:
Turn Off the handpiece water and air
when using handpieces that do not
support internal irrigation.
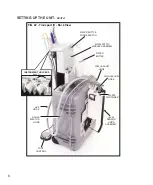
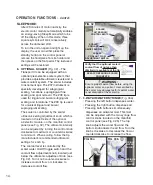
1.
After the Transport III unit has been set up
and you have made yourself familiar with
the operation functions, you are ready for
operation as follows:
2.
Turn the power and circuit breaker
switches on the rear of the case to the 'On'
(I) position. The green LEDs next to the
switches and the electric motor control
panel display will light up, and the unit will
pressurize.
NOTE:
If electric motor control
panel doesn’t illuminate, press the Standby
Button to turn the panel On.
3.
Toggle the instrument holder toggle switch
of the instrument to be used to the ‘On’
position (pointed toward the red dot).
4.
Check the pressure gauge on the side of
the air/electric module and ensure that the
system operating pressure is within the
acceptable 45 - 55 PSI range.
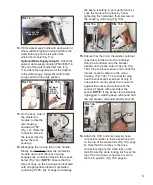
5. Using the Electric Motor:
a.
Attach the proper sterile E-type
handpiece to the motor and set the RATIO
Selector to match the gear ratio of the
handpiece being used (i.e. 1:5 for a 1:5
increaser handpiece, or 8:1 for a 8:1
reduction handpiece).
b.
Select the desired preprogrammed
PRESET on the display panel, OR,
manually adjust the speed, torque, motor
direction, electric motor LED, or ENDO
settings using the panel keypad:
SPEED
- Adjust the up/down SPEED
arrows on the display to the desired RPM.
NOTE:
When selecting the SPEED,
ensure that the Ratio Selector matches
the handpiece ratio.The RPM display will
indicate bur speed when the Ratio
Selector is set to the proper gear ratio.

