18.
b.
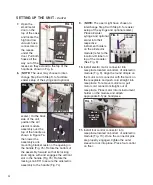
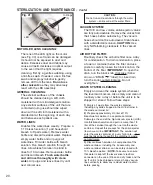
Screw on a sterile Instrument Tip to the
Scaler handpiece and tighten it firmly.
Turn carefully backwards approximately
1mm. This will put the tip in a neutral
position so it can move freely.
IMPORTANT:
Rinse the water line before
attaching tip by pressing the foot switch
and allowing the water to flow for 30
seconds.
c.
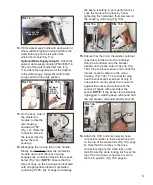
Turn the Scaler Water Flow Control
knob to the desired setting (clockwise to
decrease flow, counterclockwise to
increase). The water should create a mist
around the Scaler tip.
d.
Adjust the Scaler Ultrasonic Setting
knob to the desired setting.
8. Using the 3-Way Air/Water Syringe:
a.
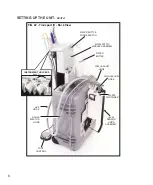
Use the syringe as necessary for
irrigation or drying. Press left button for
water, right button for air, or both buttons
simultaneously for a mist.
IMPORTANT:
A
plastic dental barrier sheath made for the
3-way syringe must be used on syringes
that have not been autoclaved.
b.
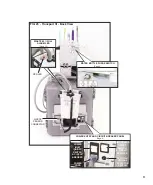
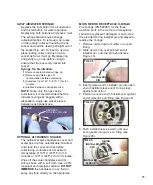
Adjust the water and air flow by using a
screwdriver to turn the two small
adjustment screws located on the side of
the air/electric module. Upper screw
controls water, lower screw controls air.
Turn screws clockwise to decrease flows,
counterclock-wise to increase flows.
9. Using the HVE and Saliva Ejector
Vacuums:
Adjust the vacuum pressure on the HVE
(high vacuum) and saliva ejector (low
vacuum) by moving the control levers on
their respective valve heads.
10
. Remove the instrument to be used from
its holder.
11.
Press the foot control to activate motor or
scaler and begin operation.
12.
Empty the waste container when the 85%-
full alarm sounds or when the red LED
located on the container lid flashes.
NOTE:
The unit’s vacuum system will
automatically shut down if the waste tank
is not promptly emptied. The audible
alarm will also continue to sound until the
container is emptied.
OPERATION
- Cont’d
:
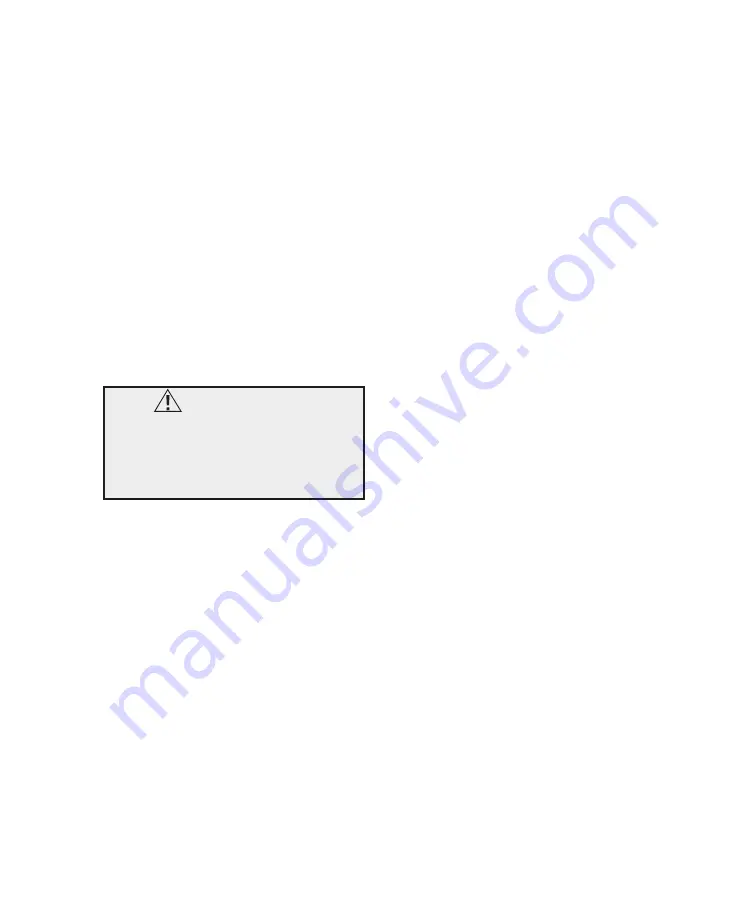
WARNING:
Ensure proper coolant flow before using
the optional Scaler on a patient. Heat
emitted by the Scaler may damage
teeth if coolant water is not atomized at
the Scaler tip.

