3.
1.
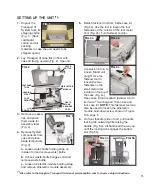
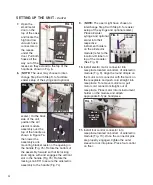
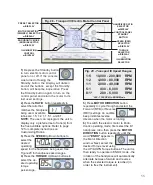
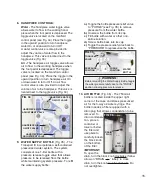
Unpack the
Transport III
System from its
shipping carton
(Fig. 1). (Save
cardboard
carton and all
packing
materials in case the unit needs to be
shipped again.)
2.
Lay Transport III case flat on floor with
case lid facing upward (Fig. 2). Open lid.
3.
Remove accesso-
ries and place
them aside for
assembly later
(Fig. 3).
4.
Remove System
components from
case and place
aside temporarily
(Fig. 3):
a.
Loosen water-bottle holding strap on
inside of lid and remove water bottle.
b.
Unhook waste-bottle bungee cord and
remove waste bottle.
c.
Loosen air/electric-module holding strap
and remove air/electric module assembly.
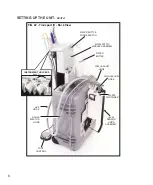
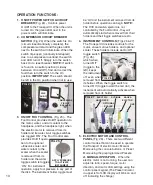
SETTING UP THE UNIT
(*)
:
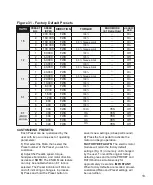
5.
Detach fastener tool from inside case lid
(Fig 4a). Use the tool to loosen the four
fasteners on the outside of the rear metal
door (Fig. 4b). Turn fastener counter-
clockwise 1/4 turn, to
loosen. Stand unit
upright. Use the
fastener tool to
loosen the two
fasteners on the
small metal door
located on the top of
the case (Fig. 4c).
Open case lid and reattach fastener tool to
its Velcro
®
mounting pad, then close and
lock case lid.
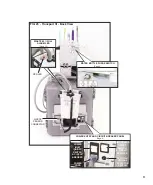
NOTE:
This fastener tool can
also be used to loosen the air/electric
module hold-down screw shown in Figure
13b, page 5.
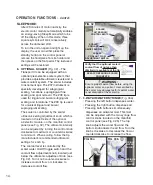
6.
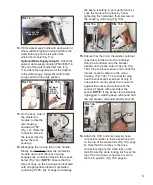
On front (handle) side of unit, pull handle
locking tab outward while raising the
handle (Fig. 5a). Lift handle all the way up
until the locking tab engages the bottom
slot (Fig 5b).
FIG. 4a
FIG. 3
FIG. 4b
FASTENER
TOOL
FIG. 4c
FIG. 1
WATER
BOTTLE
FIG. 2
AIR/ELECTRIC
MODULE
115V
POWER CORD
WASTE
TANK
& BUNGEE
CORD
FOOT
PEDAL
HOLDING
STRAP
FASTENER
TOOL
(*)
Also refer to the Aseptico Transport III video at www.aseptico.com for basic setup instructions.
FIG. 5a
FIG. 5b
LOCKING
TAB
BOTTOM SLOT

