Page 21
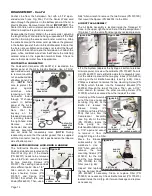
open-end wrench to remove the 1/4" hose fittings. The 1/2"
hoses can be pryed off their fittings by hand.
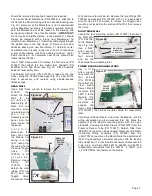
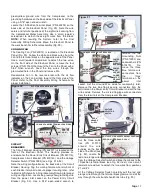
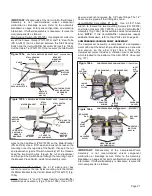
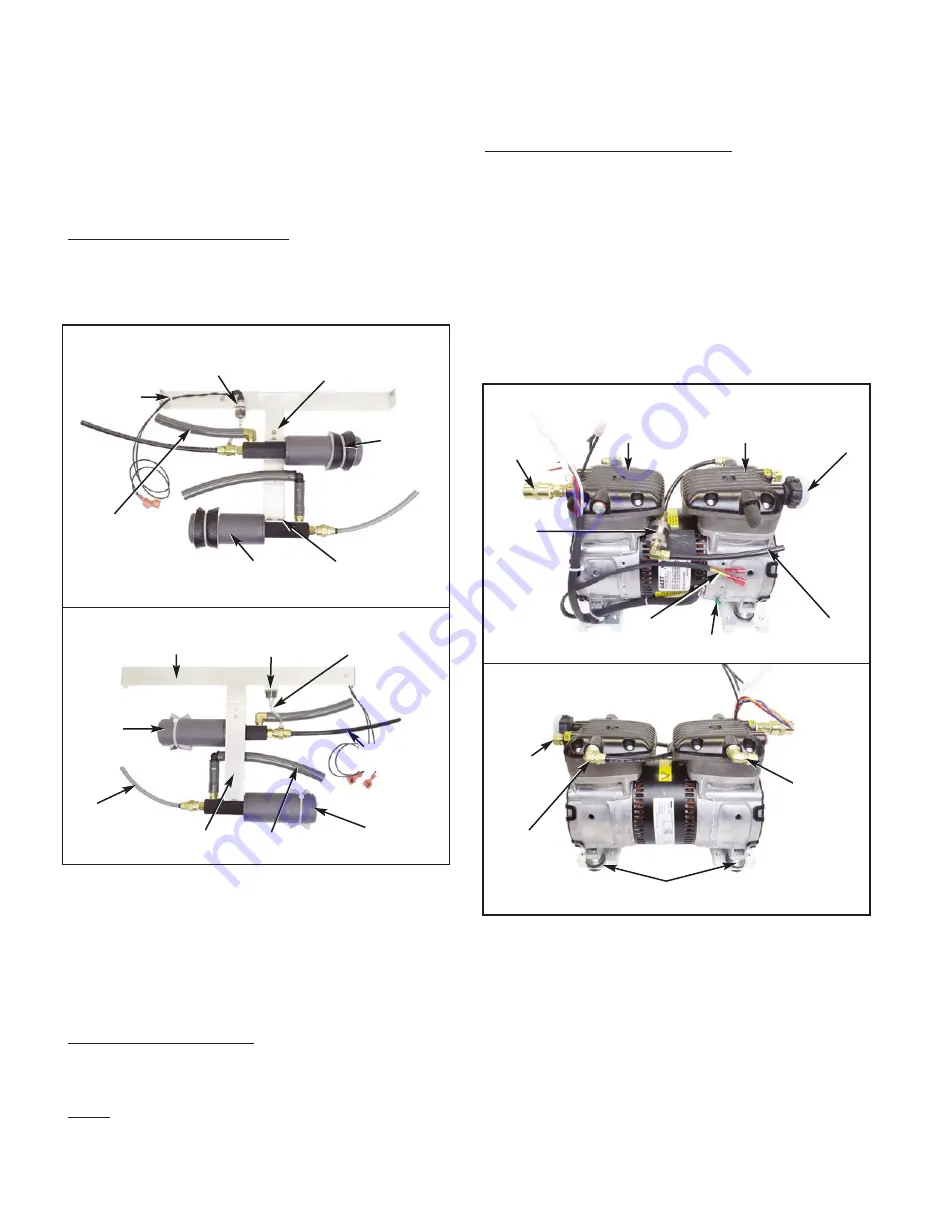
Venturi/Muffler Assemblies #1 & #2: Use a 3/32" Allen
wrench to remove the two mounting Screws (PN 510309)
and Nylon Gaskets (PN 730074) on each Venturi/Muffler
Assembly (Fig. 105a). Set Assemblies aside for reassembly
later.
NOTE:
If the Venturi/Muffler Assemblies require
additional breakdown, refer to their Parts Lists on page 43.
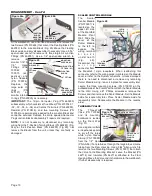
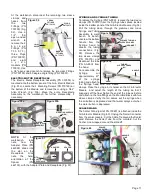
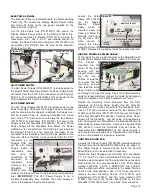
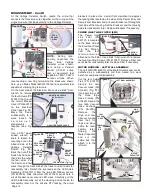
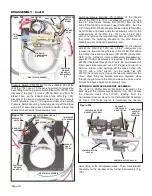
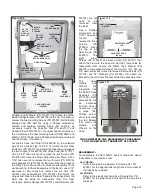
COMPRESSOR/VACUUM PUMP ASSEMBLY
The Compressor Assembly is comprised of a compressor
motor with a split head, which provides pressure on one side
and vacuum on the other (Figs 106a & 106b). The
Compressor motor includes a vibration mount assembly,
which is bolted to the bottom of the AEU-525CF Case (see
Fig. 107).
IMPORTANT:
Disassembly of the Compressor/Pump
Assembly is not recommended unless component
malfunction or breakage occurs. Refer to the Assembly
breakdown on page 44 for parts configuration and ordering
information. If further disassembly is necessary, remove the
main components as follows:
IMPORTANT:
Disassembly of the Venturi & Muffler Bracket
Assembly is not recommended unless component
malfunction or breakage occurs. Refer to the assembly
breakdown on page 43 for parts configuration and ordering
information. If further disassembly is necessary, remove the
main components as follows:
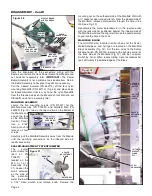
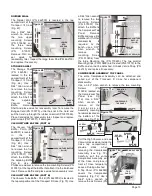
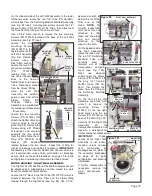
Stall Sensing Switch (PN 875120): Use diagnonal cutters to
pry off the Sleeve Clamp (PN 730015) and 1/8" clear Tube
(PN AA-94C) that is attached between the Stall Sensing
Switch and the Venturi Muffler Assembly #2 (see Fig. 105b).
Cut the Cable Tie (PN 510137) that secures the two Switch
wires to the Clip Mount (PN 510759) on the Motor Bracket
(PN 462106). Use a 9/16" open-end wrench to loosen the
mounting nut on the top side of the Switch, then spin the nut
and lockwasher (part of Switch Assembly) off the threads.
Feed the two Switch wires through the nut and lockwaser
and then pull the Switch down through the mounting hole in
the Bracket. Place Switch aside for reassembly later.
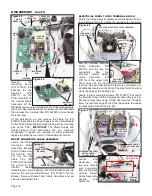
Motor Bracket (PN 462106): Use a 1/4" open-end or box
wrench to remove the two Nyloc mounting nuts that attach
the Motor Bracket to the Venturi Bracket (PN 462107) (Fig.
105a).
Hoses: Remove 1/4" and 1/2" hoses from the Venturi/Muffler
Assemblies as necessary (Figs. 105a & 105b). Use a 7/16"
Figure 106a
COMPRESSOR/VACUUM PUMP ASSY - (Front View)
(TO
UNLOADER
VALVE)
(TO
UNLOADER
VALVE)
COMPRESSOR/VACUUM PUMP ASSY - (Rear View)
COLD
START
VALVE
(VACUUM END)
(PRESSURE END)
Figure 106b
INLET
AIR
FILTER
IN-LINE
AIR
FILTER
VIBRATION MOUNT
ASSEMBLIES (X2)
MOTOR
GROUND
(TO VENTURI
/MUFFLER
ASSY #2)
(TO
VACUUM
SPLITTER)
(VACUUM
END)
(PRESSURE
END)
MOTOR
CAPACITOR
WIRING
Figure 105a
VENTURI & MUFFLER BRACKET ASSY - (Inboard View)
STALL SENSING
SWITCH
CABLE
TIE
BRACKET
MOUNTING
NUTS (X2)
VENTURI & MUFFLER BRACKET ASSY - (Outboard View)
VENTURI
BRACKET
1/4" HOSE TO
SWITCHING
MODULE
MANIFOLD
MOTOR BRACKET
VENTURI
/MUFFLER
ASSY #2
STALL SWITCH
TUBE
Figure 105b
VENTURI
/MUFFLER
ASSY #1
VENTURI
/MUFFLER
ASSY #2
VENTURI
/MUFFLER
ASSY #1
STALL
SWITCH
1/2" HOSE TO
VACUUM VALVE
1/2" HOSE TO
VACUUM SPLITTER
1/4" HOSE TO
COMPRESSOR
VENTURI/MUFFLER
ASSY MOUNTING
HARDWARE
(X4)

