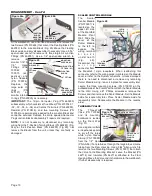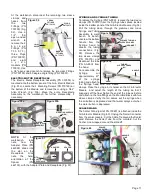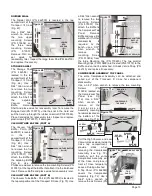
Page 23
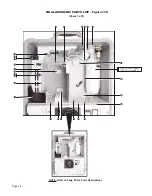
510774) do not
need to be
removed from
the Door.
Use a Phillips
screwdriver and
11/32" open-end
wrench
to
remove the three
Screws
(PN
510533) along
the top of the
Door Frame (PN
462003).
The
eight
other
Screws (PN 510545) and eleven Nuts (PN 510411) that
attach the Frame to the Case Lid. Set the Frame aside for
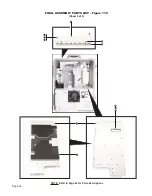
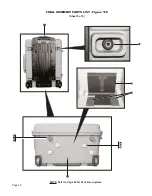
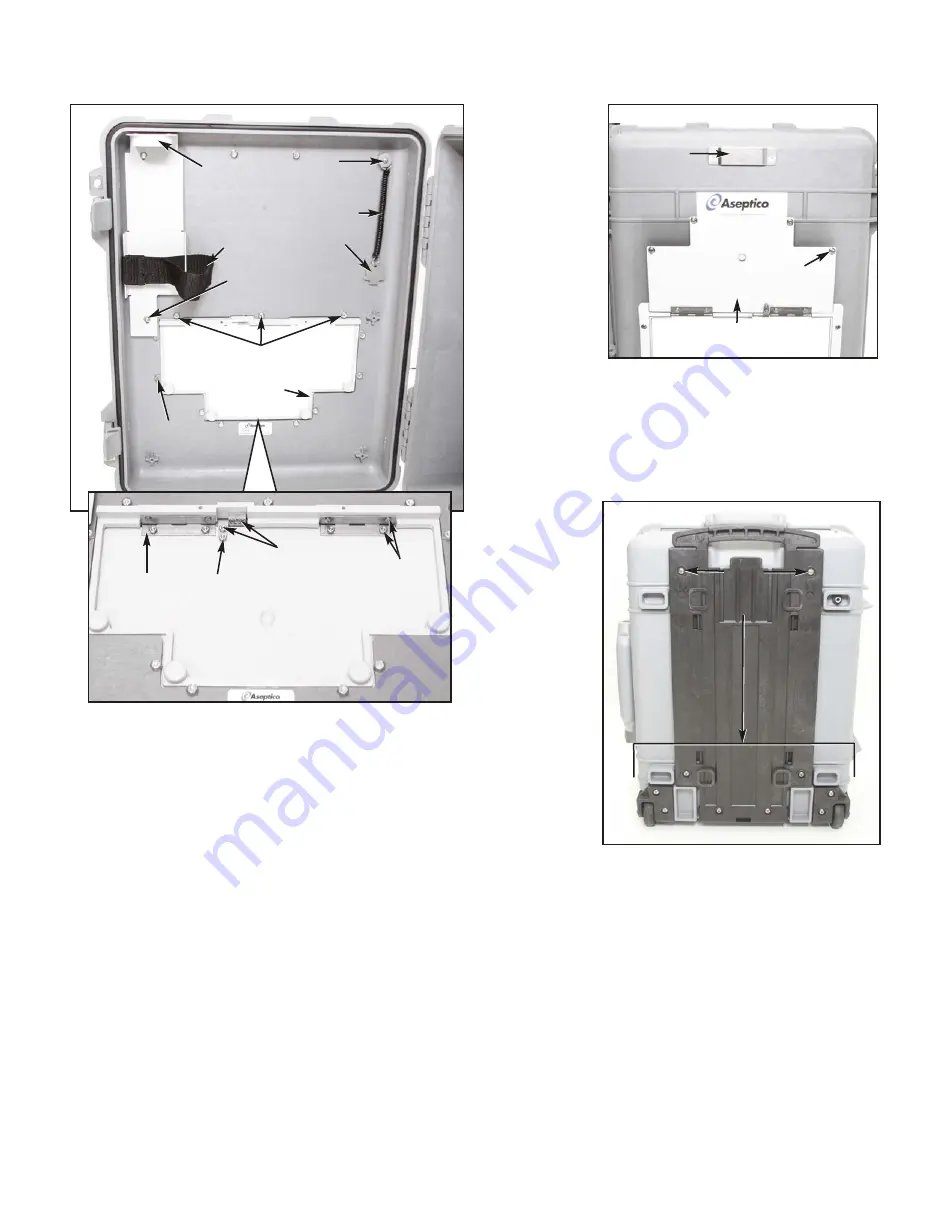
reassembly later. Locate the Waste Tank Bracket (PN
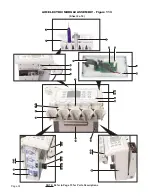
462105) on the outboard side of the Lid (Fig. 110). Use an
3/8" open-end or box wrench to remove the two Screws (PN
510124) and flat Washers (PN 510356) that attach the
Bracket to the Lid. Place Bracket aside for reassembly later.
The
Case
Handle
and
Wheels
are
integrated into
the 525CF Case
Assembly (PN
41021-08). Both
components can
be
detached
from the Case if
necessary: use
a large (#3)
Phillips screw-
driver to remove
the ten Screws
that mount the
Handle
and
Wheels to the
Case.
THIS COMPLETES THE DISASSEMBLY PROCEDURE
FOR THE AEU-525CF TRANSPORT III SYSTEM.
REASSEMBLY:
To reassemble the AEU-525CF System, follow the above
instructions in the reverse order.
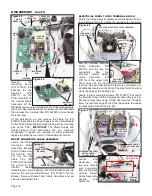
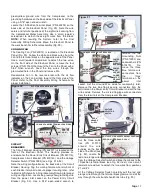
ALL TUBING
Refer to the plumbing diagram in Drawing Set, PN
420991, for the approximate length and part number of
the tube to be replaced.
ALL WIRING
Refer to the electrical schematic in Drawing Set, PN
420991, for the proper size and length of the wire to be
replaced
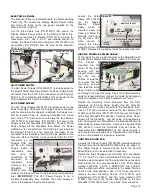
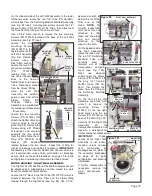
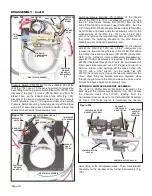
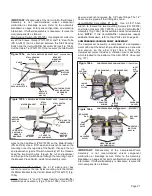
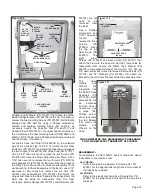
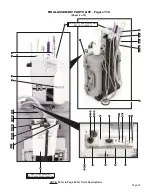
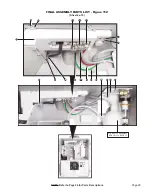
510655) and Washers (PN 510431) that attach the Water
Bottle Storage Bracket (PN 462109) to the Lid. If necessary,
remove the two mounting Screws (PN 510533) for the Bottle
Storage Cap (PN 462110), using a Phillips screwdriver.
Detach and replace Holding Strap (PN 462144) as
necessary. Locate the Fastener Tool (PN 462137) and
Coiled Tether (PN 520102) in the upper right-hand corner of
the Lid. Remove the Tool mounting Screw (PN 510655) and
Washer (PN 510445) with a Phillips screwdriver and detach
Tool from Case, if necessary.
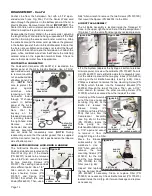
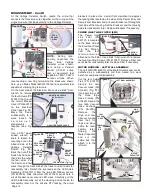
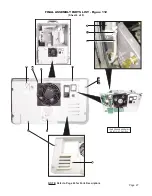
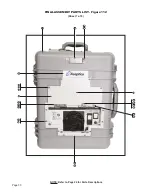
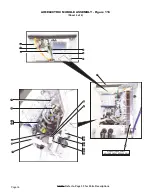
Locate the Case Vent Door (PN 462004) on the outboard
side of the Lid (see Figs. 109 & 110). Unlock the four Door
Fasteners (PN 510772) and swing the Door open to expose
the two Hinges (PN 462005) and Hinge Stop (PN 510777).
Use a 3/32" Allen wrench to remove the two Screws (PN
510579) that mount the Hinge Stop to the door frame. Use a
1/16" Allen wrench to remove the four Screws (PN 510016)
and Lockwashers (PN 510433) that mount the two Hinges to
the Door Frame. Move the Vent Door subassembly to the
work bench for further disassembly. At the bench, use a 1/4"
open-end or box wrench to remove the six Nuts (PN
510434) and Lockwashers (PN 510433) that attach the
Hinges and Stop to the Door. Separate the Hinges from the
Door and set aside for reassembly later. The Door
Fasteners, Ejector Springs (PN 510775), and Retainers (PN
BRACKET
MTG HARDWARE
(X2)
Figure 109
CAP FOR
BOTTLE
STORAGE
TOOL
MTG HARDWARE
WATER
BOTTLE
STORAGE
BRACKET
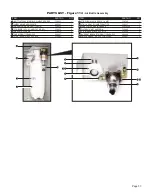
Figure 111
BOTTLE
HOLDING
STRAP
FASTENER
TOOL
w/TETHER
DOOR FRAME
CASE VENT DOOR
(CLOSED)
DOOR
HINGE
(X2)
DOOR
HINGE
STOP
DOOR FRAME
MTG HARDWARE
(X8)
DOOR FRAME (TOP)
MTG HARDWARE (X3)
DOOR
HINGE
MTG
HARDWARE
HINGE STOP
MTG HARDWARE
CASE VENT DOOR
(OPEN)
Figure 110
DOOR FASTENER
(X4)
WASTE TANK
BRACKET
CASE
HANDLE & WHEELS
MTG HARDWARE
(X10)


