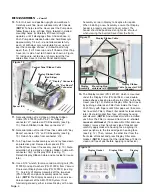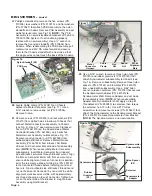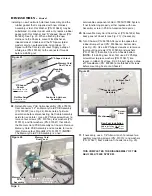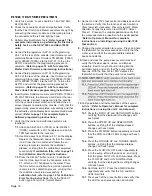
Page 12
NOTE:
This section provides troubleshooting
procedures for the “Calibration Failed !” error message
which displays if the AEU-7000L/7000E motor fails
during the handpiece “Free Run” calibration test (refer
to Operation Manual for complete handpiece
calibration instructions). This information will help
determine if the source of the problem is in the motor,
handpiece, or the unit console.
1.
Turn AEU-7000L/7000E unit ‘On’. The Startup screen
will appear.
2.
Preselect ratio of the handpiece using the Ratio
Up/Down buttons on the console keypad.
3.
Press ‘CAL’ button to enter the calibration test. A
prompt will instruct the user to install the handpiece
onto the motor. Insert a dynamometer adapter, bur, or
bit into the handpiece. Press “Next”. The System will
automatically run the handpiece through the “Free
Run” test on either increaser or reduction type
handpieces. The message “Free Run In Progress /
Please Wait...” will display
4.
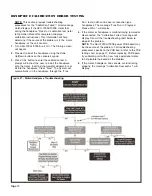
If the motor or handpiece is malfunctioning, jammed or
disconnected, the “Calibration Failed ! message will
display. Consult the troubleshooting chart below to
pinpoint the problem.
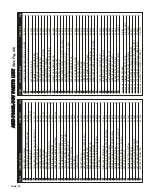
NOTE:
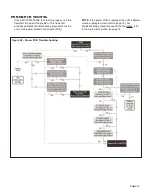
The AEU-7000L/7000E power PCB board may
be the source of the problem. For troubleshooting
procedures specific to the PCB board, refer to the PCB
testing chart on page 13. Before replacing PCB board,
try calibrating unit with a new, fully operational motor,
to help isolate the board as the problem.
6.
If the motor, handpiece, and console are functioning
properly, the message “Calibration Successful !” will
display.
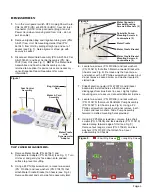
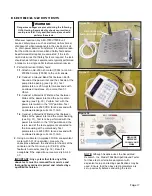
Figure 27 - Motor/Handpiece Troubleshooting
HANDPIECE CALIBRATION ERROR TESTING

