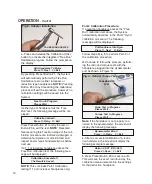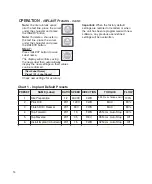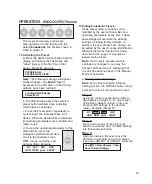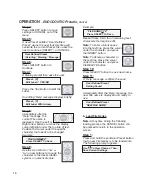
9
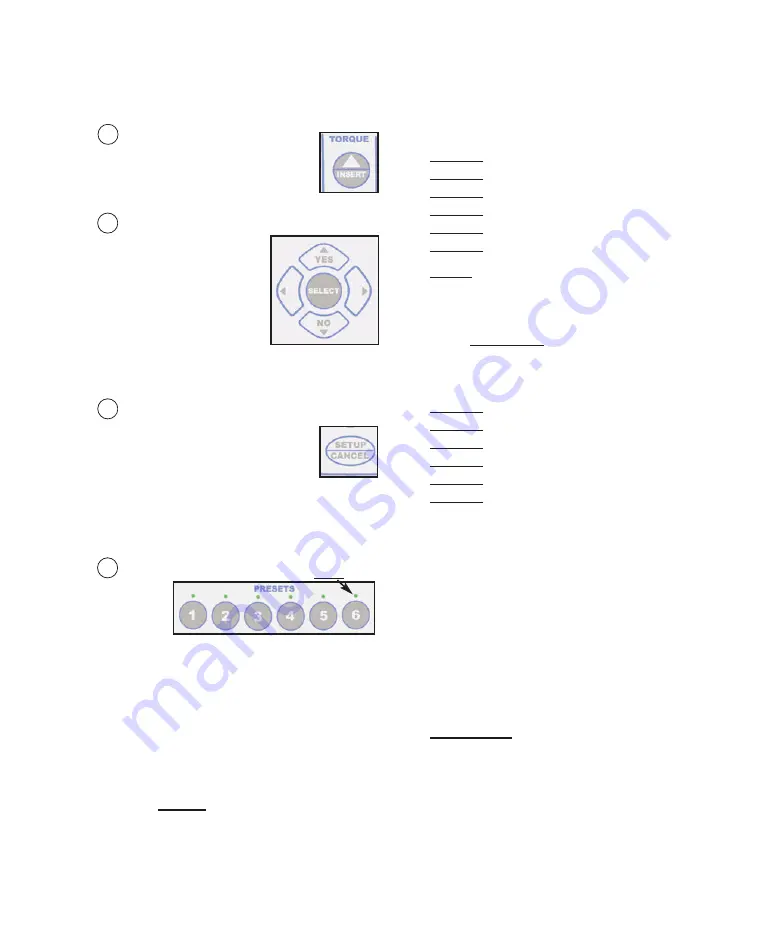
12 INSERT:
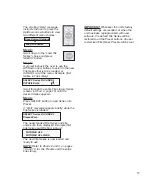
Allows user to enter a blank
space into characters when
editing the Preset button
settings on the display.
13 Display Edit & Navigation:
Allows user to navigate
through text characters
when modifying presets.
SELECT button saves
reconfigured settings.
YES/NO buttons allow
user to interact with
visual prompts on the display (refer to
advanced editing functions on pages 13
and 15 for more information).
14 SETUP / CANCEL:
SETUP
enables the System’s
setup menu. Allows the user to
select/configure setup options
via prompts from the display
(see “System Setup” Section on page 20
for complete setup instructions).
CANCEL
exits the menu item without
changing setup settings (= Escape).
15 PRESETS 1 - 6:
Allows
the user
to store
and
quickly access up to 6 different
Implant
or
Endodontic
configurations. Each preset
can be reprogrammed by the user with
different
Implant/Endo
operating
parameters and File Series (
Endo
Mode
only). When a preset button is pressed, its
“Label” (name and settings) are
automatically displayed. Green LEDs
indicate which preset is active.
a.
For
Implant
applications, Preset buttons
1 - 6 are preprogammed at the factory for
the following procedures:
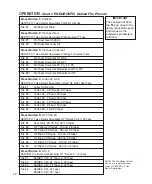
Preset 1 - Site Preparation
Preset 2 - Pilot Drill
Preset 3 - Finish Drill / Reamer
Preset 4 - Tap Forward
Preset 5 - Reverse Tap
Preset 6 - Install Implant /Abutment
NOTE:
Refer to
Implant Preset Section
on page 13, and Chart 1 on page 14, for
complete Preset editing instructions and
operating parameters.
b.
For
Endodontic
applications, Preset
buttons 1 - 6 are preprogammed with the
following DENTSPLY Tulsa Dental
Specialties File Series*:
Preset 1:
Pathfile® Files
Preset 2:
ProTaper Next™ Files
Preset 3:
ProTaper® Universal Files
Preset 4:
VORTEX® 04 & 06 Taper Files
Preset 5:
GT® Series 20, 30, 40 Files
Preset 6:
GT® Series X™ (4) Files
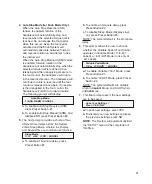
Press desired Preset button once to select.
(
NOTE:
The message “Loading Default
Series” will appear briefly whenever any
Endo
Preset is accessed for the first time,
or after factory defaults have been restored.)
Then press the button repeatedly to cycle
through all the files in Files Series. Use
Up/Down arrow buttons to view operating
parameters for the specific File displayed.
NOTE:
Refer to
Endo Preset Section
on
page 15 for complete Preset editing
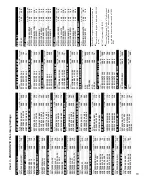
instructions. See Charts 2 and 3, pages 18
& 19, for File Presets and File Library.
IMPORTANT:
The above default Preset
settings will be restored whenever the
unit’s factory default settings are recalled
or when the unit has been reprogrammed
with new software. All user customized
presets will be lost.
*
The File Series listed above are registered
trademarks of DENTSPLY Tulsa Dental Specialties.
(Note: Green LEDs
indicate active Preset.)
Summary of Contents for AEU-7000E
Page 31: ...29 NOTES...

