13
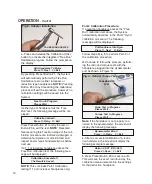
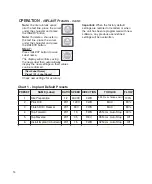
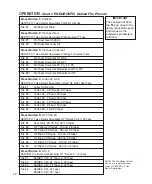
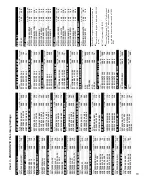
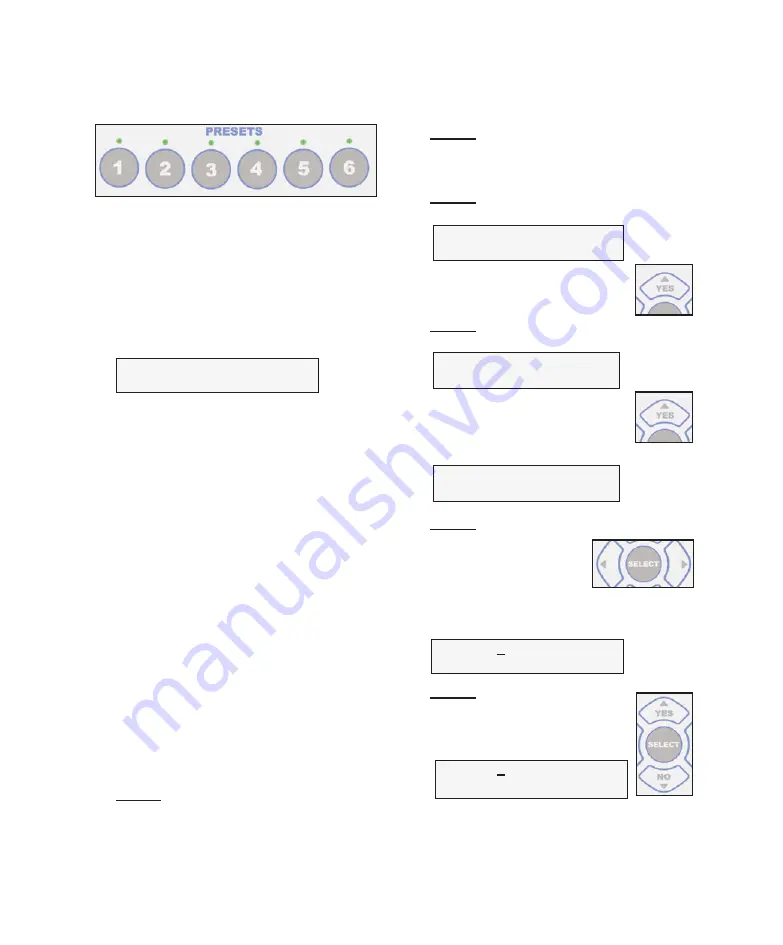
The six preset memory buttons are
preprogrammed at the factory with the
default
Implant Presets
shown in Chart 1,
page 14.
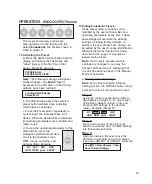
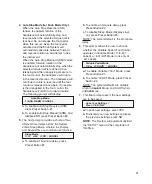
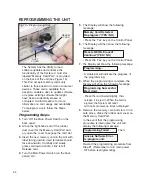
10.Activating the Preset:
a.
Press the desired preset button and the
display will indicate the “Label” (name) and
preset number as shown in the example
below:
SITE PREPARATION
Preset 1
b. The display will then show the System
operating parameters for that preset. The
LED located above the preset button will
illuminate, indicating which preset is
activated and ready to use.
Note:
If a Preset is activated and its
settings are changed in any way, the
Preset’s LED will turn off, signifying that
the unit has switched back to the Manual
Mode of operation.
11.Editing Implant Presets:
All six preset memory buttons can be
edited by the user with new settings, at
any time. These new settings will overwrite
the existing settings, including factory
defaults. In addition, the “Labels” (names)
for each of the presets can be edited by
the user for easy identification.
Note:
At any time during the following
editing process, the CANCEL button can be
pressed to return to the operation screen
without saving changes.
Step 1:
Adjust each of the Ratio, Speed, Torque,
Flow, Rotation Direction, and Pump On/Off
settings to the desired values via the
control panel buttons (refer to descriptions
on pages 6 - 9).
Step 2:
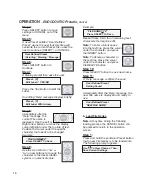
Press and hold any of the Preset buttons
1 through 6, to save the new, modified
settings into that particular button.
Step 3:
A display prompt then asks the user:
Preset - (X)
Save Settings? YES/NO
Press the ‘Yes’ Button to confirm
the save.
Step 4:
A display prompt then asks the user:
Preset - (X)
Edit Label? YES/NO
Press the ‘Yes’ Button to edit the
Label.
An editing “Help” message displays briefly:
Preset - (X)
Edit Label With Arrows
Step 5:
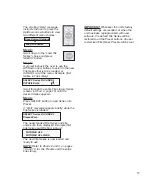
Use the Left or Right
arrow buttons to move the
display cursor left/right
under the top line of text
characters.
Position the cursor under the specific
character that needs to be changed:
“NAME X”
Press SELECT To Save
Step 6:
Use the Up or Down
(“Yes” or
“No”)
arrow buttons to change the
character to the desired letter,
symbol, or numerical value:
“NAME Y”
Press SELECT To Save
Repeat Steps 5 & 6 above for all remaining
text characters that require edits.
OPERATION
-
IMPLANT Presets
:
Summary of Contents for AEU-7000E
Page 31: ...29 NOTES...

