6
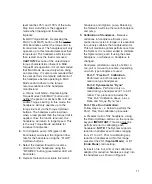
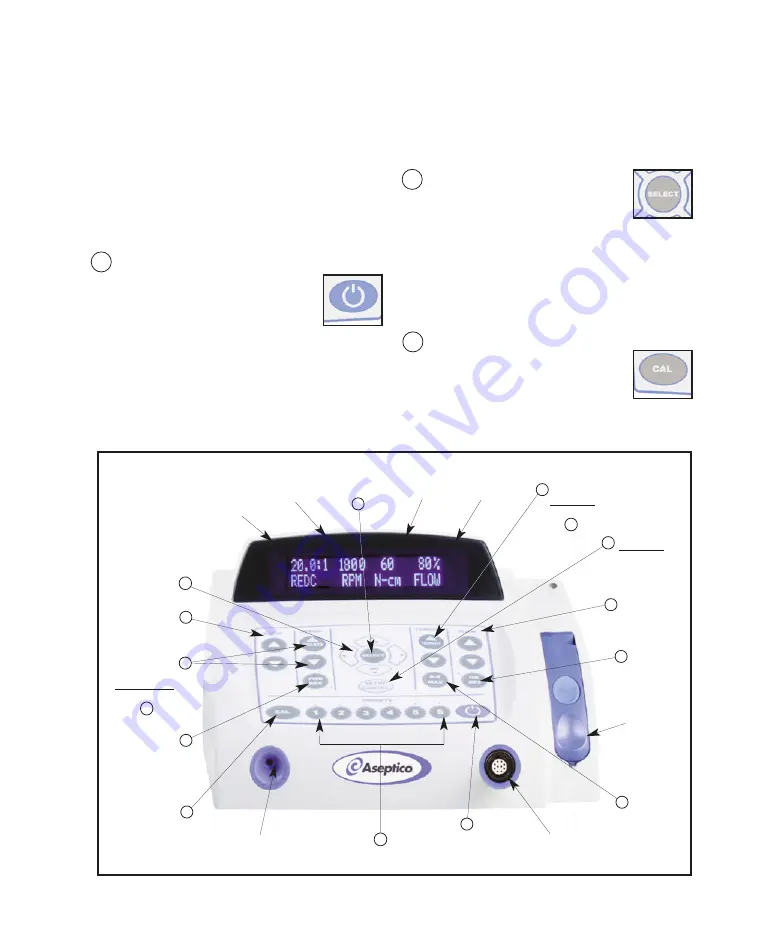
CONTROL PANEL FUNCTIONS:
1. Main Power Switch:
Located on back of console (see Figure 2).
Controls main power On/Off to the console.
The System will initialize with Implant
Preset-1 active when: unit is first turned On;
after factory settings are recalled; or, after
reprogramming the unit with memory card.
2 Control Panel ‘Standby’ Button:
Turns control panel on and off.
Reactivates System from Sleep
Mode.
a.
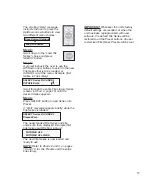
Press the Standby button to turn console
key pad and display On or Off. When
console is turned On, display should light up
and show the default startup screen. If the
console was turned Off using the Standby
button, or if the unit has entered Sleep
Mode, press the Standby button again or
press the foot pedal to wake up the System
and return it to the last state used.
3 Mode Select Button:
Selects
Implant
or
Endodontic
modes of operation. Also used
during Setup to SELECT menu options.
a.
Press SELECT button. The System will
toggle between
Implant
or
Endodontic
modes and briefly display a message
announcing the change. Button also used
to SELECT features/functions during Setup.
4 Calibration (CAL):
Activates the Integrated
Calibration and Dynamometer
Program. Allows user to calibrate
the System to match the characteristics of
the handpiece being used.
HANDPIECE
RATIO
SELECTOR
MOTOR
RECEPTACLE
FLOW
DISPLAY
TORQUE
DISPLAY
RPM
DISPLAY
PUMP
ON/OFF
ADJUST
PUMP FLOW
FORWARD/
REVERSE
SELECTOR
HANDPIECE
RATIO INDICATOR
DYNAMOMETER
PORT
Fig.6 - Console Control Panel
SPEED
INCREASE/
DECREASE
DELETE
PUMP
DOOR
CALIBRATE
HANDPIECE
PRESETS
CONTROL
PANEL
‘STANDBY’
DISPLAY TEXT
EDITING &
NAVIGATION
BUTTONS
SYSTEM
SETUP
CANCEL
TORQUE
AUTO-STOP/
MAXIMUM/
LIMIT
TORQUE
ADJUST
INSERT
2
4
5
6
7
8
9
10
11
12
13
14
10
15
MODE
SELECT
3
Summary of Contents for AEU-7000E
Page 31: ...29 NOTES...

