7
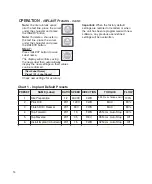
5 Handpiece Ratio Selector:
Allows user to select ratio of hand-
piece. Ensures accurate display of
speed and torque levels.
a.
Press the handpiece Ratio
selector Up/Down buttons until
the Handpiece Ratio Indicator
matches the ratio indicated on the
handpiece being used. The available ratios
are 20:1, 1:1, 1:2, 1:3 and 1:5 in the
Implant
mode, and 8:1, 1:1, 1:2, 1:3 and 1:5 in the
Endo
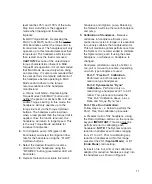
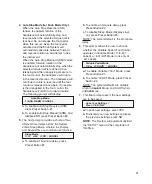
mode. The relative speed ranges with
a 40K motor are shown in Figure 7.
Note:
Prior to calibrating a handpiece on the
System, the user must preselect the ratio of
the handpiece via the Ratio Up/Down
buttons. The System can then perform a
“Free-Run” calibration on both increaser and
reduction handpieces, then a dynamometer
(“Dyno”) calibration on reduction handpieces
only, with ratios of 4:1 to 16:1 in
Endo
, and
16:1 to 32:1 in
Implant
. The “Dyno”
calibration includes a ratio and torque test.
After completing the “Dyno” calibration on a
reduction handpiece, the System will
automatically set the precise handpiece ratio
found during these calibration measurements.
For example, after calibrating a 20:1
handpiece and saving the results, the display
will add a decimal to the ratio indicator (ex:
SPEED RANGES
20:1 15 - 2,000
RPM
8:1
*
38 - 5,000
RPM
1:1
**
300 - 40,000
RPM
1:2 2,000 - 80,000 RPM
1:3 3,000 - 120,000 RPM
1:5 5,000 - 200,000 RPM
“20:1”, to “20.7:1”), indicating the precise ratio
measured. This also serves as an indicator
that the handpiece has been calibrated.
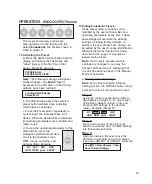
6 Speed:
Allows user to select desired
speed (RPM) for
motor/handpiece.
a.
Press the Speed Up button to
increase speed or the Speed
Down button to decrease speed.
Note:
For display accuracy, the Ratio
Selector must exactly match the ratio of
the handpiece being used. The System will
do this automatically after calibration. In
some cases after calibration, the ratio
displayed will differ from the handpiece
rating, indicating the handpiece’s actual
characteristics.
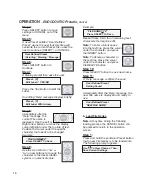
7 Forward/Reverse (FWD/REV)
:
Sets the rotational direction of
the handpiece.
a.
The green LED next to the
FWD/REV button illuminates when forward
rotation is selected. The amber LED
indicates reverse rotation. When the
Reverse Tone feature is activated (ref.
Setup Option No. 3, page 20), an audible
beep will also indicate reverse rotation.
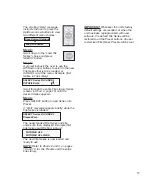
8 Torque Adjustment:
Allows the user to select torque
limits in Newton•centimeter
increments in
Implant
Mode, and
gram-centimeter in
Endo
Mode.
a.
Press the Torque Adjustment
Up/Down buttons until the
desired torque level is indicated
on the Display.
Note:
This feature is not
available when in “MAX” Mode - see
paragraph 9 , page 8 for details.
Fig.7
* 38 - 1,300 RPM if Endo ASR active.
** 300 - 10,000 RPM if Endo ASR active,
and 1,000 - 40,000 in Implant Mode.
Summary of Contents for AEU-7000E
Page 31: ...29 NOTES...

