6
NOTE:
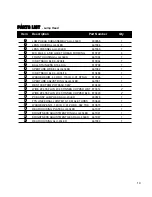
The Lens Cover, Color Filter,
Fresnel lens, Vertical Stand, Fuses, and
Power Cords are the only user replace-
able parts on the ALU-40LED Lamp. All
other Lamp components, such as the
LED Assembly, Power Supply, and Boom
Assembly are not field serviceable and
must be returned to Aseptico if repairs are
required.
1.
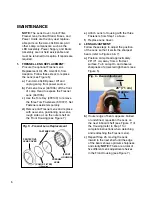
FRESNEL LENS REPLACEMENT:
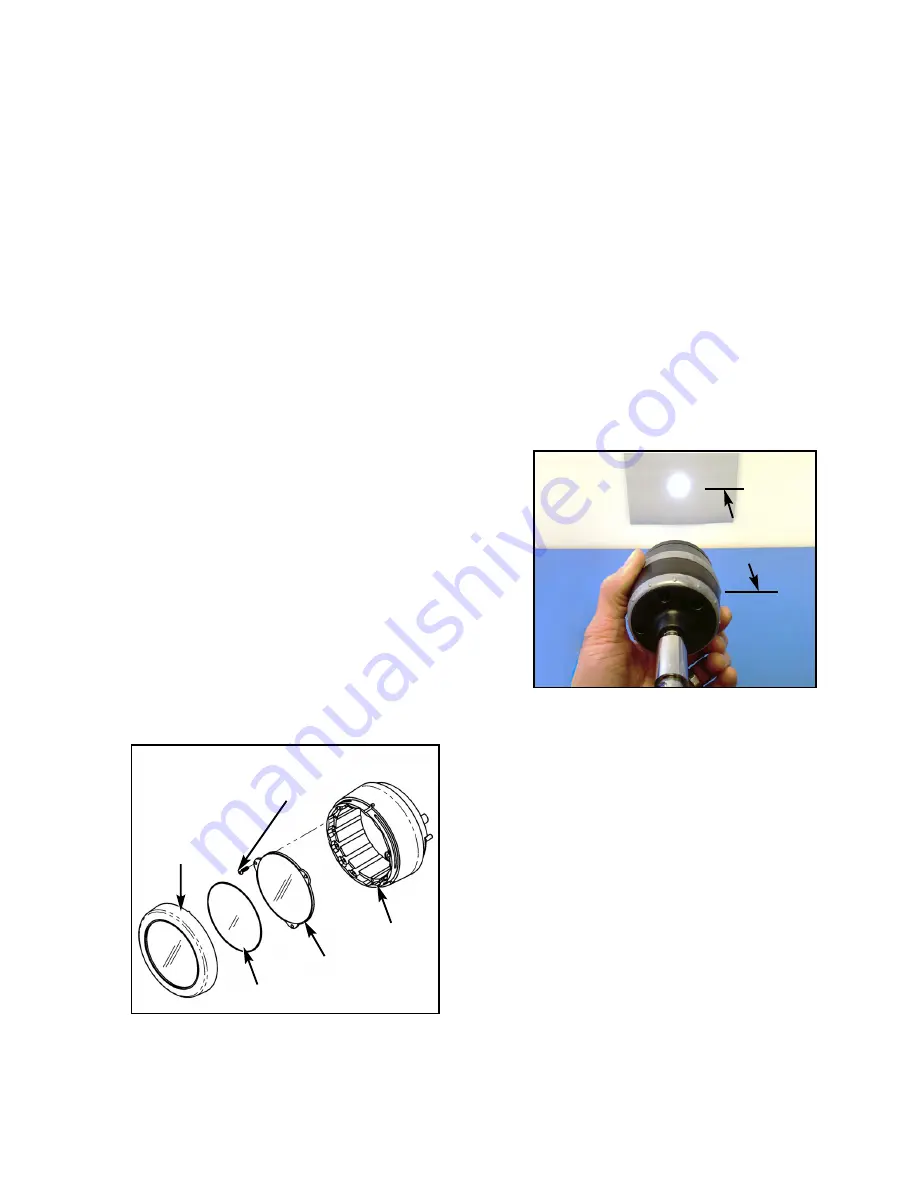
Procure the optional Fresnel Lens
Replacement Kit, PN: AA-40LK, from
Aseptico. Follow these steps to replace
the Lens (see Figure 5):
a)
Turn ALU-40LED power Off and
unplug Lamp from power source.
b)
Pull Lens Cover (461936) off the front
of Lamp Head to expose the Fresnel
Lens (461935).
c)
Use the Torx Key (490140) to remove
the three Torx Fasteners (510727). Set
Fasteners aside temporarily.
d)
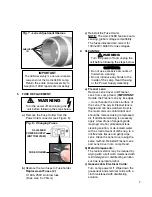
Remove old Fresnel Lens and replace
with new Lens, positioning new Lens,
rough side out, on the outer shelf on
the Front Housing (see Figure 7).
e)
Attach Lens to Housing with the three
Fasteners from Step 1c above.
f)
Replace Lens Cover.
2.
LENS ADJUSTMENT:
Follow these steps to adjust the position
of the Lens so that it emits the sharpest
beam (refer to Figures 6 & 7):
a)
Position Lamp Head approximately
28" (71 cm) away from a flat test
surface. Turn Lamp On and observe
sharpness of projected light beam (see
Figure 5).
b)
If outer edge of beam appears blurred
or undefined, reposition the Lens on
the next inboard shelf (see Figure 7) of
the Housing (refer to Step 1 for
complete instructions when detaching
and reattaching the Fresnel Lens).
c)
Repeat Step 2b, moving the Lens
inward to the next shelf until the edge
of the beam shows optimum sharpness
and clarity.
NOTE:
There are a total of
five different Lens adjustment shelves
in the Front Housing (see Figure 7).
MAINTENANCE
Fig. 6 - Beam Adjustment
28" (71 cm)
Approx
.
Fig. 5 - Fresnel Lens Replacement
PROTECTIVE
LENS COVER
FRESNEL
LENS
(FRONT
HOUSING)
FASTENER (X3)
(COLOR FILTER)
- If Required -

