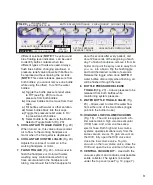
11.
button repeatedly until the word "
ENDO
"
appears in the Motor Direction window.
Next, select the desired Torque level using
the UP/Down Torque buttons. The unit is
then ready to operate in ENDO mode - the
rotation of the handpiece will automatically
alternate between forward and reverse
when the selected torque is reached (in
order to free the instrument).
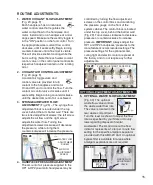
7)
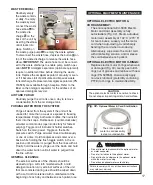
Press and release the
ILLUMINATION
button to
turn the handpiece LED
On/Off. To activate the
handpiece and LED, remove the
handpiece from its holder, turn the
Illumination button 'On', and press the foot
pedal to operate the motor. When the foot
pedal is released and the motor has
stopped, the light will turn off after
approximately 20 seconds.
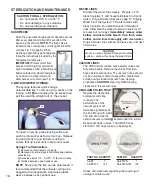
Press and hold the Illumination button for
three seconds to enter the LED intensity
adjustment mode. When in this mode, press
the Torque Up/Down buttons to select the
desired illumination in 10% increments, from
10% to 100%. The handpiece LED will
automatically turn on and change intensity
4)
Press the
TORQUE
Up/Down buttons to
select the
desired
operating
torque
percentage.
5)
Press
MOTOR DIRECTION
button
repeatedly to cycle
through and select the
Forward (FWD) or
Reverse (REV) settings. An audible tone
indicates reverse direction.
6)
To switch the electric
motor to Endodontic
operating mode, first
select the 8:1 handpiece
ratio, then press the
MOTOR DIRECTION
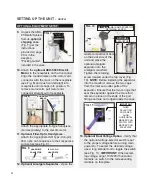
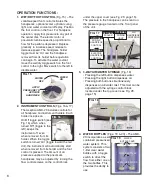
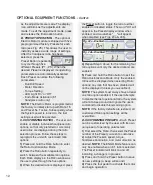
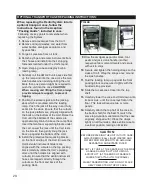
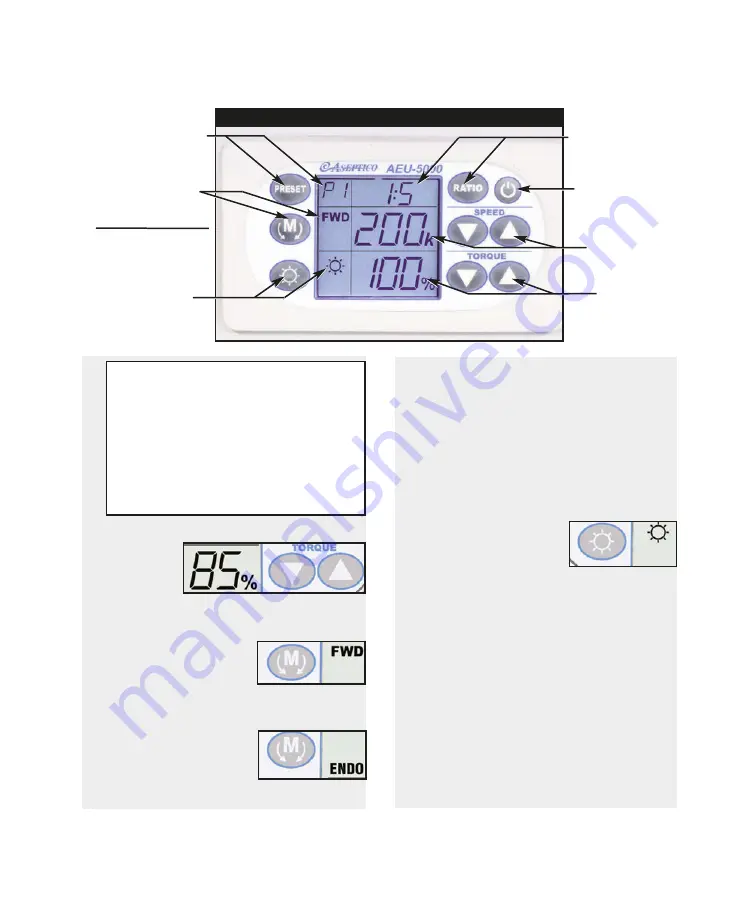
Fig. 22 - Optional Electric Motor Control Panel
ILLUMINATION
ADJUSTMENT
w/DISPLAY
SPEED (RPM)
SELECTOR
w/DISPLAY
MOTOR DIRECTION
(FWD/REV) SELECTOR
w/DISPLAY
TORQUE
SELECTOR
w/DISPLAY
PRESET SELECTOR
w/DISPLAY
HANDPIECE RATIO
SELECTOR
w/DISPLAY
CONTROL PANEL
STANDBY
BUTTON
ENDODONTIC MODE
(ENDO) SELECTOR
w/DISPLAY
Fig. 23 - Electric Motor Speed Ranges
1:5 10,000 - 200,000 RPM
1:2
4,000 - 80,000
RPM
1:1
2,000 - 40,000
RPM
5:1
400 - 8,000
RPM
8:1*
280 - 5,000
RPM
*280 - 1250 RPM in ENDO Mode

