UNIT OPERATION:
1
.
Handpieces
(sold separately)
- Connect
the proper highspeed and lowspeed
handpieces to their appropriate connector.
Switch the handpiece selector toggle to
the desired handpiece. Depress foot
control for operation.
2. 3-Way Air/Water Syringe
- Depress the
right button for air operation, and the left
button for water operation. Depressing
both buttons will create a mist. The syringe
features quick-change autoclavable tips:
To remove a tip, press on the locking ring
surrounding the tip socket and pull the
used tip straight out of the socket (Fig. 4).
To insert a new tip, press locking ring and
push tip into socket as far as it will go.
Release ring and gently tug on tip before
using to ensure that tip is securely locked
into socket.
Syringe Tip Sterilization:
1)
Remove contaminated syringe tip.
2)
Remove all visible signs of
contamination before autoclaving.
3)
Autoclave tip at 132° C (270° F) for ten
minutes.
4)
Sterilize between each patient use.
NOTE
: Since only the tips can be
autoclaved, it is recommended that the
air/water syringe be bagged with a
disposable, single-use plastic sleeve
between each patient use.
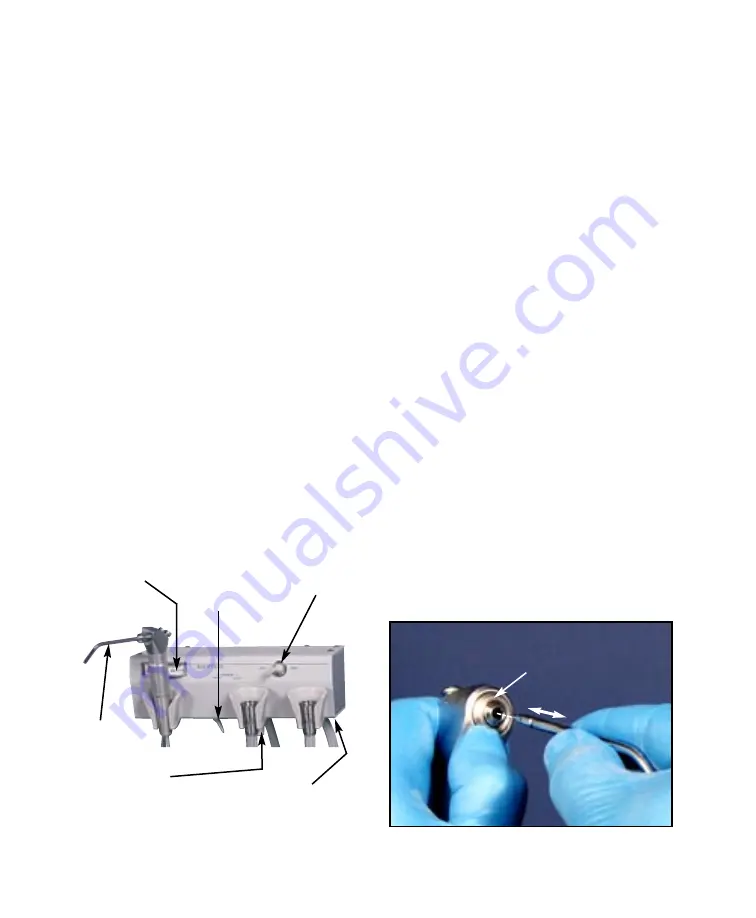
OPERATION FUNCTIONS:
(See Figure 3)
1
.
Handpiece Selector
- Selects highspeed
(HP1) or lowspeed (HP2) handpiece
operation.
4. Pressure Guage
- Provides visual
indication of drive air pressure for the
handpiece in use.
5. Drive Air Pressure Control
- Adjusts
drive air pressure to the highspeed and
lowspeed handpieces.
7. Air/Water Syringe
- Delivers air, water, or
a combination mist. Supplied with
autoclavable tips.
3. Water Flow Control
- Adjusts water
coolant flow to the highspeed handpiece.
2. Water On/Off Toggle
- Controls on/off
flow of water coolant to the highspeed
handpiece.
6. Foot Control
(not shown)
- Controls drive
air pressure to the active handpiece. Apply
light foot pressure to any part of the foot
control cover.
PRESSURE
GUAGE
HANDPIECE
SELECTOR
WATER
ON/OFF
TOGGLE
WATER
FLOW
CONTROL
DRIVE AIR
PRESSURE CONTROL
(Underneath Console)
AIR/WATER
SYRINGE
Figure 3 - Console
Figure 4 - Tip Removal & Installation
DEPRESS
LOCKING RING


