ASI DOORS, INC.
(800) 558-7068
asidoors.com
65
209
INS
TALL
ATION
Installation
•
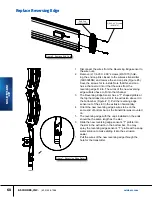
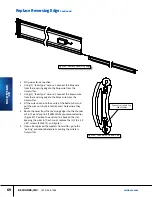
If you are replacing a reversing edge, it is necessary to
remove the bottom bar assembly from the curtain
• If you are replacing only the wireless transmitter, you can
do that without removing the bottom bar assembly from
the curtain Skip to the wireless transmitter section
• Replacing a wireless transmitter requires that you
perform the “pairing” procedure listed in this bulletin
Replacing a reversing edge only does not require
“pairing”
1. Use the “Up” button on the control to move door up
to a point where the bottom slat is at a good working
height.
2. Hit the “Stop” button on the control to stop door
motion. Use the disconnect lever on the control to
disconnect power to the door. Use proper “Lock-out”
“Tag-out” procedures to prevent power being restored
to the door while you are working on it.
Before You Start
Side Frame Extrusion
Covers
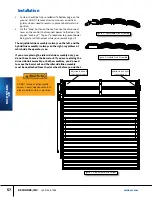
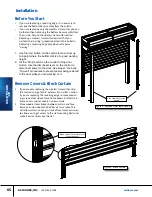
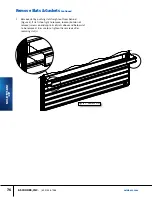
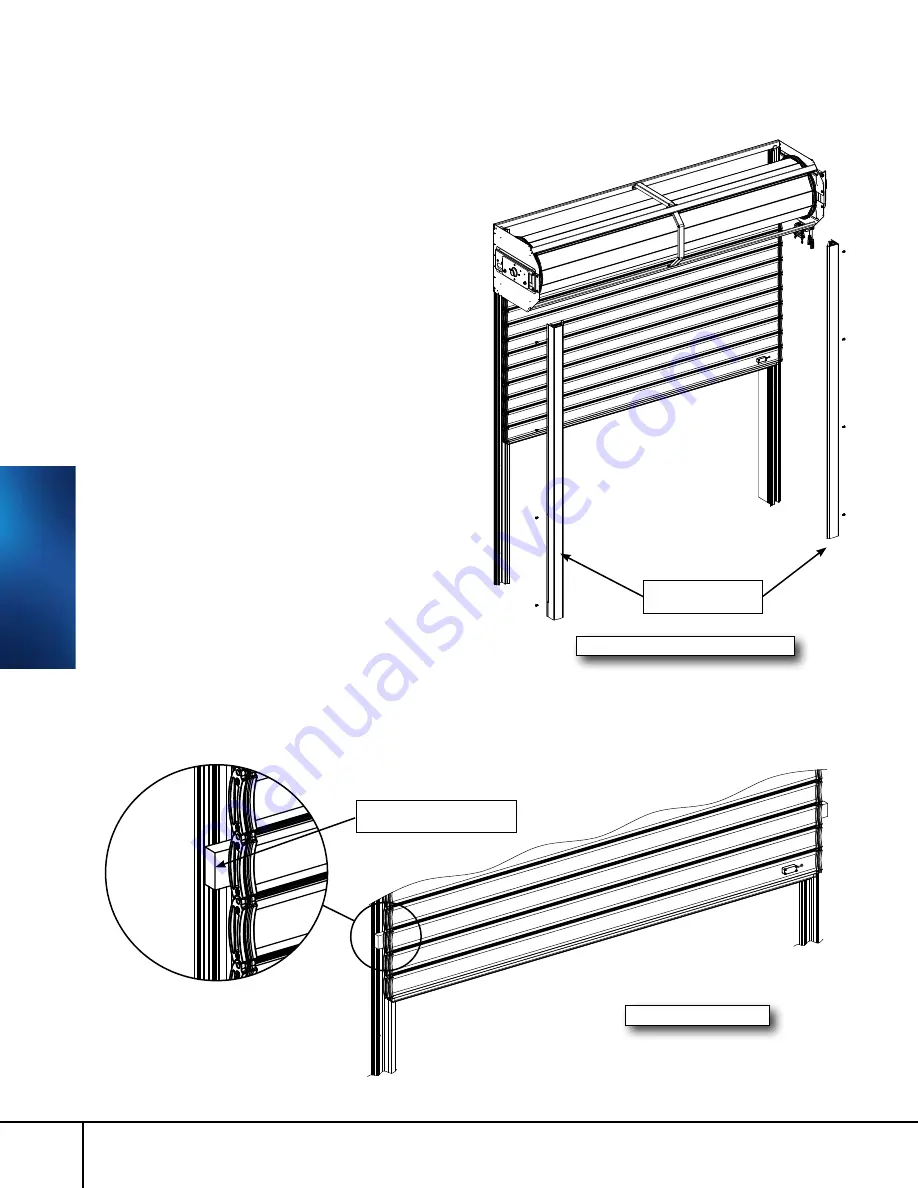
Figure 1: Remove Side Frame Covers
Figure 2: Block Curtain
Block curtain for easier access
to components
1 If you are only replacing the wireless transmitter, skip
this section and go to the “wireless transmitter’ section
If you are replacing the reversing edge, remove mount-
ing screws from sides of face frame covers Pull off face
frame covers and set covers & screws aside
2 Place wood or foam blocks between curtain and face
frame extrusion above the bottom slat assembly This
will allow curtain to hang in front of face frame extrusion
to allow you to get access to the slat mounting bolts and
make it easier to remove the slat
Remove Covers & Block Curtain

