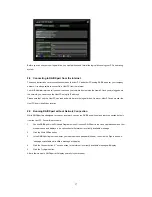
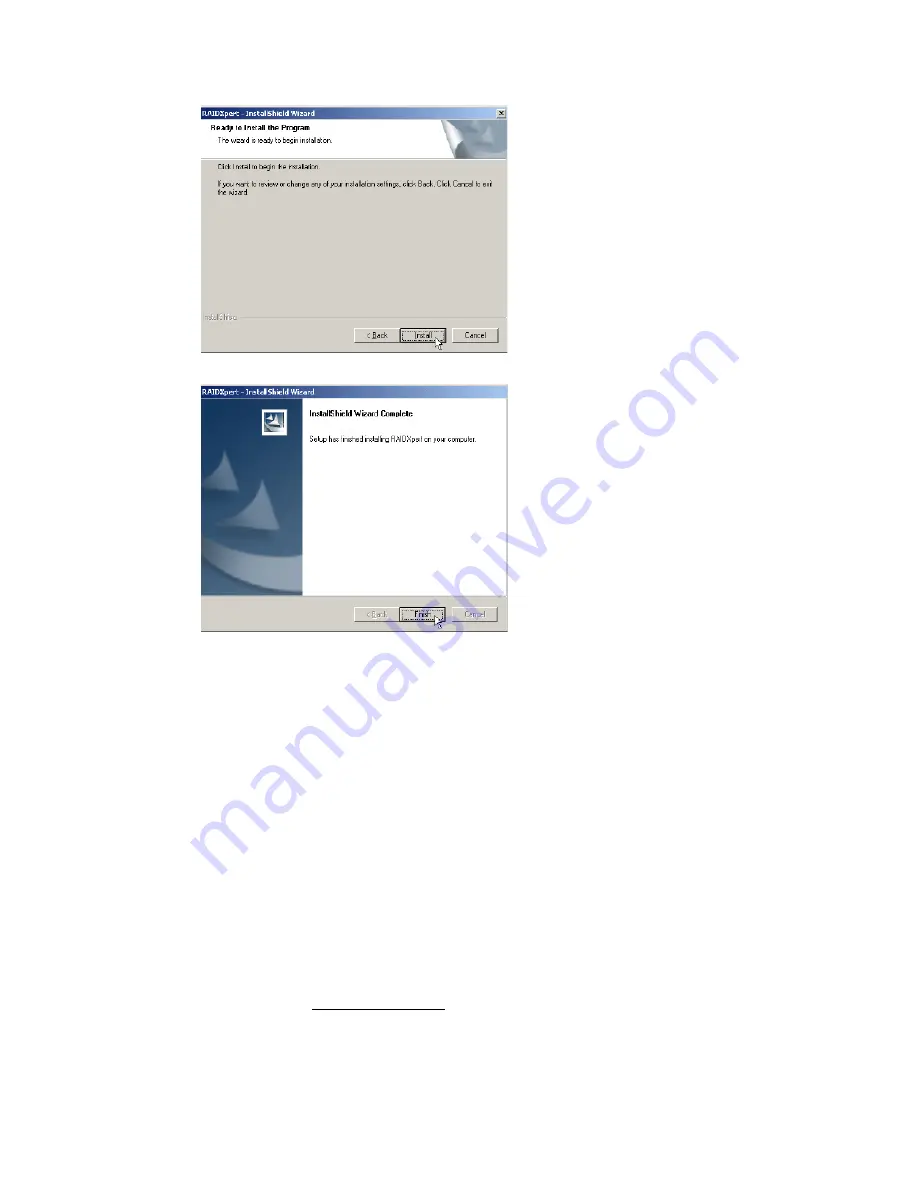
background image


13


12. 

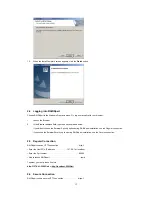
When the Install Complete screen appears, click the 

Finish 

button. 


2.4  Logging into RAIDXpert 

Choose RAIDXpert in the Windows Programs menu. Or, log on manually with your browser: 

1.   

Launch the Browser. 

2.   

In the Browser address field, type the entry explained below. 

If you did 

not 

choose the External Security option during RAIDXpert installation, use the 

Regular 

connection. 

If you chose the External Security option during RAIDXpert installation, use the 

Secure 

connection. 


2.5 Regular 

Connection 

RAIDXpert uses an HTTP connection . . . . . . . . . . . . . . . . . . . .http:// 

• Enter the Host PC’s IP address . . . . . . . . . . . .127.0.0.1 or localhost 

• Enter the Port number . . . . . . . . . . . . . . . . . . . . . . . . . . . . . . :25902 

• Add to launch RAIDXpert. . . . . . . . . . . . . . . . . . . . . . . . . . . . . . /amd 

Together, your entry looks like this: 

http://127.0.0.1:25902/ati 

or 

http://localhost:25902/ati 


2.6 Secure 

Connection 

RAIDXpert uses a secure HTTP connection . . . . . . . . . . . . . .https:// 

Summary of Contents for 990FX Extreme9

Page 1: ...taTM VistaTM 64 bit With RAID Funtions 4 1 3 2 Installing Windows XP XP 64 bit With RAID Funtions 5 1 4 Create Disk Array 6 2 AMD Windows RAID Installation Guide 10 2 1 Components of RAIDXpert Installation Software 10 2 2 Browser Support 10 2 3 Installing RAIDXpert 10 2 4 Logging into RAIDXpert 13 2 5 Regular Connection 13 2 6 Secure Connection 13 2 7 Creating a New Logical Drive 14 2 8 Connecting...

Page 2: ...r rate WARNING Although RAID 0 function can improve the access performance it does not provide any fault tolerance Hot Plug any HDDs of the RAID 0 Disk will cause data damage or data loss RAID 1 Data Mirroring RAID 1 is called data mirroring that copies and maintains an identical image of data from one drive to a second drive It provides data protection and increases fault tolerance to the entire ...

Page 3: ...GB and the total storage capacity for this RAID 0 set is 120GB 2 You may use two new drives or use an existing drive and a new drive to create a RAID 1 mirroring array for data protection the new drive must be of the same size or larger than the existing drive If you use two drives of different sizes the smaller capacity hard disk will be the base storage size For example if one hard disk has an 8...

Page 4: ...t the ASRock Support CD into your optical drive to boot your system B During POST at the beginning of system boot up press F11 key and then a window for boot devices selection appears Please select CD ROM as the boot device C When you see the message on the screen Generate Serial ATA driver diskette YN press Y D Then you will see these messages Please insert a diskette into the floppy drive WARNIN...

Page 5: ...it 7 7 64 bit VistaTM VistaTM 64 bit on a RAID disk composed of 2 or more SATA3 HDDs with RAID functions please follow below steps STEP 1 Set up UEFI A Enter UEFI SETUP UTILITY Advanced screen Storage Configuration B Set the SATA Mode option to RAID STEP 2 Use RAID Installation Guide to set RAID configuration Before you start to configure RAID function you need to check this RAID installation guid...

Page 6: ...AID logical drives The RAID Option ROM Utility can perform these functions Monitoring RAID status Viewing physical drive assignments Secure erasing of all data on physical drives Creating RAID logical drives Creating multiple logical drives using the same physical drives Deleting RAID logical drives Diagnosing critical and offline RAID logical drives Displaying the IRQ and base address for system ...

Page 7: ...and RAID 10 WARNING While you are allowed to use any available RAID level for your bootable logical drive it is recommended to use RAID 1 for most applications Press the arrow key to move to Disk Assignments Press the spacebar to toggle between N and Y for each available drive Y means this disk drive will be assigned to the logical drive Assign the appropriate number of disk drives to your logical...

Page 8: ... drive for one logical drive Then please follow the steps below 1 Press Esc to exit to the Main Menu 2 Press Esc again to exit the Utility 3 Press Y to restart your computer You have successfully created a new RAID logical drive Please install the operating system to your computer by following the detailed instruction of the User Manual in our support CD or Quick Installation Guide Two Logical Dri...

Page 9: ...cities because a portion of their capacity belongs to the first logical drive In this example the disk drives in Channels 3 and 4 are not assigned to a logical drive 4 Press Ctrl Y to save your logical drive configuration 5 Press Esc to exit to the Main Menu Press Esc again to exit the Utility 6 Press Y to restart the computer You have successfully created a new RAID logical drive Please install t...

Page 10: ...t installation program installs a private JRE in folder _jvm under the same directory where RAIDXpert is installed RAIDXpert uses this private JRE to avoid incompatibility issues with any other JREs that may be present on your system 2 2 Browser Support On the Host PC with the AMD SB950 Controller where you install RAIDXpert you must have one of the following browsers Internet Explorer 6 0 Mozilla...

Page 11: ...Agreement screen appears click the I accept the terms of the license agreement option to proceed with installation Then click the Next button to continue Note If you leave the I do not accept the terms of the license option selected the installation will quit when you click Next ...

Page 12: ...lanation follows External SSL Security Applies security to all connections involving the Internet or outside your company firewall Security options are invisible to authorized users AMD provides a default certificate for the server as well as for internal data communication However in some cases it is better to install and verify your own certificate for the webserver And if possible verify your c...

Page 13: ... Security option during RAIDXpert installation use the Regular connection If you chose the External Security option during RAIDXpert installation use the Secure connection 2 5 Regular Connection RAIDXpert uses an HTTP connection http Enter the Host PC s IP address 127 0 0 1 or localhost Enter the Port number 25902 Add to launch RAIDXpert amd Together your entry looks like this http 127 0 0 1 25902...

Page 14: ...pears type admin in the Login ID field Type admin again in the Password field The RAIDXpert login and password are case sensitive Click the Sign in button After sign in the RAIDXpert opening screen appears 2 7 Creating a New Logical Drive A logical drive is a collection of physical drives in a RAID To create a new logical drive 1 Click Logical Drive View in Tree View 2 Click the Create tab in Mana...

Page 15: ... drives between two logical drives enter the capacity for the first logical drive in the Logical Drive Size field Or to use the maximum capacity of the physical drives check the Use Maximum Capacity box 7 Click the physical drives to select them Available drives have a black frame Selected drives have a red frame 8 Click the Next button The Assign a Name screen appears 9 Enter a name for the logic...

Page 16: ...on None No Boundary function 13 Select an Initialization policy from the dropdown menu Fast Initialization Erases the reserve and master boot sectors of the physical drives being added to the logical drive Full Initialization Erases all sectors of the physical drives being added to the logical drive RAID 0 1 and 5 only None No initialization This choice is not recommended 14 Click the Finish butto...

Page 17: ...nitor the Host PC from virtually any location 2 9 Running RAIDXpert without Network Connection While RAIDXpert was designed to run over a network you can run RAIDXpert without a network connection but only from the Host PC Follow this procedure 1 Choose RAIDXpert in the Windows Programs menu Or choose RAIDXpert in the Linux Applications menu Your browser opens and displays a no connection to the I...

Reviews: