


1 2 7
1 2 7
1 2 7
1 2 7
1 2 7
ASRock
ALiveDual-eSATA2
Motherboard
2.5 Setup de Jumpers
2.5 Setup de Jumpers
2.5 Setup de Jumpers
2.5 Setup de Jumpers
2.5 Setup de Jumpers
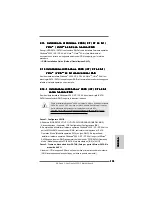
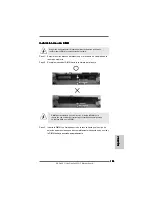
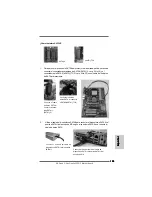
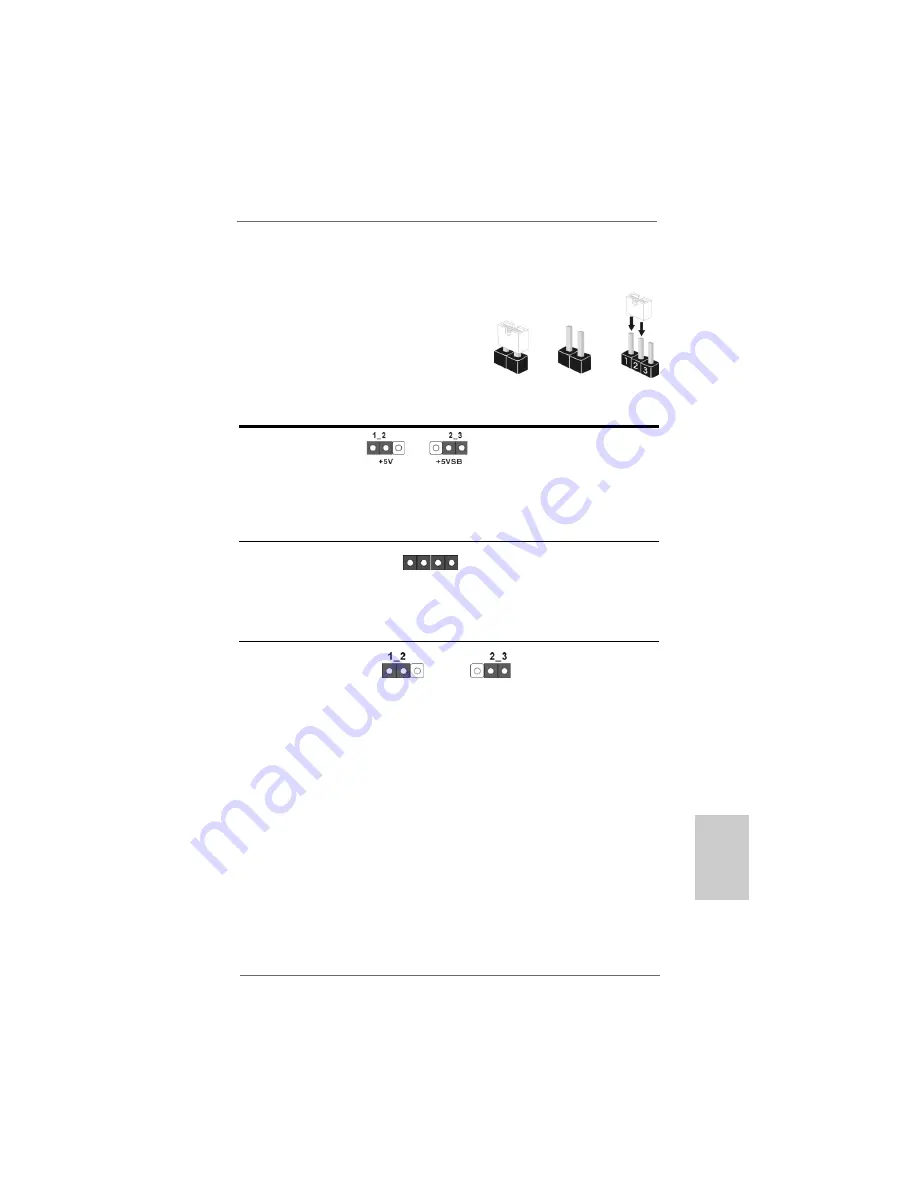
La ilustración muestra como los jumpers son
configurados. Cuando haya un jumper-cap
sobre los pins, se dice gue el jumper está
“Short”. No habiendo jumper cap sobre los pins,
el jumper está “Open”. La ilustración muesta
un jumper de 3 pins cuyo pin 1 y pin 2 están
“Short”.
Jumper
Setting
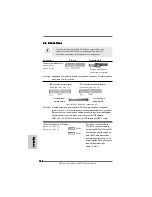
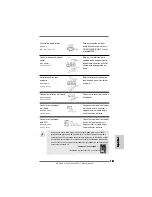
PS2_USB_PW1
Ponga en cortocircuito pin 2,
(vea p.2, No. 1)
pin 3 para hab5VSB
(standby) para PS/2 o USB
wake up events.
Atención: Para 5VSB, se necesita corriente mas que 2 Amp proveida por la
fuente de electricidad.
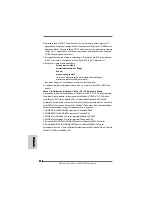
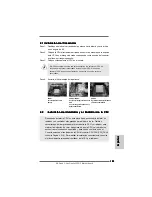
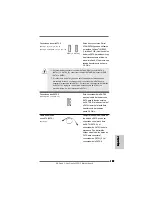
Jumpers JR1 JL1
(vea p.2, No. 26)
Atención: Si los jumpers JR1 y JL1 son cortos, los conectores de audio del panel
frontal y los del panel posterior podrán funcionar.
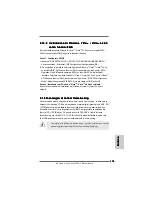
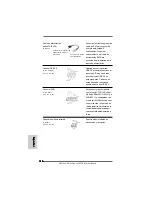
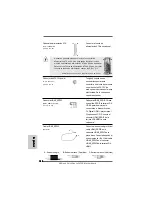
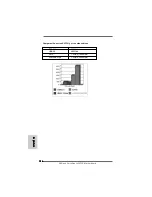
Limpiar CMOS
(CLRCMOS1, jumper de 3 pins)
(ver p.2, N. 16)
Atención: CLRCMOS1 permite que Usted limpie los datos en CMOS. Los datos en
CMOS incluyen informaciones de la configuración del sistema, tales como
la contraseña del sistema, fecha, tiempo, y parámetros de la configuración
del sistema. Para limpiar y reconfigurar los parametros del sistema a la
configuración de la fábrica, por favor apague el computador y desconecte el
cable de la fuente de electricidad, utilice una cubierta de jumper para aislar
las agujas pin2 y pin3 en CLRCMOS1 durante 5 segundos. Por favor acuérdase
de quitar el jumper cap después de limpiar el COMS. Por favor acuérdase de
quitar el jumper cap después de limpiar el COMS. Si necesita borrar la
CMOS cuando acabe de finalizar la actualización de la BIOS, debe arrancar
primero el sistema y, a continuación, apagarlo antes de realizar la acción de
borrado de CMOS.
Short
Open
Valor predeterminado
Restablecimiento de
la CMOS
EspañolEspañolEspañolEspañolEspañol
JR1
JL1
Summary of Contents for ALIVEDUAL-ESATA2
Page 143: ...143 143 143 143 143 ASRock ALiveDual eSATA2 Motherboard ...
Page 144: ...144 144 144 144 144 ASRock ALiveDual eSATA2 Motherboard ...
Page 145: ...145 145 145 145 145 ASRock ALiveDual eSATA2 Motherboard ...
Page 146: ...146 146 146 146 146 ASRock ALiveDual eSATA2 Motherboard ...
Page 147: ...147 147 147 147 147 ASRock ALiveDual eSATA2 Motherboard ...
Page 148: ...148 148 148 148 148 ASRock ALiveDual eSATA2 Motherboard ...
Page 149: ...149 149 149 149 149 ASRock ALiveDual eSATA2 Motherboard ...
Page 150: ...150 150 150 150 150 ASRock ALiveDual eSATA2 Motherboard DDRII_1 DDRII_2 DDRII_3 DDRII_4 1 2 3 ...
Page 151: ...151 151 151 151 151 ASRock ALiveDual eSATA2 Motherboard ...
Page 152: ...152 152 152 152 152 ASRock ALiveDual eSATA2 Motherboard ...
Page 153: ...153 153 153 153 153 ASRock ALiveDual eSATA2 Motherboard ...
Page 154: ...154 154 154 154 154 ASRock ALiveDual eSATA2 Motherboard SATA1 SATA2 ...
Page 155: ...156 156 156 156 156 ASRock ALiveDual eSATA2 Motherboard CD1 ...
Page 156: ...157 157 157 157 157 ASRock ALiveDual eSATA2 Motherboard 1 2 3 4 12 1 24 13 12 1 24 13 ...
Page 157: ...158 158 158 158 158 ASRock ALiveDual eSATA2 Motherboard C B A ...
Page 158: ...159 159 159 159 159 ASRock ALiveDual eSATA2 Motherboard ...
Page 159: ...160 160 160 160 160 ASRock ALiveDual eSATA2 Motherboard ...
Page 160: ...161 161 161 161 161 ASRock ALiveDual eSATA2 Motherboard ...
Page 161: ...162 162 162 162 162 ASRock ALiveDual eSATA2 Motherboard ...
Page 162: ...163 163 163 163 163 ASRock ALiveDual eSATA2 Motherboard ...
Page 163: ...164 164 164 164 164 ASRock ALiveDual eSATA2 Motherboard ...
Page 164: ...165 165 165 165 165 ASRock ALiveDual eSATA2 Motherboard ...
Page 165: ...165 165 165 165 165 ASRock ALiveDual eSATA2 Motherboard ...
Page 166: ...167 167 167 167 167 ASRock ALiveDual eSATA2 Motherboard ...
Page 167: ...168 168 168 168 168 ASRock ALiveDual eSATA2 Motherboard ...


