24
English
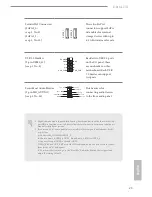
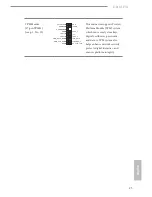
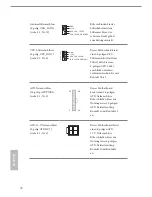
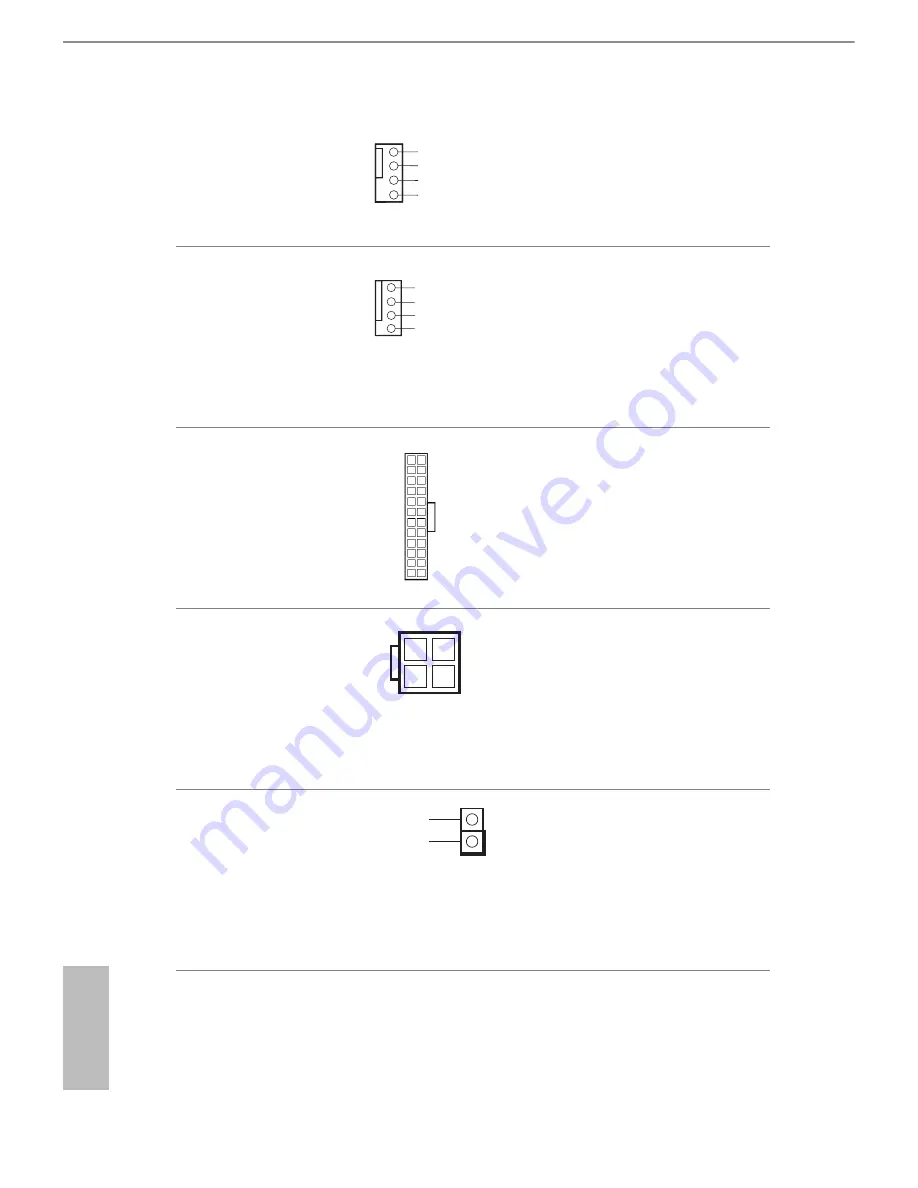
Chassis Fan Connector
(4-pin CHA_FAN1)
(see p.1, No. 11)
Please connect fan cable
to the fan connector and
match the black wire to
the ground pin.
CPU Fan Connectors
(4-pin CPU_FAN1)
(see p.1, No. 6)
his motherboard pro-
vides a 4-Pin CPU fan
(Quiet Fan) connector.
If you plan to connect a
3-Pin CPU fan, please
connect it to Pin 1-3.
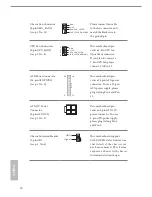
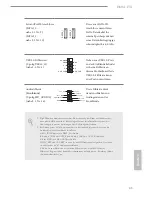
ATX Power Connector
(24-pin ATXPWR1)
(see p.1, No. 5)
his motherboard pro-
vides a 24-pin ATX power
connector. To use a 20-pin
ATX power supply, please
plug it along Pin 1 and Pin
13.
ATX 12V Power
Connector
(8-pin ATX12V1)
(see p.1, No. 1)
his motherboard pro-
vides an 8-pin ATX 12V
power connector. To use a
4-pin ATX power supply,
please plug it along Pin 1
and Pin 5.
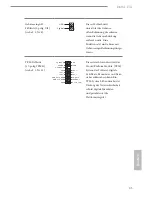
Chassis Intrusion Header
(2-pin CI1)
(see p.1, No. 4)
his motherboard supports
CASE OPEN detection feature
that detects if the chassis cove
has been removed. This feature
requires a chassis with chassis
intrusion detection design.
GND
+12V
CHA_FAN_SPEED
FAN_SPEED_CONTROL
GN D
+ 12V
CPU_ FAN_SPEED
FAN_SPEED_CONTROL
1
2
3
4
12
1
24
13
1
Signal
GND
Summary of Contents for H81M-ITX
Page 2: ......
Page 17: ...H81M ITX 15 English 4 5 3 ...
Page 19: ...H81M ITX 17 English 2 2 Installing the CPU Fan and Heatsink 1 2 C P U _ F A N ...
Page 21: ...H81M ITX 19 English 1 2 3 ...
Page 147: ......
Page 148: ......
Page 149: ......
Page 150: ......
Page 151: ......
Page 152: ......
Page 153: ......
Page 154: ......
Page 155: ......
Page 156: ......
Page 157: ......
Page 158: ......


