55
Installation
EN
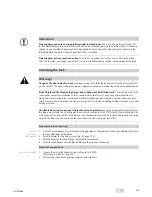
At tention!
Property damage due to missing profile cylinder in locked door:
The
motorised multi-point lock 519N
locks a closed door automatically and can then only be unlocked again via the profile cylinder. If a locking
cylinder is not installed, the door can only be opened by force. A construction locking cylinder must be
installed before the
motorised multi-point lock 519N
is installed.
Property damage from construction key:
The use of a so-called
construction key
can destroy the lock.
Then the function is no longer guaranteed. Only use a suitable locking cylinder for operation of the lock.
Installing the lock
Warning!
Danger to life due to electric shock:
Improper wiring is life-threatening and can ruin the
motorised multi-
point lock 519N
. The connection of the power supply may only be carried out by a trained, qualified person.
Risk of injury and life-threatening danger due to dangerous installation work.
The machines and tasks
required for complete installation entail a considerable risk of injury. The cutting and preparations in
wood and metal may only be carried out by skilled, qualified personnel who are trained in the necessary
safety measures for the avoidance of severe injury, particularly when handling milling machines, saws, and
drilling machines.
Unsuitable doors reduce personal safety and intrusion protection:
Only approved and technically flaw-
less doors are suitable for installation of the
motorised multi-point lock 519N
. Prior to the installation of the
motorised multi-point lock 519N
, the door must be checked to ensure that it is attached properly and is not
warped. The door must be approved for use of the
motorised multi-point lock 519N
.
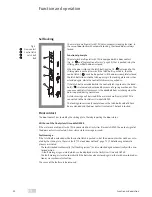
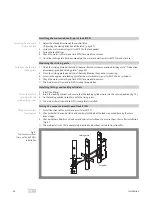
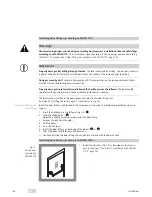
Preparation for mounting
1
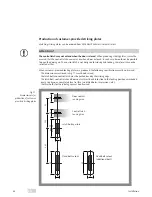
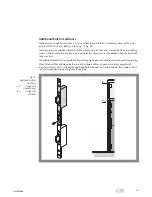
Create the lock pocket at a suitable mounting position in the door leaf. Factor in an additional 30 mm
for the cable loop for the depth.
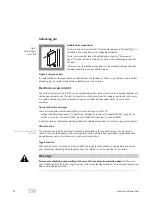
2
Finish the holes for the fixing screws (Fig. 20, page 182).
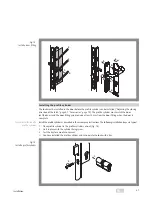
3
Drill the holes for the lock fittings (only with lock removed).
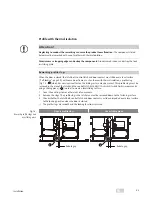
4
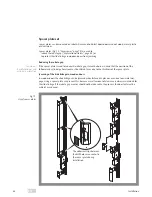
Clean the lock pocket and all holes by blowing them out or vacuuming.
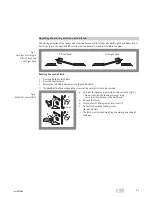
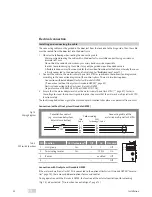
Electrical connections
1
Prepare the wiring for the
motorised multi-point lock 519N
(“Electrical connection”, page 62).
2
Connect the cables for the power supply and control unit.
A
!
Prepare
and clean
lock pocket
Connecting cables
Summary of Contents for OneSystem 519N
Page 31: ...31 Technische Daten DE ...
Page 67: ...67 Technical data EN ...
Page 103: ...103 Caractéristiques techniques FR ...
Page 139: ...139 Dati tecnici IT ...
Page 175: ...175 Technische gegevens NL ...
Page 187: ...187 Abmessungen Dimensions Dimensions Dimensioni Afmetins DE EN FR IT NL ...


