1-800-810-WIRE • www.sargentlock.com • A8185D
Copyright © 2016, 2019, 2021, Sargent Manufacturing Company
, an ASSA ABLOY Group company
. All rights reser
ved.
Reproductions in whole or in part without express written permission of Sargent Manufacturing Company is prohibited.
04/30/21
IN120 / IN220 Exit Device
28
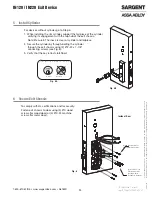
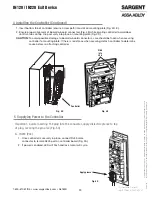
4 Installing the Controller
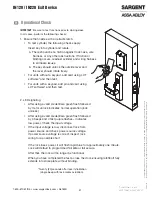
Important Note: Before you install the controller
Fig. 4A
Fig. 4B
Connect
Fig. 4C
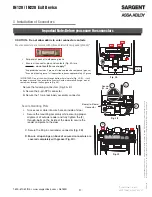
CAUTION - Do not allow debris to enter connector contacts.
Apply dielectric grease to connector* located on back of Controller (FIG. 4B, C).
Back of
Controller
*Be sure to apply grease to connector and recessed area
surrounding connector
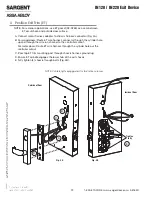
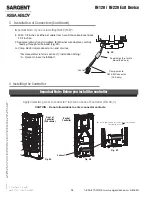
3 Installation of Connectors (Continued)
Fig. 3D
Front of
Controller
(PoE shown)
Important Note: If you are installing IN220 (PoE)*:
*For more detail, refer to section (7) ‘Installation Wiring’,
“A - Frame Harness Installation”.
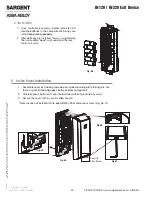
Crimp wires to
RJ45-M Connector
(PoE only)
RJ45-M
Feed wires thru ferrite
bead (PoE only)
E. Pull 5 1/2 inches of Ethernet cable from hole. Strip cable jacket back
3 1/2 inches.
F. Separate (untwist) and straighten (8) Ethernet wires before carefully
feeding through ferrite bead (Fig. 3D).
G. Crimp RJ45 (male) connector on end of wires.

