24
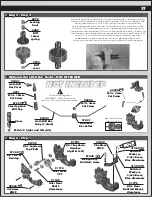
For additional setup tips, please
visit our website by using the link
or QR code below.
http://bit.ly/B6PillChart
!
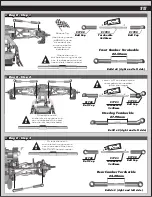
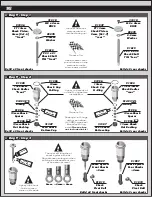
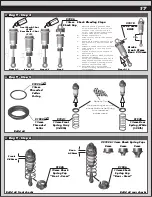
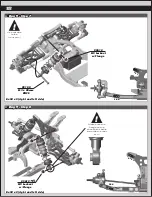
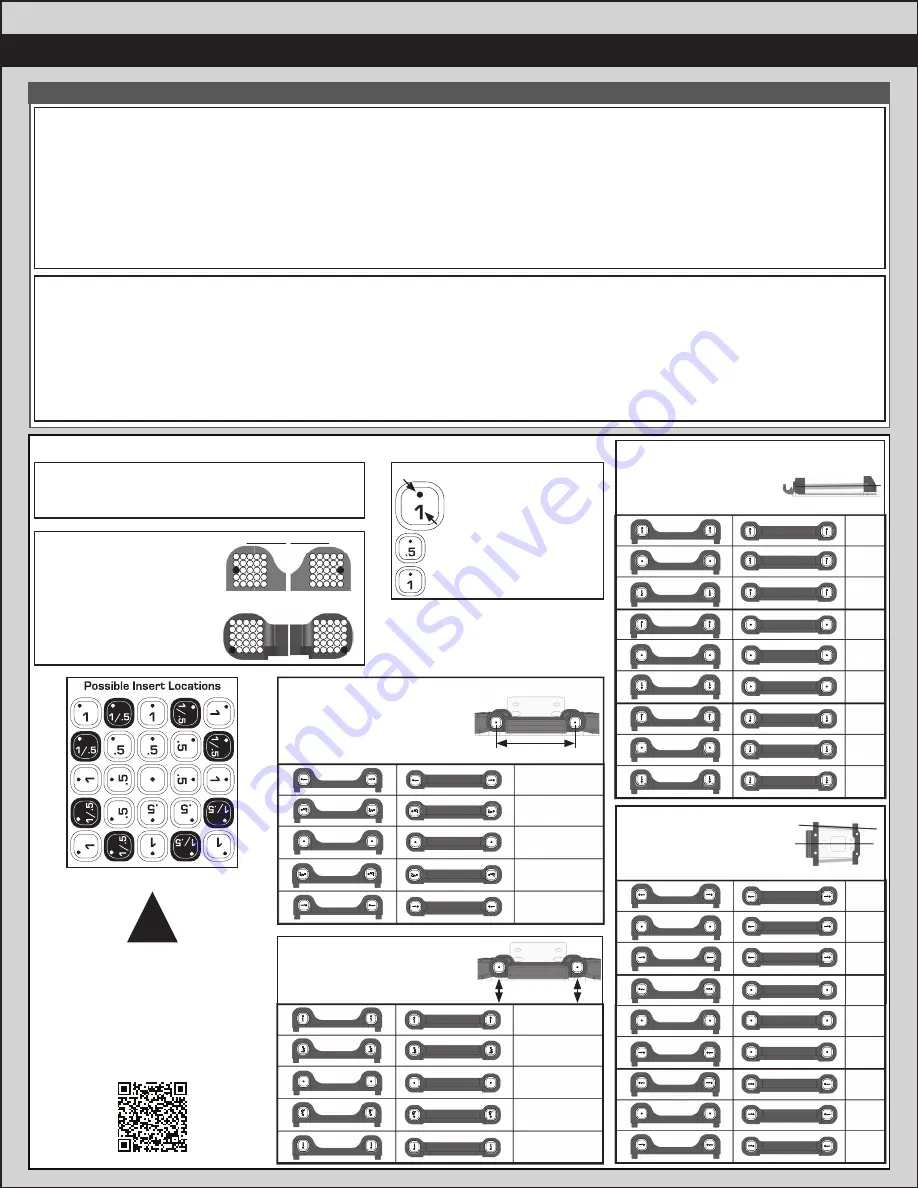
Rear Arm Mount Pill Insert Setup:
:: Tuning Tips
:: Tuning Tips
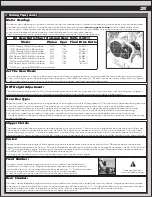
Tips for Beginners:
Before making any changes to the standard setup, make sure you can get around the track without crashing. Changes
to your vehicle will not be beneficial if you can’t stay on the track. Your goal is consistent laps. Once you can get around
the track consistently, start tuning your vehicle. Make only ONE adjustment at a time, testing it before making another
change. If the result of your adjustment is a faster lap, mark the change on the included setup sheet (make adddtional
copies of the sheet before writing on it). If your adjustment results in a slower lap, revert back to the previous setup and
try another change. When you are satisfied with your vehicle, fill in the setup sheet thoroughly and file it away. Use this
as a guide for future track days or conditions. Periodically check all moving suspension parts. Suspension components
must be kept clean and move freely without binding to prevent poor and/or inconsistent handling.
The aluminum rear arm mounts utilize eccentric
pill inserts to make fine adjustments to anti-squat,
toe, pin heights, and pin width. Adjustments can be
made using the supplied inserts (#92014)
Painting:
Your Kit comes with a clear polycarbonate body. You will need to prep the body before you can paint it.
Wash the INSIDE thoroughly with warm water and liquid detergent (do not use any detergents with scents or added
hand lotion ingredients!). Dry the body using a clean, soft, lint-free cloth. Use the supplied window masks to cover the
windows from the INSIDE of the body (RC cars get painted on the inside). Using high quality masking tape, apply tape
to the inside of the body to create a design. Spray (use either rattle can or airbrush) the paint on the inside of the body
(preferably dark colors first, lighter colors last). NOTE: ONLY use paint that is recommended for polycarbonate
plastics. If you do not, you can destroy the body! After the paint has completely dried (usually after 24 hours), cut the
body along the trim lines. Make sure to drill or use a body reamer to make the holes for the antenna if needed! Use hook
and loop tape to secure the body to the side rails of the vehicle.
Standard Position
Use this position as a
reference when changing
pill locations.
Toe: 3°
Anti-squat: 2°
Roll Center: +0
Pivot Width: +0
Arm Mount C
Arm Mount D
Pin Width
More distance = wider pivot
Less distance = narrow pivot
*Note: For pin width -1.4mm,
use 67mm CVA driveshafts
C Mount
D Mount
= +1.4mm
= +0.7mm
= 0mm
= -0.7mm
= -1.4mm*
C Mount
D Mount
Anti-squat Angle
More angle = More anti-squat
Less angle = Less anti-squat
Shown in 1° changes
=
1°
=
0°
=
-1°
=
2°
=
1°
=
0°
=
3°
= 2
°
= 1
°
C Mount
D Mount
Toe Angle
More angle = More toe in
Less angle = Less toe in
Shown in 1° changes
=
3°
=
4°
=
5°
=
2°
=
3°
=
4°
=
1°
= 2
°
= 3
°
C Mount
D Mount
Pin Height
Higher pin = Higher roll center
Lower pin = lower roll center
= +0.7
°mm
= -0.7
°mm
= +0.35
°mm
= -0.35
°mm
= 0
mm
Insert Hole Locations
Number indicates
degree of change:
0.5°, 1.0°, 0° (center dot)
Hole 0.5° or 0.35mm
from center
Hole 1.0° or 0.7mm
from center
Summary of Contents for 90035
Page 1: ...AssociatedElectrics com ...
Page 26: ......


