page 10
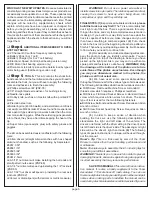
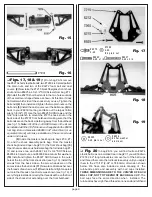
threads on the other end, so they will screw on in different
directions. This will allow us to simply turn the turnbuckles
(from the hex center section) with the #6955 shock/turn-
buckle wrench to make adjustments.
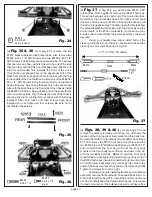
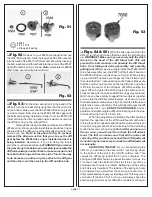
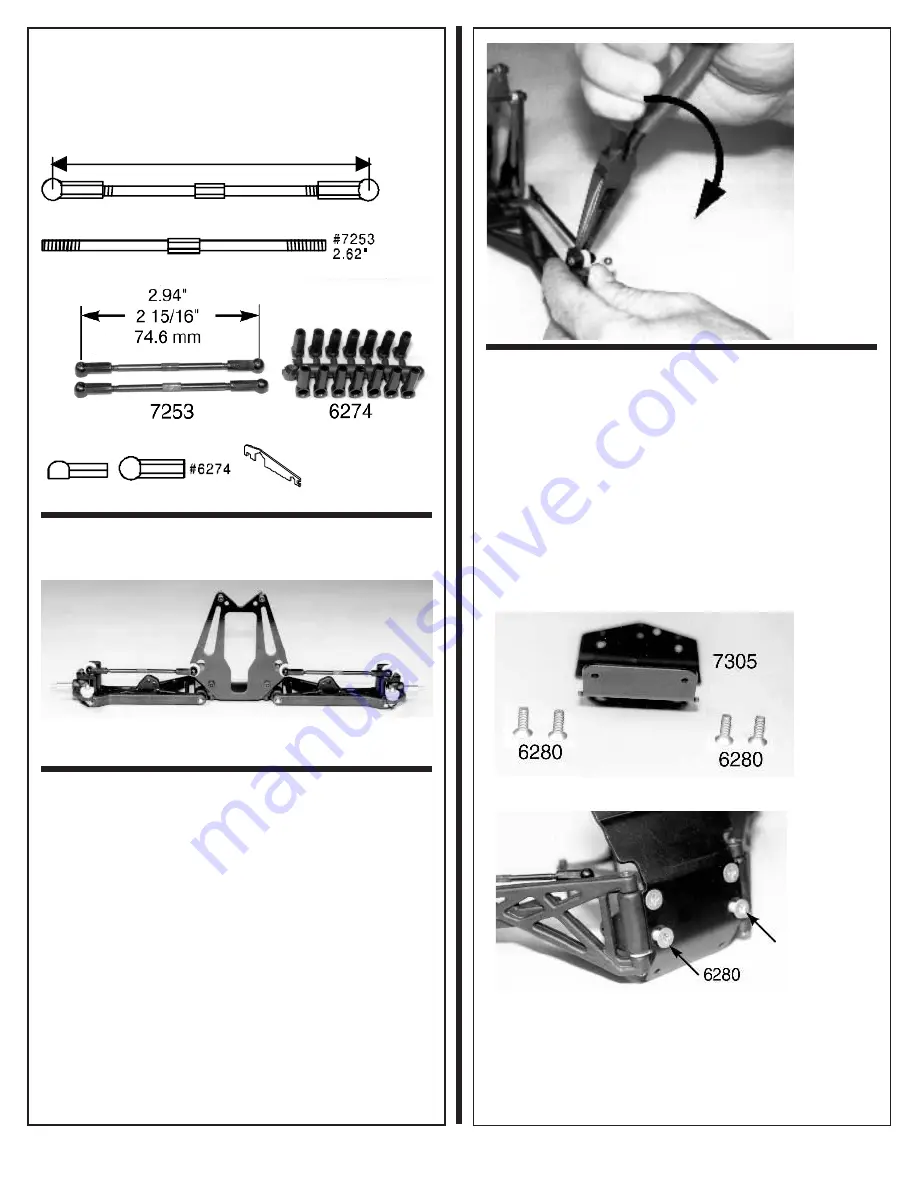
2.94" (2 15/16", 74.60mm)
#6274
#7253
#6274
#6955
Fig. 20
❏
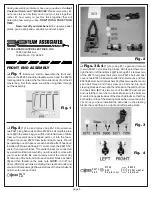
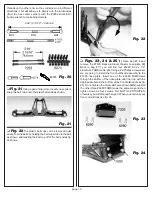
Fig. 21
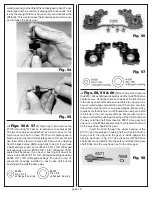
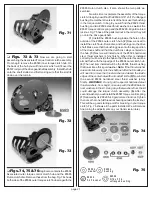
Using a pair of slip joint or needle nose pliers,
snap the ball cups onto the steel ball ends as shown.
Fig. 21
❏
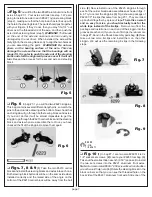
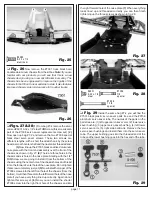
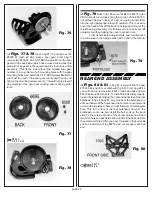
Fig. 22
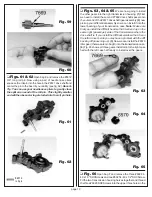
The plastic ball cups can be removed quite
easily from the balls by holding the ball cups close to the ball,
as shown, and twisting the ball cup off of the ball end as fig.
22 shows.
Fig. 22
❏
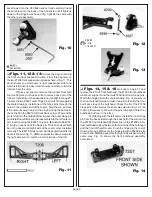
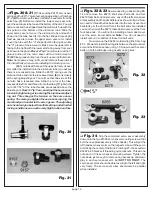
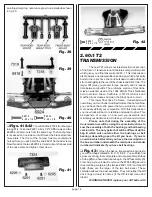
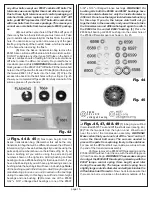
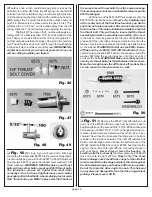
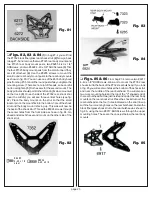
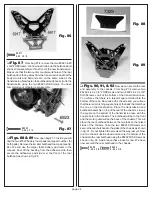
Figs. 23, 24 & 25
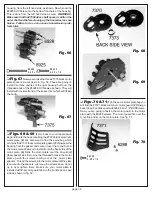
(1) Open bag #7-4 and
remove the #7305 black aluminum chassis nose plate. (2)
Back in bag #7-1 you will find four #6280 8-32 x 1/2"
aluminum FHMScrews. (3) Using a #2 Phillips screwdriver
we are going to install the front bulkhead assembly to the
#7305 nose plate. Insert one of the #6280 FHMScrews
through the bottom of the nose plate and line it up with the
appropriate hole in the bottom of the front bulkhead (see fig.
24). Do not tighten the screw all the way down. (4)Now install
the other three #6280 FHMScrews the same way and then
tighten down all four screws. DO NOT OVERTIGHTEN,
otherwise you will strip out the nylon. When you are done your
front end will look like fig. 25.
Fig. 23
Fig. 24


