Premmia GL Series
49
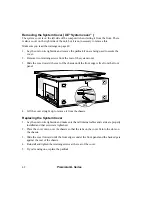
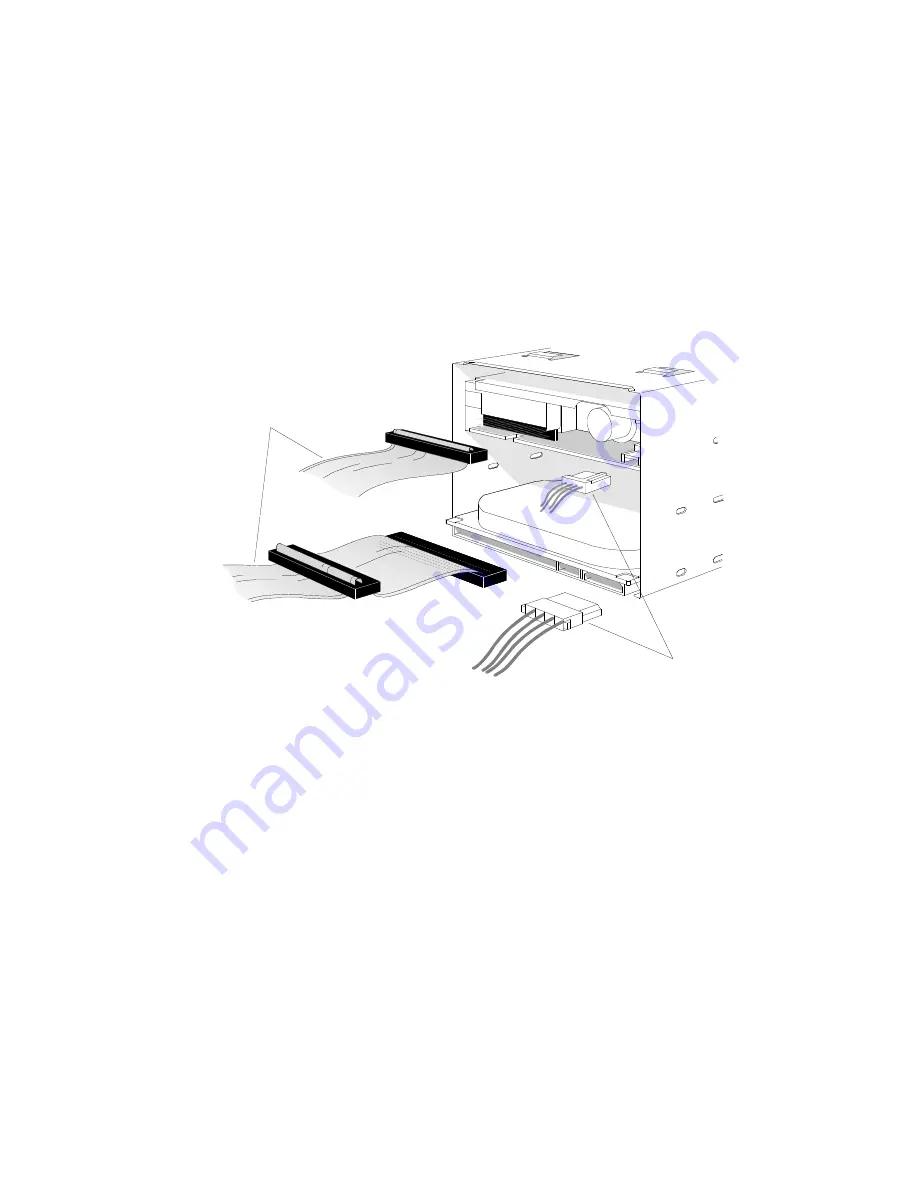
Removing a 3.5” Drive
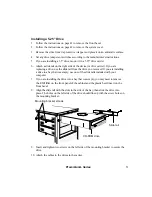
1. Follow the instructions on page 41 to remove the system cover.
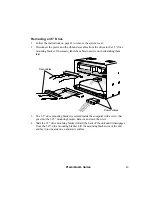
2. Disconnect the power and the ribbon data cables from the drives in the 3.5” drive
mounting bracket. If necessary, label the cables to assist you in reinstalling them
later.
Data cables
Power cables
3. The 3.5” drive mounting bracket is secured inside the computer with a screw that
goes into the 5.25” mounting bracket. Remove and save the screw.
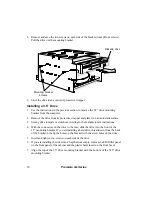
4. Slide the 3.5” drive mounting bracket toward the back of the unit until it disengages
from the 5.25” drive mounting bracket. Lift the mounting bracket out of the unit
and lay it on one side on an anti-static surface.

