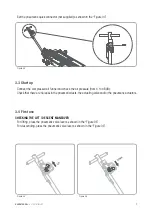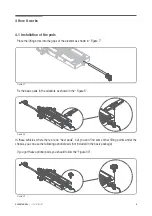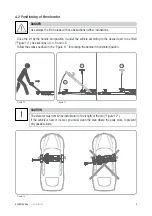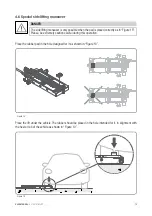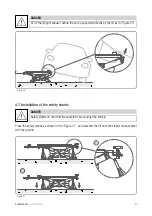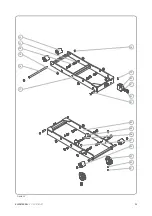
· Set the pneumatic quick connector (not supplied) as shown in the “Figure 04”.
3.3 Start up
3.4 First use
· Connect the compressed air funnel and check the air pressure (from 6 to 9 BAR).
· Check that there are no leaks in the pneumatic ducts, the actuating valve and/or the pneumatic actuators.
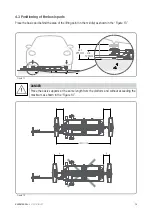
· For lifting, press the pneumatic valve lever as shown in the “Figure 05”.
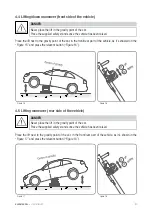
· For descending, press the pneumatic valve lever as shown in the “Figure 06”.
CHECKING THE LIFT / DESCENT MANEUVER
Figure 04
Figure 05
Figure 06
7
USER MANUAL
·
AE1001 MINILIFT
Summary of Contents for miniLIFT CLASSIC
Page 2: ......
Page 19: ...Figure 27 28 27 29 31 30 30 29 24 25 26 19 USER MANUAL AE1001 MINILIFT ...
Page 24: ...Date Maintenance plan Result Signature 7 Inspection log 24 USER MANUAL AE1001 MINILIFT ...
Page 25: ...Date Maintenance plan Result Signature 25 USER MANUAL AE1001 MINILIFT ...
Page 26: ...Date Maintenance plan Result Date 26 USER MANUAL AE1001 MINILIFT ...
Page 27: ......
Page 28: ...2018 astraballero com Spray booths Welding Benches Lifts ...


