

13
VIRON™ QT 1000 robotic cleaner
owner’s Manual
12
VIRON™ QT 1000 robotic cleaner
owner’s Manual
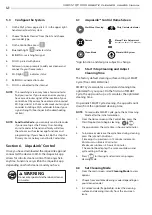
5.3
Configure the System
1.
On the My Systems page, click
+
in the upper right-
hand corner to add a system.
2.
Choose “Robotic Cleaner” from the list and choose
your model type.
3.
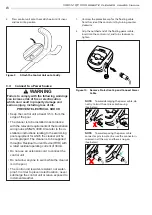
On the Control Box, press
MODE
SMART
4.
Bluetooth light
MODE
SMART
indicates status:
5.
BLINKING - searching for signal
6.
SOLID - paired with phone
7.
Follow on-screen prompts to add your cleaner and
connect to your home router.
8.
Wi-Fi light
MODE
SMART
indicates status:
9.
BLINKING - conected to router
10. SOLID - connected to the internet
NOTE
: The searching screen may take a few minutes to
find your router. If you receive an error you may
have a weak router signal at the location of your
control box OR you may have entered an incorrect
Wi-Fi password. In the case of a weak router signal,
consider installing a Wi-Fi extender to boost your
signal strength. (See iAquaLink Troubleshooting
section.)
NOTE: Send Invite Code -
you can only send invite codes
if you are set up as the Primary User. Sending
an invite codes to friends and family will allow
them to access the cleaner app functions and
programming. If you choose to Skip this step, the
Primary User can always send Invite Codes later.
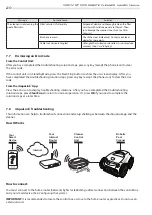
Section 6. iAquaLink
™
Control
Once you have downloaded the iAquaLink app and
connected the device to Wi-Fi, the iAquaLink app
allows for robotic cleaner control from anywhere,
anytime. Functions vary within the iAqualink app
depending on which cleaner model you have.
WARNING
Do not enter pool while the robotic cleaner
is in water.
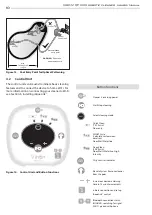
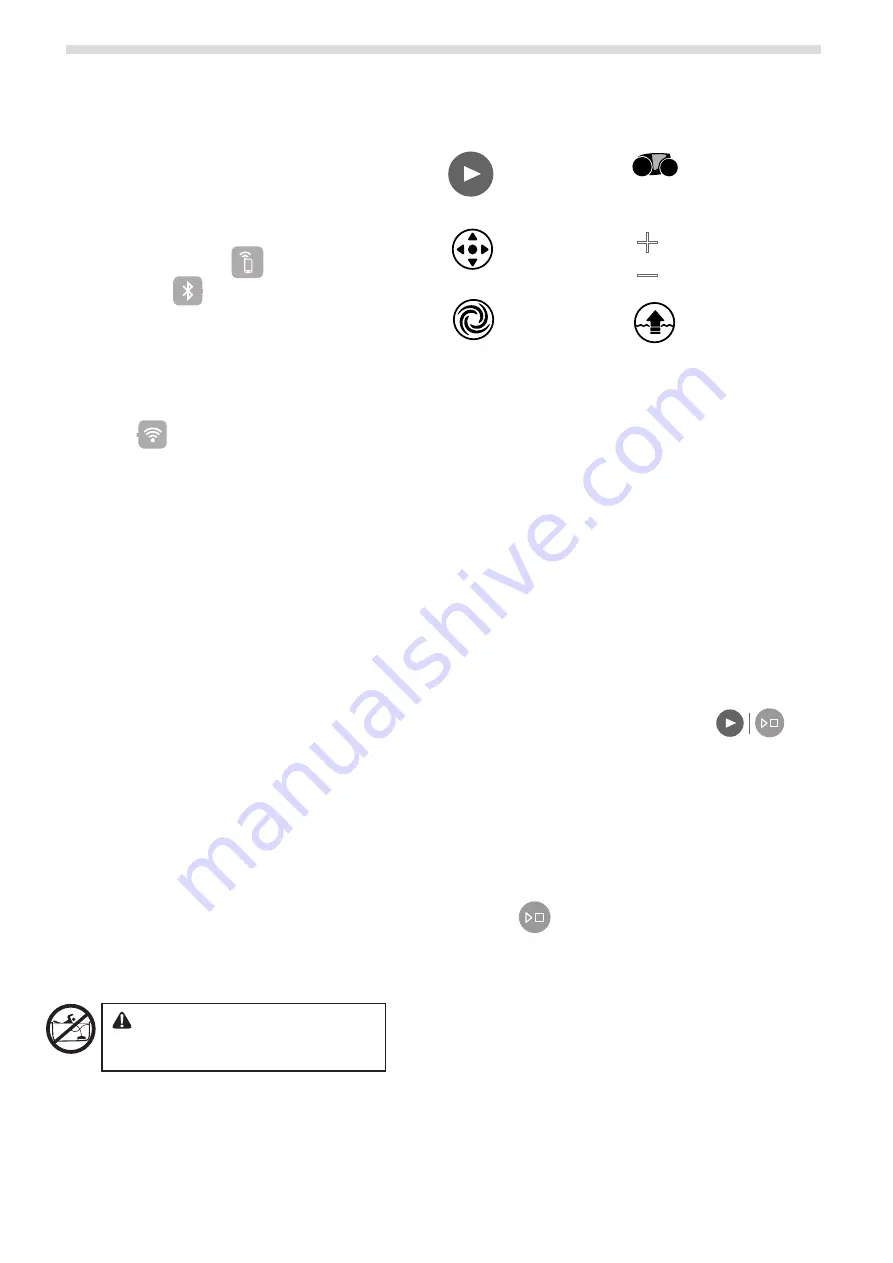
6.1
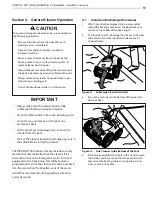
iAquaLink™ Control Home Screen
Start/Stop Cleaning
Remote
Clean Mode
Elevate/Lift System
Dirty Canister Indicator
+
_
+
_
Manual Time Adjustment
(current run time +/- 15 minutes)
*App function and design is subject to change.
6.2
Start / Stop Cleaning and Adjust
Cleaning Time
The factory default cleaning surface setting is SMART
Cycle (Floor, Wall, Waterline).
SMART Cycle calculates a customized cleaning time
optimized for your pool. On the first run of SMART
Cycle, the app counts up as it calculates the optimized
cleaning time.
On periodic SMART Cycle cleaning, the app will count
down from the optimized cleaning time.
NOTE
: To recalculate SMART Cycle, go to the Set Cleaning
Mode after the initial calculation.
1.
From the Home screen or the Control Box. press the
Start/Stop button to begin cleaning.
MODE
SMART
2.
The app displays the cycle time in hours and minutes.
3.
To increase or decrease the cycle time during cleaning,
press the (
+)
and (
–)
buttons.
-Time adjusts up or down in 15 minute increments.
-Minimum run time is 30 minutes.
-Maximum run time is 3 hours 30 minutes.
-The control box displays the same countdown and
cycle setting as the app.
4.
Press
MODE
SMART
to interrupt and cancel an in-progress
cleaning cycle.
6.3
Set Cleaning Mode
1.
From the main screen, select
Cleaning Mode
to view
options.
2.
Choose from available cleaning modes depending on
your cleaner model.
3.
In Custom mode (If applicable), select the cleaning
surface and cleaning intensity from the on-screen
icons.