


15
VIRON™ QT 1000 robotic cleaner
owner’s Manual
14
VIRON™ QT 1000 robotic cleaner
owner’s Manual
6.9
System Settings
Access System Settings by pressing the gear icon in
the upper right hand corner of the app screen.
Section 7. Storage & Maintenance
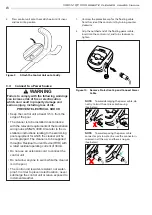
WARNING
To avoid electric shock and other hazards which
could result in permanent injury or death,
disconnect (unplug) the cleaner from the power
source before performing any cleaning and
maintenance.
7.1
Cord Tangling
Tangling can occur more frequently when the
cleaner is not attended to after each cleaning cycle.
The tangle-reducing swivel, in addition to proper
installation, general maintenance and the following
troubleshooting steps can help to avoid cable
challenges.
IMPORTANT
Cleaner power cable may become tangled if
correct procedure is not followed after each
cleaning cycle.
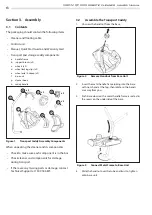
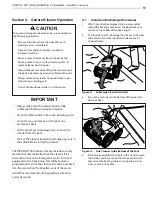
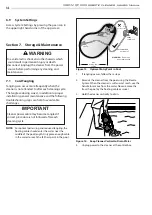
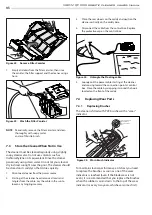
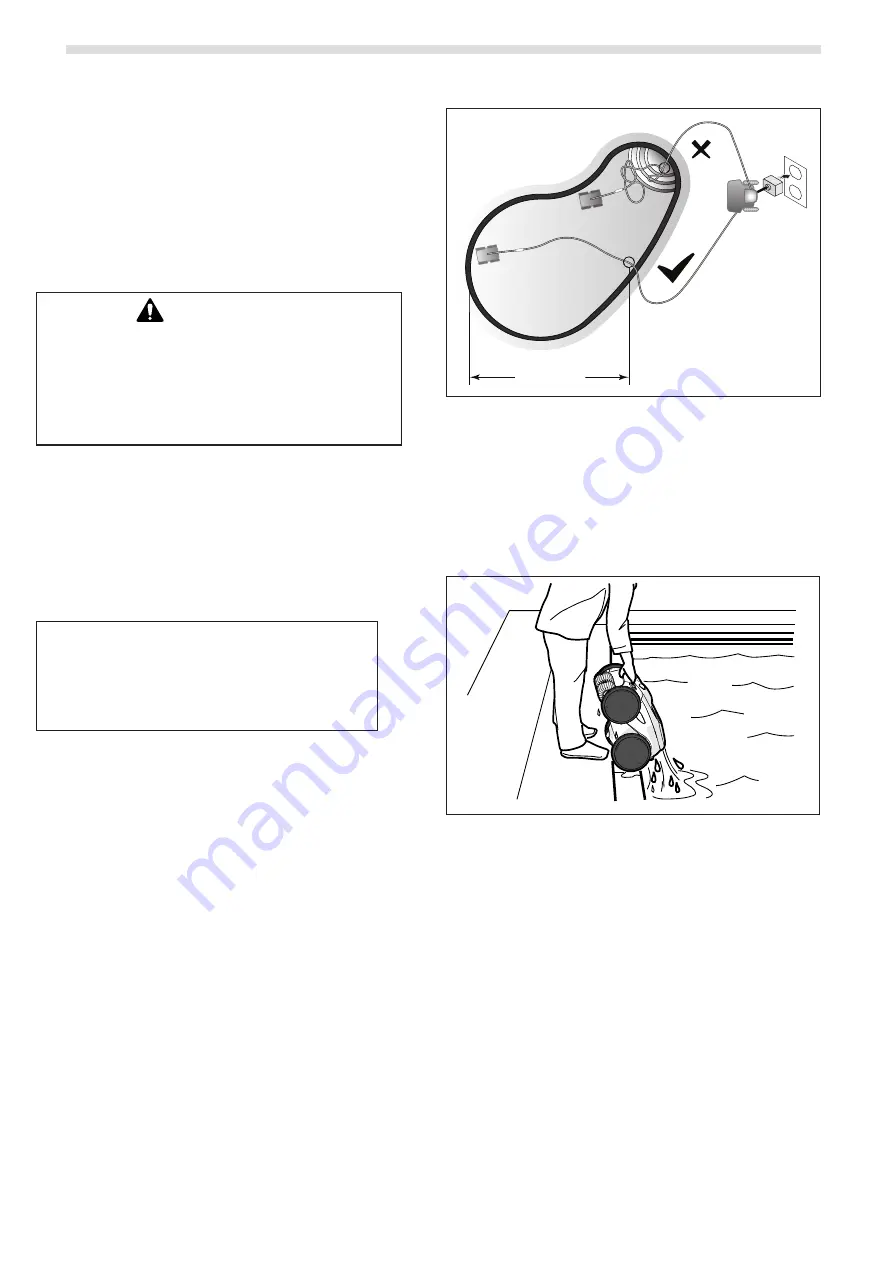
NOTE:
For optimal patterning and reduced tangling, the
floating cable should enter the water near the
middle of the pool length. Only place enough cable
in the water to reach the farthest point in the pool.
Max
Floating Cable
Length
caddy /
control unit
cleaner
cleaner
Recommended
entry point
Not
Recommended
WARNING:
Do not use
an extension cord
Figure 15. Optimal Entry Point in Pool
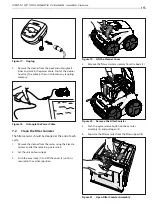
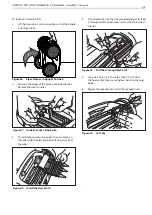
1.
If tangling occurs, follow these steps:
2.
Remove the cleaner from the pool using the Elevate
System. When the cleaner is within arm’s reach, use the
handle to remove from the water. Never remove the
from the pool by the floating cable or swivel.
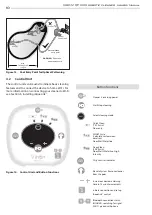
3.
Hold the cleaner vertically to drain.
3
Figure 16. Keep Cleaner Vertical to Drain Water
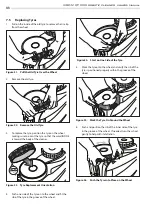
4.
Unplug power to the cleaner at the control box.


