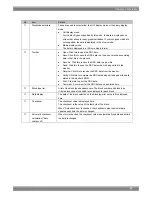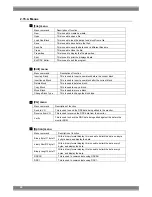
Chapter 2 Operation
95
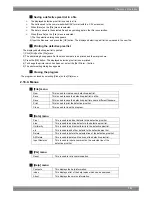
■
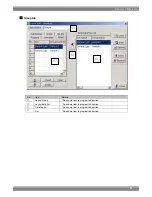
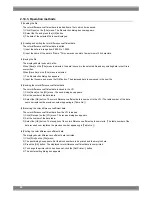
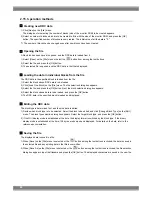
Sending data to the monitor
The DDC data is saved in the monitor ROM.
1) When [Send] on the [VG] menu is selected or the
button is clicked on the toolbar, the send dialog box appears.
2) Select DDC1 or DDC2B, and decide on the numbers of the blocks (how many blocks starting from block #0) to be
sent. When the [Fix Monitor] button is pressed, communication with the monitor is initiated, and the amount of the
data can be matched with the maximum size of the monitor ROM.
3) Press the [OK] button. The DDC data is now sent.
■
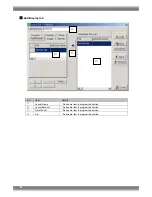
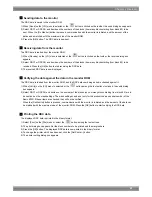
Receiving data from the monitor
The DDC data is loaded from the monitor ROM.
1) When [Receive] on the [VG] menu is selected or the
button is clicked on the toolbar, the receive dialog box
appears.
2) Select DDC1 or DDC2B, and decide on the numbers of the blocks (how many blocks starting from block #0) to be
received. Press the [OK] button to start receiving the DDC data.
3) The received DDC data is now displayed.
■
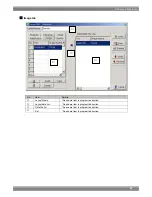
Verifying the data against the data in the monitor ROM
The DDC data is loaded from the monitor ROM, and the DDC data now being edited is checked against it.
1) When [Verify] on the [VG] menu is selected or the
button among the tool buttons is clicked, the verify dialog
box appears.
2) Select DDC1 or DDC2B, and decide on the numbers of the blocks (on how many blocks starting from block #0) are to
be sent and on the mask settings. The mask settings can be set only for the product code and serial number of the
Basic EDID. If these items are checked, they will not be verified.
When the [Fix Monitor] button is pressed, communication with the monitor is initiated, and the amount of the data can
be matched with the maximum size of the monitor ROM. Press the [OK] button to start verifying the DDC data.
■
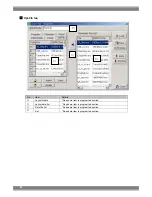
Printing the DDC data
The displayed DDC data is printed in the binary format.
1) Select [Print] on the [File] menu or select the
button among the tool buttons.
2) The print dialog box appears. Set the block numbers to be printed and the margins here.
3) Press the [OK] button. The displayed DDC data is now printed in the binary format.
4) To change the printer which has been set, click the [Set Printer...] button.
5) The printer setting dialog box appears.
Summary of Contents for SP-8848
Page 1: ...Portable signal generator programming software SP 8848 Instruction Manual Ver 2 6...
Page 2: ......
Page 4: ......
Page 16: ...8...
Page 117: ...Chapter 2 Operation 109 Text data setting screen...
Page 119: ...Chapter 2 Operation 111 V chip setting screen...
Page 122: ...114...
Page 124: ...116...

