17
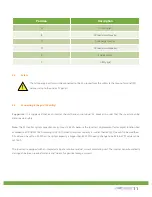
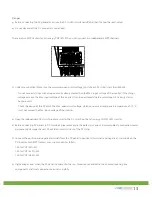
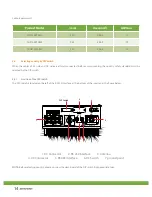
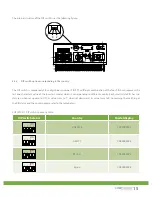
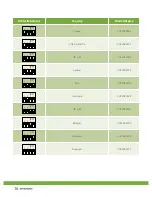
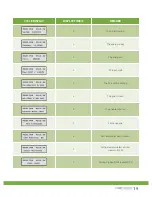
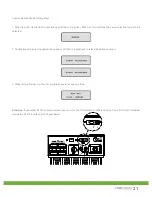
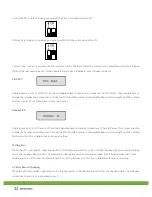
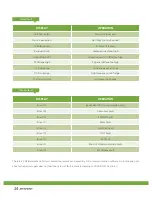
After setting the DIP, please power on the inverter and check the model display. If the last character of the model name is
corresponding to the country as the above table, it means your setting is successful.
Attention:
you should change the time displayed on the LCD of inverter to your local time after inverter starts up.
NOTE:
If the country is set incorrectly, please shut down the inverter and set again.
5.6 Commissioning
•
When the PV panels are connected and their output voltage is greater than 100 Vdc(Min. input voltage) but the AC grid is
not yet connected, the message on the LCD display produce the following messages in order: “Astronergy Inverter”->
“Waiting” -> “No AC connection”. The display repeats “No AC connection” and the LED will be red.
•
Close the AC breaker or fuse between PV-Inverter and grid. The normal operating sequence begins.
•
When the voltage of the strings is greater than 150Vdc (start-up voltage), the inverter will check feeding conditions at once.
If there is anything wrong during checking, the inverter will turn into the “Fault” state.
•
Under normal operating conditions the LCD displays “Power: xxxx.xW”. That is the power fed to the grid. The LED turns green.
•
This completes the check.
6. Electrical Connection
6.1
LCD display
Starting-up display sequence, Once the PV power is sufficient, Inverter displays information as shown in the flow chart as
follow:
Module: xxxxxx
SerNo: xxxxxxxxxx
FW Version: x.x.x
Connect in: xxS
Connect : OK
xxxx.xVA xxxx.x W


