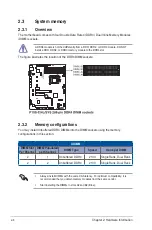
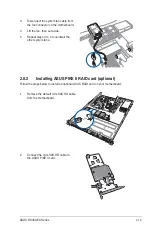
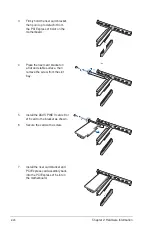
2-5
ASUS RS300-E9 Series
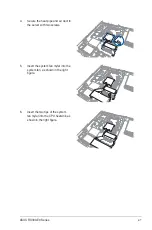
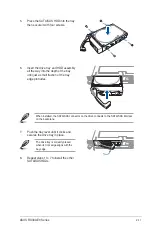
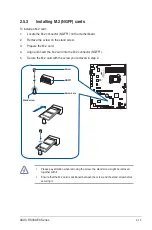
5.
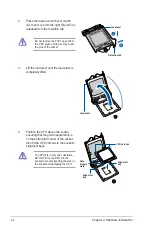
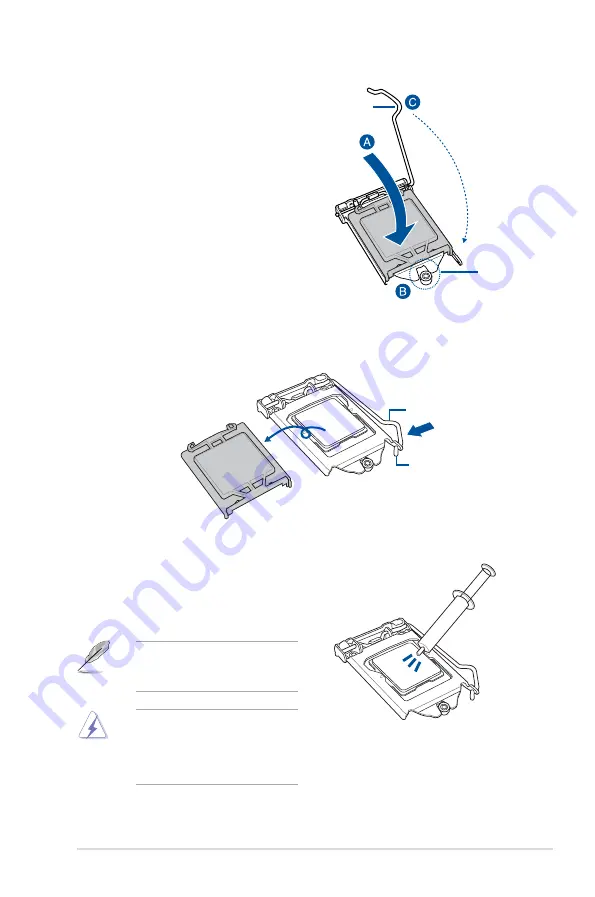
Close the load plate (A), ensuring that
the front edge of the load plate slides
under the retention lock (B) then push
down the load lever (C).
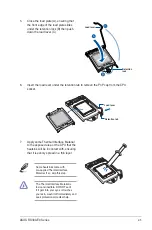
6.
Insert the load lever under the retention tab to remove the PnP cap from the CPU
socket.
Retention tab
Load lever
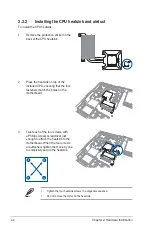
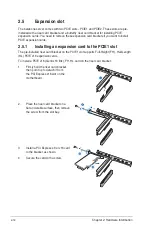
7.
Apply some Thermal Interface Material
to the exposed area of the CPU that the
heatsink will be in contact with, ensuring
that it is evenly spread in a thin layer.
Some heatsinks come with
pre-applied Thermal Interface
Material. If so, skip this step.
The Thermal Interface Material is
toxic and inedible. DO NOT eat it.
If it gets into your eyes or touches
your skin, wash it off immediately and
seek professional medical help.
Retention
lock
Load lever
Summary of Contents for 90SV038A-M34CE0
Page 1: ...1U Rackmount Server RS300 E9 PS4 RS300 E9 RS4 User Guide ...
Page 22: ...Chapter 1 Product Introduction 1 10 ...
Page 48: ...Chapter 2 Hardware Information 2 26 ...
Page 54: ...Chapter 4 Motherboard Information 4 2 4 1 Motherboard layout ...
Page 97: ...5 19 ASUS RS300 E9 Series Intel Server Platform Services Intel TXT Information ...
Page 146: ...6 18 Chapter 6 RAID Configuration ...
Page 157: ...ASUS RS300 E9 Series 7 11 8 Press Restart Now to complete the setup process ...
Page 163: ...Appendix A Appendix ...
Page 164: ...A 2 Appendix P10S C 4L SYS block diagram ...
Page 168: ...A 6 Appendix ...


