2-25
ASUS RS300-E9 Series
2.8.6
Replacing optical drive (optional)
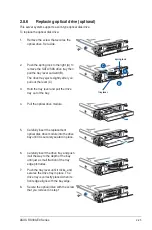
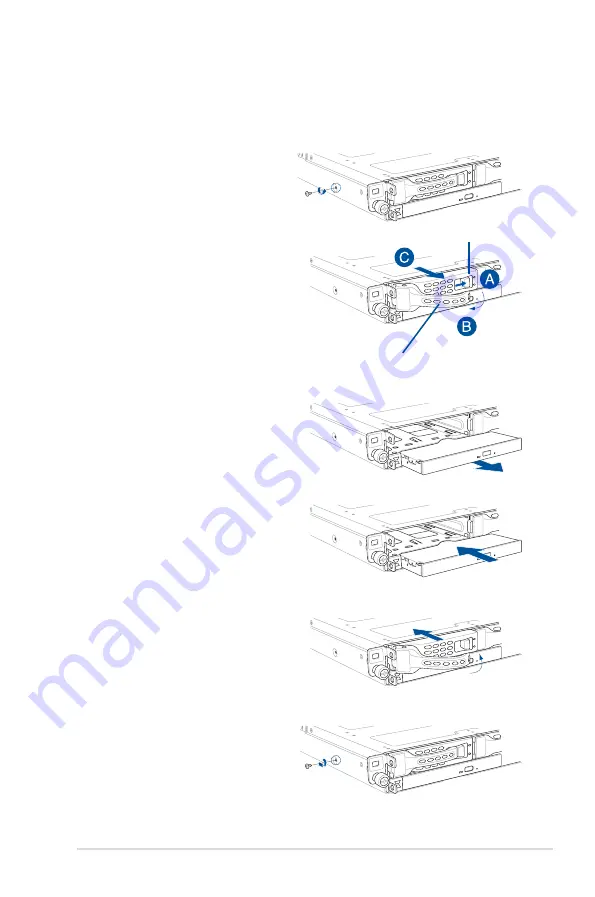
This server system supports a slim-type optical disk drive.
To replace the optical disk drive:
1.
Remove the screw that secures the
optical drive. Set aside.
6.
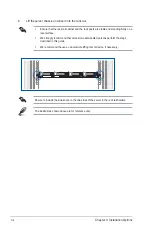
Carefully insert the drive tray and push
it all the way to the depth of the bay
until just a small fraction of the tray
edge protrudes.
7.
Push the tray lever until it clicks, and
secures the drive tray in place. The
drive tray is correctly placed when its
front edge aligns with the bay edge.
8.
Secure the optical drive with the screw
that you removed in step 1.
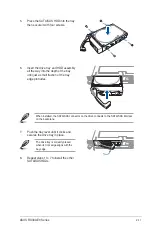
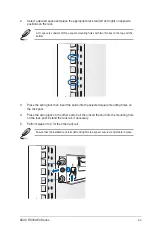
5. Carefully insert the replacement
optical disk drive module into the drive
bay until it is securely seated in place.
4.
Pull the optical drive module.
3.
Hold the tray lever and pull the drive
tray out of the bay.
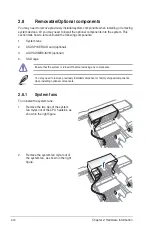
2.
Push the spring lock to the right (A) to
remove the SATA/SAS drive tray then
pull the tray lever outward (B).
The drive tray ejects slightly after you
pull out the lever (C).
spring lock
tray lever
Summary of Contents for 90SV038A-M34CE0
Page 1: ...1U Rackmount Server RS300 E9 PS4 RS300 E9 RS4 User Guide ...
Page 22: ...Chapter 1 Product Introduction 1 10 ...
Page 48: ...Chapter 2 Hardware Information 2 26 ...
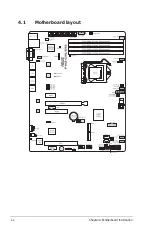
Page 54: ...Chapter 4 Motherboard Information 4 2 4 1 Motherboard layout ...
Page 97: ...5 19 ASUS RS300 E9 Series Intel Server Platform Services Intel TXT Information ...
Page 146: ...6 18 Chapter 6 RAID Configuration ...
Page 157: ...ASUS RS300 E9 Series 7 11 8 Press Restart Now to complete the setup process ...
Page 163: ...Appendix A Appendix ...
Page 164: ...A 2 Appendix P10S C 4L SYS block diagram ...
Page 168: ...A 6 Appendix ...

