AX-125/145 SIP VoIP Router Quick Installation Guide
16
3.3.3 DNS Proxy
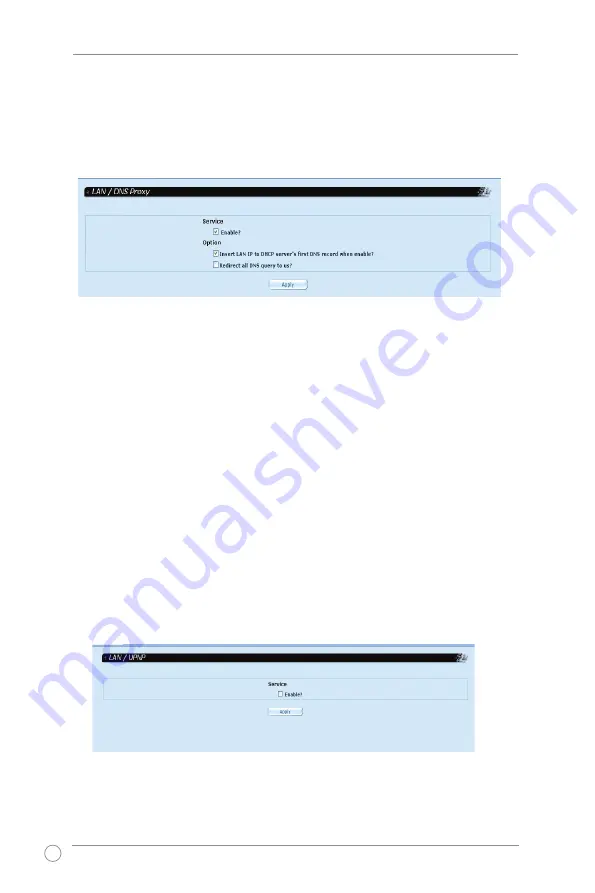
To enable DNS proxy
1. From the menu,
click LAN -> DNS Proxy
.
2. Check the service
Enable
checkbox.
3. Select from these two (2) options:
•
Insert LAN IP to DHCP server's first DNS record when enabled
When you choose this option, AX-125/145 automatically inserts the first DNS IP
you defined to all DHCP clients request. You can define the DNS IP information
in the
DHCP Server
configuration page. Refer to
3.3.2 DHCP Server
for
details.
•
Redirect all DNS query to us
When you choose this option, all DNS query packets are redirected from all
devices connected in LAN to AX-125/145 DNS.
4. When done, click
Apply
.
3.3.4 uPnP
The AX-125/145 supports Universal Plug and Play (uPnP). To enable the uPnP
function, click
LAN -> uPnP
and check the service
Enable
checkbox.


