
RENTAL EQUIPMENT
SETUP GUIDE
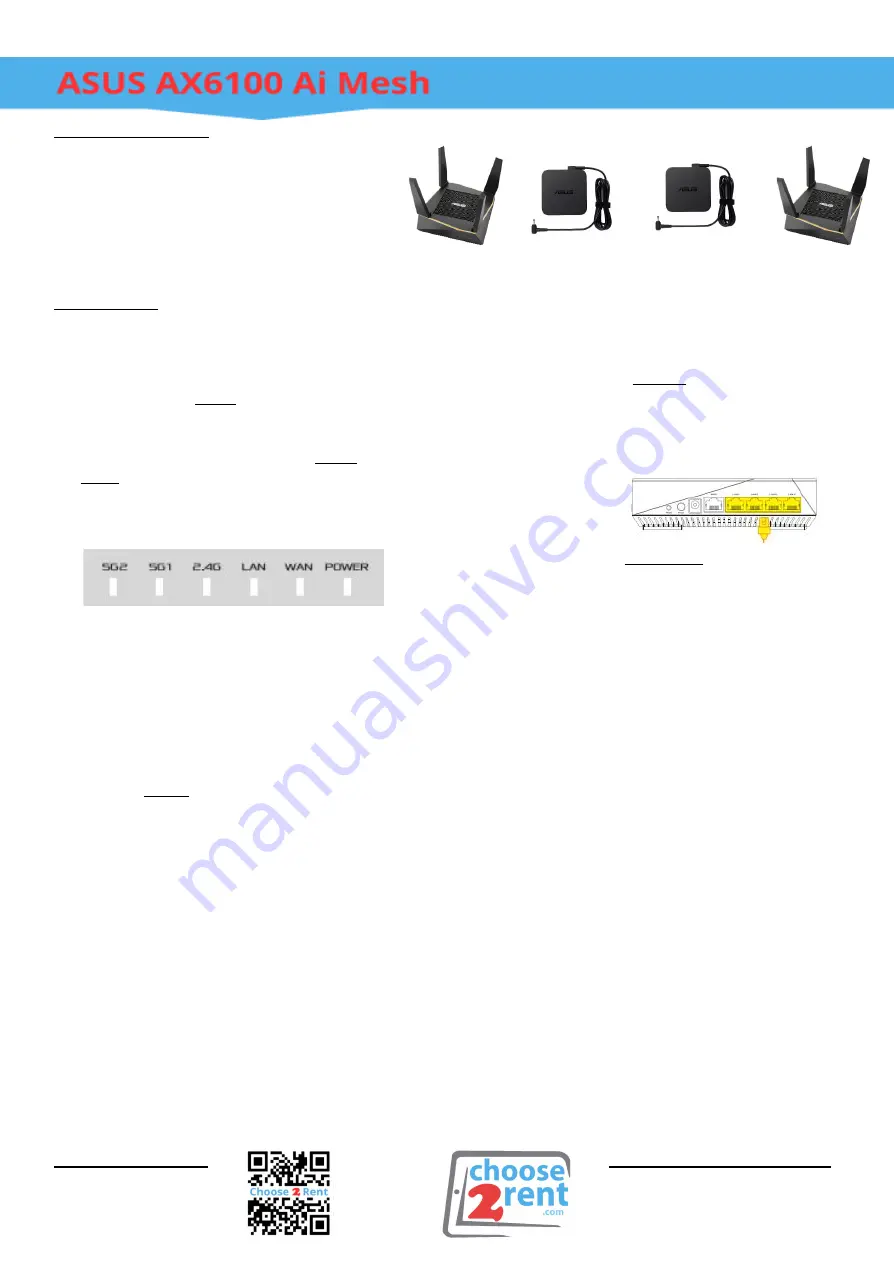
Shipment Content:
2 x Protective Case
2 x Router with 4 embedded Antennas
2 x 9V Power Adapter
Quick Setup:
1. Your Asus AX6100 Mesh WiFi router
system comes pre configured. They are also
labeled for easy set-up, lets begin with the
router labeled MAIN.
2. Plug in the power adapter & a DHCP hard
line from the venue onto the MAIN router’s
WAN port. Press the power button on the
side to turn on the router.
Allow 3-5 minutes
for the router to light up “white” when ready.
-5G2, 5G1, 2.4G display the router is broadcasting
WiFi.
-WAN (Internet), hardline connection established..
-Power LED, device is ready.
3. Lift all 4 antennas and position them
upwards.
4. Plug in the power adapter into the router
labeled MESH & power it on. It will connect
automatically to the MAIN router.
Allow 1-3
minutes for the router to light up “white”
when ready (WAN light will be off).
5. Lift the antennas and position them
upwards.
If you have more than one MESH
unit in your order please repeat steps 4-5 for
each one.
6. Connect your devices.
Connect your WIRED (e.g. Ethernet
enabled Printer) Connect the ethernet
cable to one of the LAN (1-4) ports in the
back of the router. Plug the other end of the
cable into the printer.
The LAN LED on the
router lights up
when connected.
Connect your WIRELESS Devices (e.g.
Tablet / PC) Open the camera app on your
device and scan the QR-Code on the bottom
of the router. Alternatively use the default
SSID (Wireless Network Name) on the
bottom of the router along with the
password in your
Important Documents
Folder
to connect wirelessly.
Via WPS (e.g. WPS enabled Printer)Press
and Hold the WPS button on the side of the
router until the Power light starts blinking
fast. Then proceed to set the printer on
WPS mode as per its setup document.
Allow
1-2 minutes to establish connection.
Please DO NOT press the Reset button on
the back of the router this will cause the
Mesh system to un-sync
Setup Video Guide:
Contact our Support Team:
Scan this QR code
www.choose2rent.com/help
with your phone
+1 (800) 622-6484 Ext. 3 (USA)
camera for video.
+49 40 226 360 - 590 (Europe)


