ASUS CROSSBLADE RANGER
2-1
Chapter 2
Basic Installation
2
2.1
Building your PC system
2.1.1
Motherboard installation
The diagrams in this section are for reference only. The motherboard layout may vary with
models, but the installation steps are the same for all models.
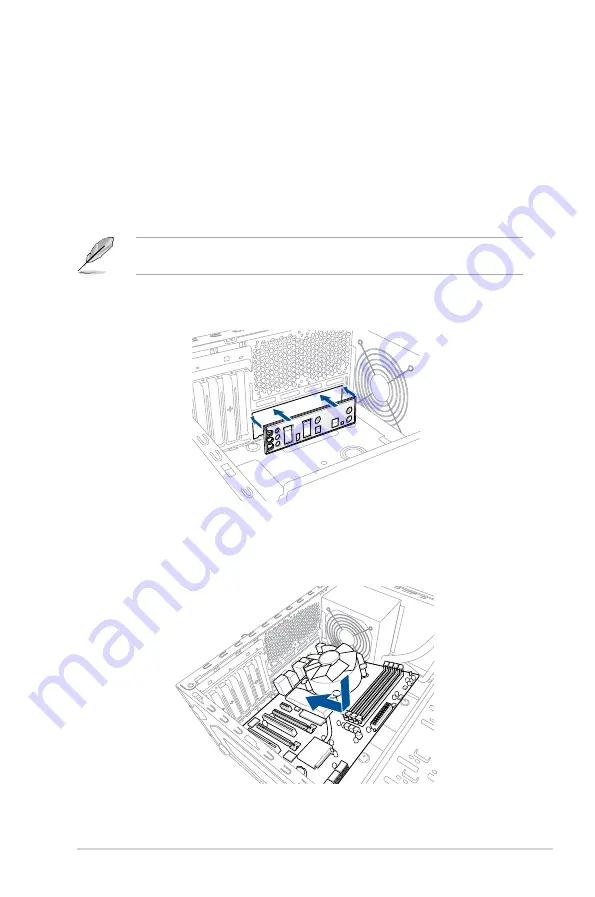
1.
Install the ASUS Q-Shield to the chassis rear I/O panel.
Chapter 2:
Basic Installation
2.
Place the motherboard into the chassis, ensuring that its rear I/O ports are aligned to
the chassis’ rear I/O panel.
Summary of Contents for Crossblade Ranger
Page 1: ...Motherboard CROSSBLADE RANGER ...
Page 61: ...ASUS CROSSBLADE RANGER 2 5 Chapter 2 To uninstall the APU heatsink and fan assembly 5 3 1 4 2 ...
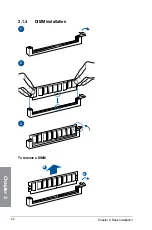
Page 62: ...2 6 Chapter 2 Basic Installation Chapter 2 1 2 3 To remove a DIMM 2 1 4 DIMM installation B A ...
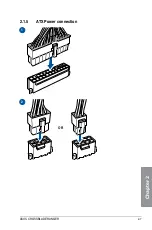
Page 63: ...ASUS CROSSBLADE RANGER 2 7 Chapter 2 2 1 5 ATX Power connection 1 2 OR ...
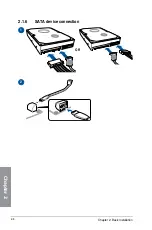
Page 64: ...2 8 Chapter 2 Basic Installation Chapter 2 2 1 6 SATA device connection 2 OR 1 ...
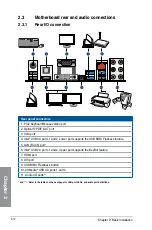
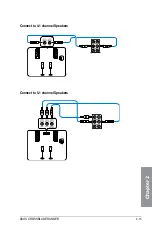
Page 72: ...2 16 Chapter 2 Basic Installation Chapter 2 Connect to 7 1 channel Speakers ...
Page 74: ...2 18 Chapter 2 Basic Installation Chapter 2 ...
Page 121: ...ASUS CROSSBLADE RANGER 3 47 Chapter 3 ...
Page 155: ...4 34 Chapter 4 Software support Chapter 4 Function Keys Shortcut ...
Page 165: ...4 44 Chapter 4 Software support Chapter 4 ...
Page 177: ...A 6 Appendices Appendices ...

