DS300f G2 Series User Manual
125
• Highlight
Host Cache Flushing
and press the spacebar to toggle between
Enable
and
Disable
.
For more information, see "Host Cache Flushing" on page <?>.
• Highlight
Cache Flush Interval
and press the backspace key to
erase the current value. Type a new interval value.
The range is 1 to 12 seconds. For more information,
see "Cache Policy" on page <?>.
• Highlight
SMART
and press the spacebar to toggle between
Enable
and
Disable
.
• Highlight
SMART Poll Interval
and press the backspace key to erase the
current value. Type a new interval value (1 to 1440 minutes).
• Highlight
Poll Interval
and press the backspace key to erase the current
value. Type a new interval value (15 to 255 seconds).
• Highlight
Adaptive Writeback Cache
and press the spacebar to toggle between
Enabled
and
Disabled
.
For more information, see "Host Cache Flushing" on page <?>.
• Highlight
Forced Read Ahead Cache
and press the spacebar to toggle between
Enabled
and
Disabled
.
For more information, see "Forced Read-Ahead Cache" on page <?>.
• Highlight
HDD Power Saving
and the spacebar to choose a time period.
After an HDD has been idle for a set period of time:
Power Saving Idle Time
– Parks the read/write heads
Power Saving Standby Time
– Lowers disk rotation speed
Power Saving Stopped Time
– Spins down the disk (stops rotation)
You must also enable Power Management on the disk array. See "Creating a Disk Array – Advanced
(CLU)" on page 133 and "Enabling Media Patrol, PDM, and Power Management on a Disk Array
6. Press
Control-A
to save your settings.
Notes
Power Management must be enabled on the disk array for the HDD Power Saving settings to
be effective. See "Making Disk Array Settings (CLU)" on page 134
Power management is limited to the features your HDDs actually support.
l
ocatInG
the
c
ontroller
(clu)
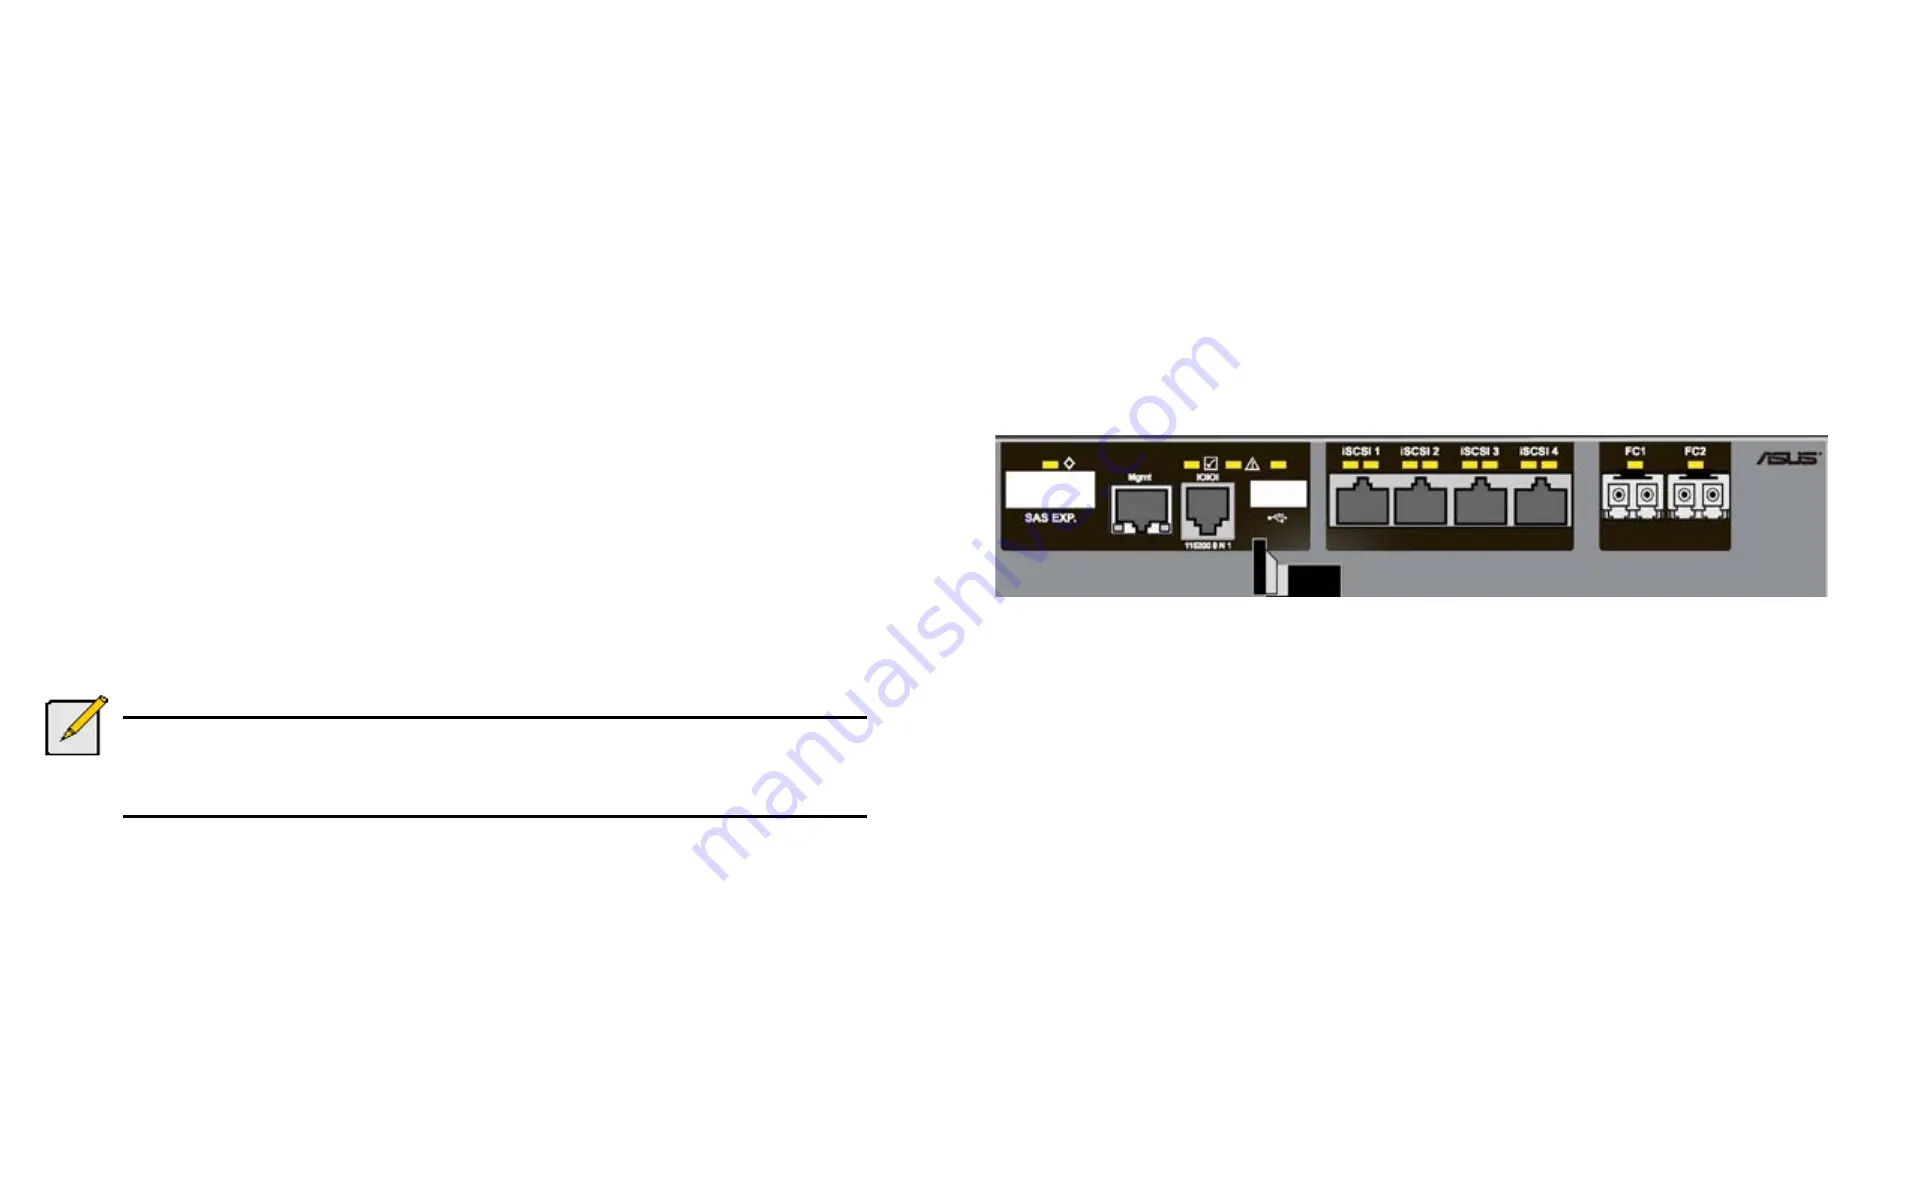
To locate this controller:
1. From the Main Menu, highlight
Subsystem Management
and press
Enter
.
2. Highlight
Controller Management
and press
Enter
.
3. Highlight the controller you want and press
Enter
.
4. Highlight
Controller Settings
and press
Enter
.
5. Highlight
Locate Controller
and press
Enter
.
The controller LEDs blink for one minute.
Figure 5 - 4: ASUS DS300f G2 RAID controller LEDs
Summary of Contents for DS300 G2 Series
Page 1: ...ASUS Storage DS300 G2 Series ...
Page 11: ......
Page 34: ......
Page 38: ......
Page 262: ......


