52
Notebook PC E-Manual
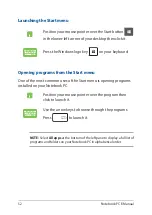
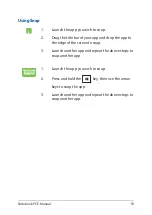
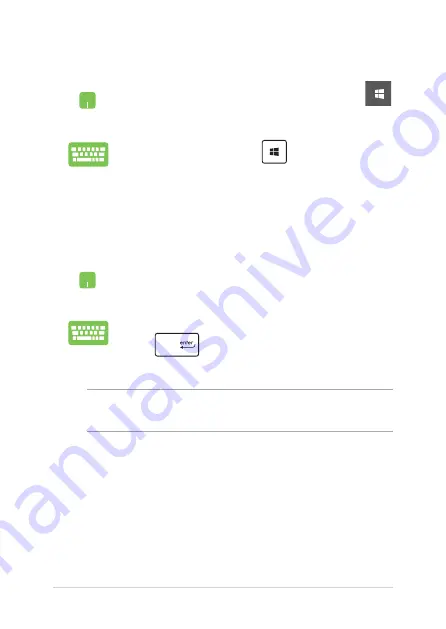
Launching the Start menu
Position your mouse pointer over the Start button
in the lower-left corner of your desktop then click it.
Press the Windows logo key
on your keyboard.
Opening programs from the Start menu
One of the most common uses of the Start menu is opening programs
installed on your Notebook PC.
Position your mouse pointer over the program then
click to launch it.
Use the arrow keys to browse through the programs.
Press
to launch it.
NOTE: Select All apps at the bottom of the left pane to display a full list of
programs and folders on your Notebook PC in alphabetical order.
Summary of Contents for E14715
Page 1: ...E14715 Revised Edition V4 August 2018 E Manual ...
Page 13: ...Notebook PC E Manual 13 Chapter 1 Hardware Setup ...
Page 15: ...Notebook PC E Manual 15 15 6 model ...
Page 19: ...Notebook PC E Manual 19 15 6 model 14 model ...
Page 28: ...28 Notebook PC E Manual ...
Page 29: ...Notebook PC E Manual 29 Chapter 2 Using your Notebook PC ...
Page 32: ...32 Notebook PC E Manual Lift to open the display panel Press the power button ...
Page 48: ...48 Notebook PC E Manual ...
Page 49: ...Notebook PC E Manual 49 Chapter 3 Working with Windows 10 ...
Page 70: ...70 Notebook PC E Manual ...
Page 71: ...Notebook PC E Manual 71 Chapter 4 Power On Self Test POST ...
Page 83: ...Notebook PC E Manual 83 Chapter 5 Upgrading your Notebook PC ...
Page 93: ...Notebook PC E Manual 93 E Remove the screws securing the cover ...
Page 97: ...Notebook PC E Manual 97 K Secure the HDD with the bundled screws HDD caddy ...
Page 100: ...100 Notebook PC E Manual P Secure the cover using the screws you removed earlier ...
Page 111: ...Notebook PC E Manual 111 M Secure the HDD with the bundled screws HDD caddy ...
Page 118: ...118 Notebook PC E Manual ...
Page 119: ...Notebook PC E Manual 119 Tips and FAQs ...
Page 126: ...126 Notebook PC E Manual ...


