www.supertalent.com
Over
w
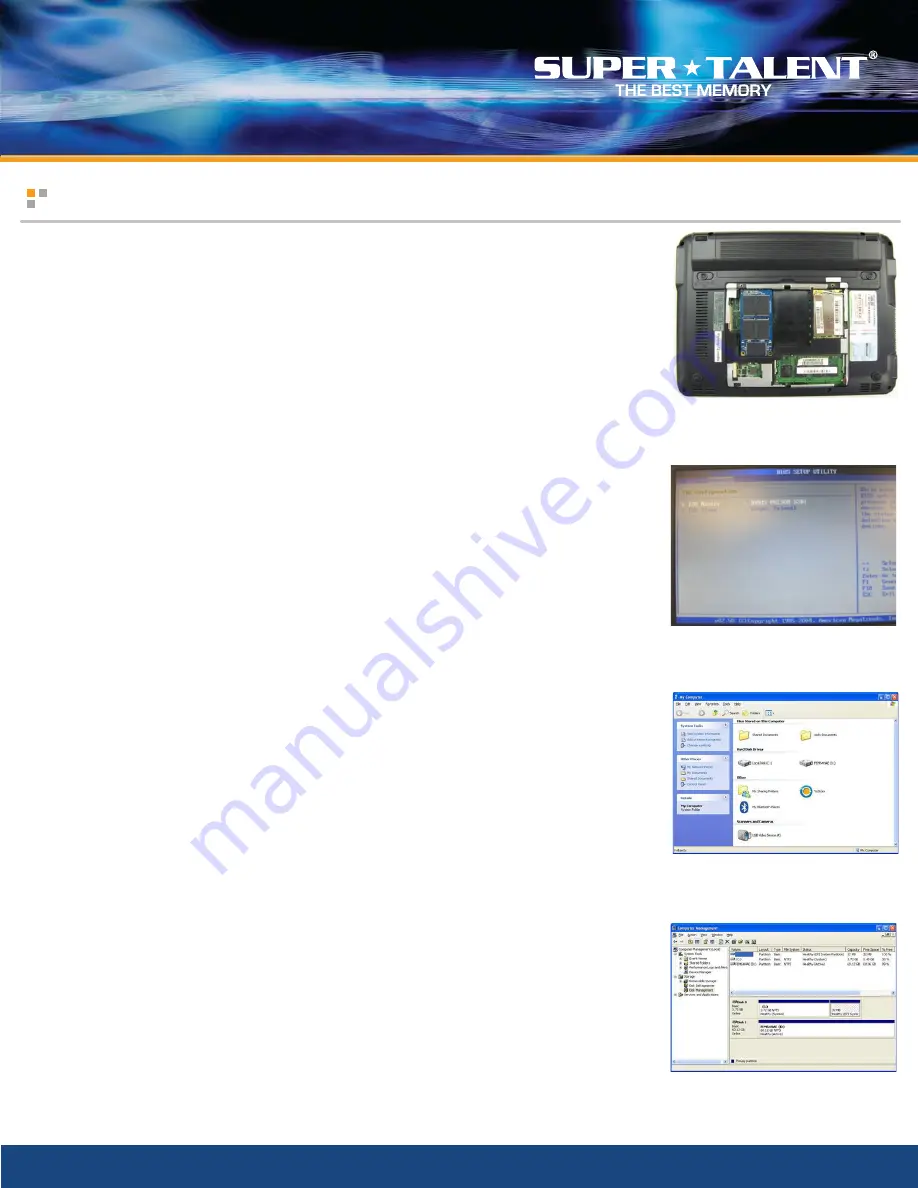
Asus Eee PC SSD Installation Guide
Step 3
: Install the SSD
- Insert the SSD into the empty mini PCIe slot.
- Replace the two drive screws from Step 2.
Step 4
: Replace Drive Panel
- Place the panel over the SSD.
- Replace the two screws described in Step 1.
Step 5
: Replace Power Components
- Insert the system battery.
- Attach the power cable.
Step 6
: Installation
- Install OS, applications and files onto the SSD.
Step 7
: Check BIOS
- Turn on the laptop.
- During boot-up process, press the <F2> button until you see the
BIOS screen
- When the BIOS appears, navigate to Advanced --> IDE configuration
- Verify that the new SSD drive appears as the "IDE Slave" device
- If no slave device appears in the list, the drive may not be connected
correctly. Repeat steps 1-6 to correct the problem.
- Once you have verified that the new drive has been recognized, exit the
BIOS and continue to boot your operating system.
Step 8
: Check Windows
- Open "My Computer"
- Verify the D:// drive appears in the list of disk drives
- If the D:// drive does not appear, use the Disk Management snap-in to see if
Windows recognizes the SSD. Drive management can be found by going:
Start --> Control Panel --> Admin. Tools --> Storage --> Disk Management
If you need further assistance, please contact Super Talent support at:
support@supertalent.com
© 2008 Super Talent Technology. Specifications subject to change without notice.
p.2
ssd.supertalent.com
Figure 4: Checking the BIOS
Figure 5: Newly installed D:// drive
Figure 6: Computer Management
Figure 3: Installing the New SSD


