

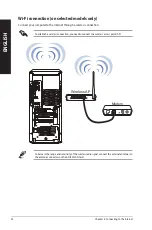

Wired connection
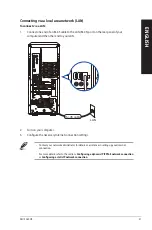
Use an RJ-45 cable to connect your computer to a DSL/cable modem or a local area network (LAN).
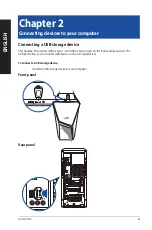
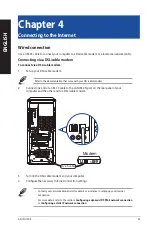
Connecting via a DSL/cable modem
To connect via a DSL/cable modem:
1.
Set up your DSL/cable modem.
Refer to the documentation that came with your DSL/cable modem.
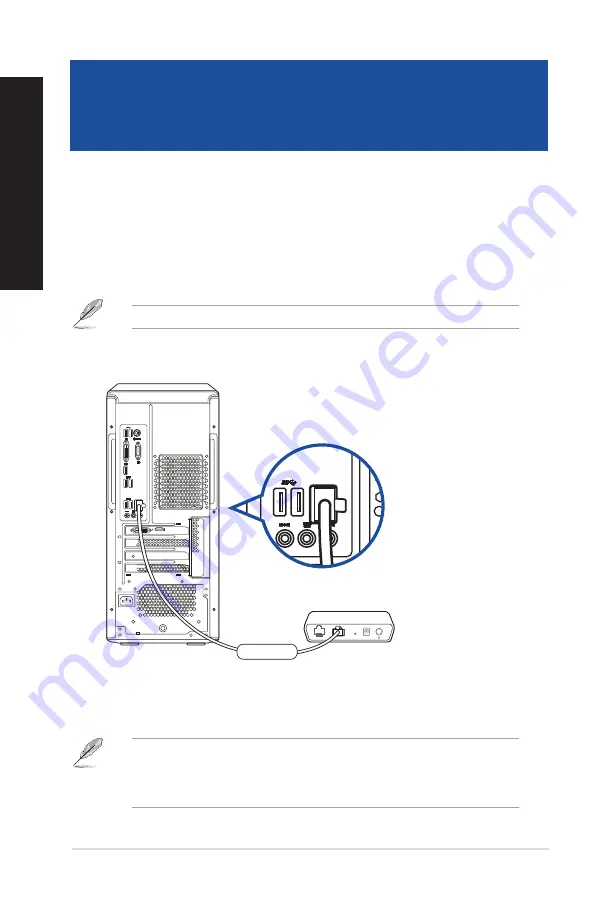
2.
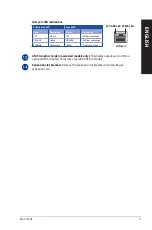
Connect one end of an RJ-45 cable to the LAN (RJ-45) port on the rear panel of your
computer and the other end to a DSL/cable modem.
LINE
LAN
RESET
PWR
Modem
RJ-45 cable
3.
Turn on the DSL/cable modem and your computer.
4.
Configure the necessary Internet connection settings.
• Contact your network administrator for details or assistance in setting up your Internet
connection.
• For more details, refer to the sections
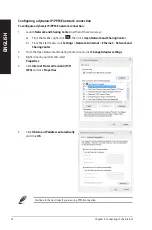
Configuring a dynamic IP/PPPoE network connection
or
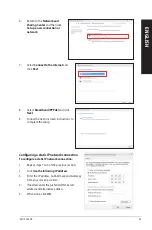
Configuring a static IP network connection
.
ENGLISH
ENGLISH
ASUS G10DK
30
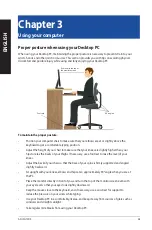
Chapter 4
Connecting to the Internet
Summary of Contents for G10DK
Page 1: ...Desktop PC G10DK User Guide ...
Page 21: ...ASUS G10DK 21 ENGLISH ...
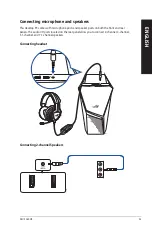
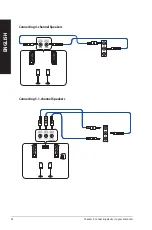
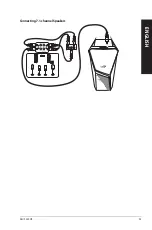
Page 25: ...LINE OUT Connecting 7 1 channel Speakers ASUS G10DK 25 ENGLISH ...
Page 29: ...ASUS G10DK 29 ENGLISH ...
Page 35: ...ASUS G10DK 35 ENGLISH ...
Page 43: ...ASUS G10DK 43 ENGLISH ...


