Mouse gaming GX1000 ROG
ITALIANO
Contenuto della confezione:
a. Mouse Gaming ASUS GX1000
ROG
b. Guida rapida
c. Blocchetto di peso
d. Tappetino per il mouse (non
disponibile con la versione lite)
Specifiche:
Nome prodotto: Mouse
Modello: GX1000
Dimensioni (mm): 128(L)x66(P)
x43(A)
Peso: 150~170g +/- 5g
Lunghezza cavo: 1.8m
Risoluzione: 50 ~ 8200 dpi
(regolabile)
Collegamento al PC
Collegate il vostro mouse gaming
ASUS GX1000 ROG alla porta USB
del vostro computer.
Regolazione peso del
mouse
1. Premete il centro della parte
inferiore del mouse per
rimuovere il blocchetto di peso.
2. Per riporre il blocchetto di peso
nel mouse allineate il triangolo
sul blocchetto con il triangolo
sul mouse.
Utilizzo del pulsante di
selezione DPI
Premete il pulsante di selezione
DPI per cambiare la risoluzione
del mouse. L’indicatore DPI
si illumina quando viene
selezionato un livello DPI
differente. Consultate la seguente
tabella per informazioni sul
comportamento degli indicatori
LED.
Numero di LED:
1, 2, 3, 4
Significato:
Livello 1 (standard: 800 dpi),
Livello 2 (standard: 1600 dpi),
Livello 3 (standard: 3200 dpi),
Livello 4 (standard: 5600 dpi).
NOTA: I livelli DPI salgono e
scendono in modo ciclico. Dal
livello 4 il livello DPI passa al livello
1 quando muovete il selettore
DPI, quindi al livello 2 e così via.
Utilizzo del pulsante di
selezione profilo
Premete il pulsante di selezione
profilo che trovate nella
parte inferiore del mouse per
selezionare un profilo. I LED
sinistro e destro del mouse si
illumineranno a seconda del
profilo selezionato.
Colore LED:
Spento, rosso, verde, arancione.
Significato:
Profilo 1, Profilo 2, Profilo 3, Profilo
4.
Personalizzazione del
mouse (valori DPI /
comandi macro / funzioni
dei pulsanti)
Visitate il sito web ASUS
all'indirizzo www.asus.com per
scaricare e installare i driver
aggiornati per personalizzare i
valori DPI del mouse, i comandi
macro e le funzioni dei pulsanti.
I12668 / Edizione riveduta e corretta / Marzo 2017
ENGLISH
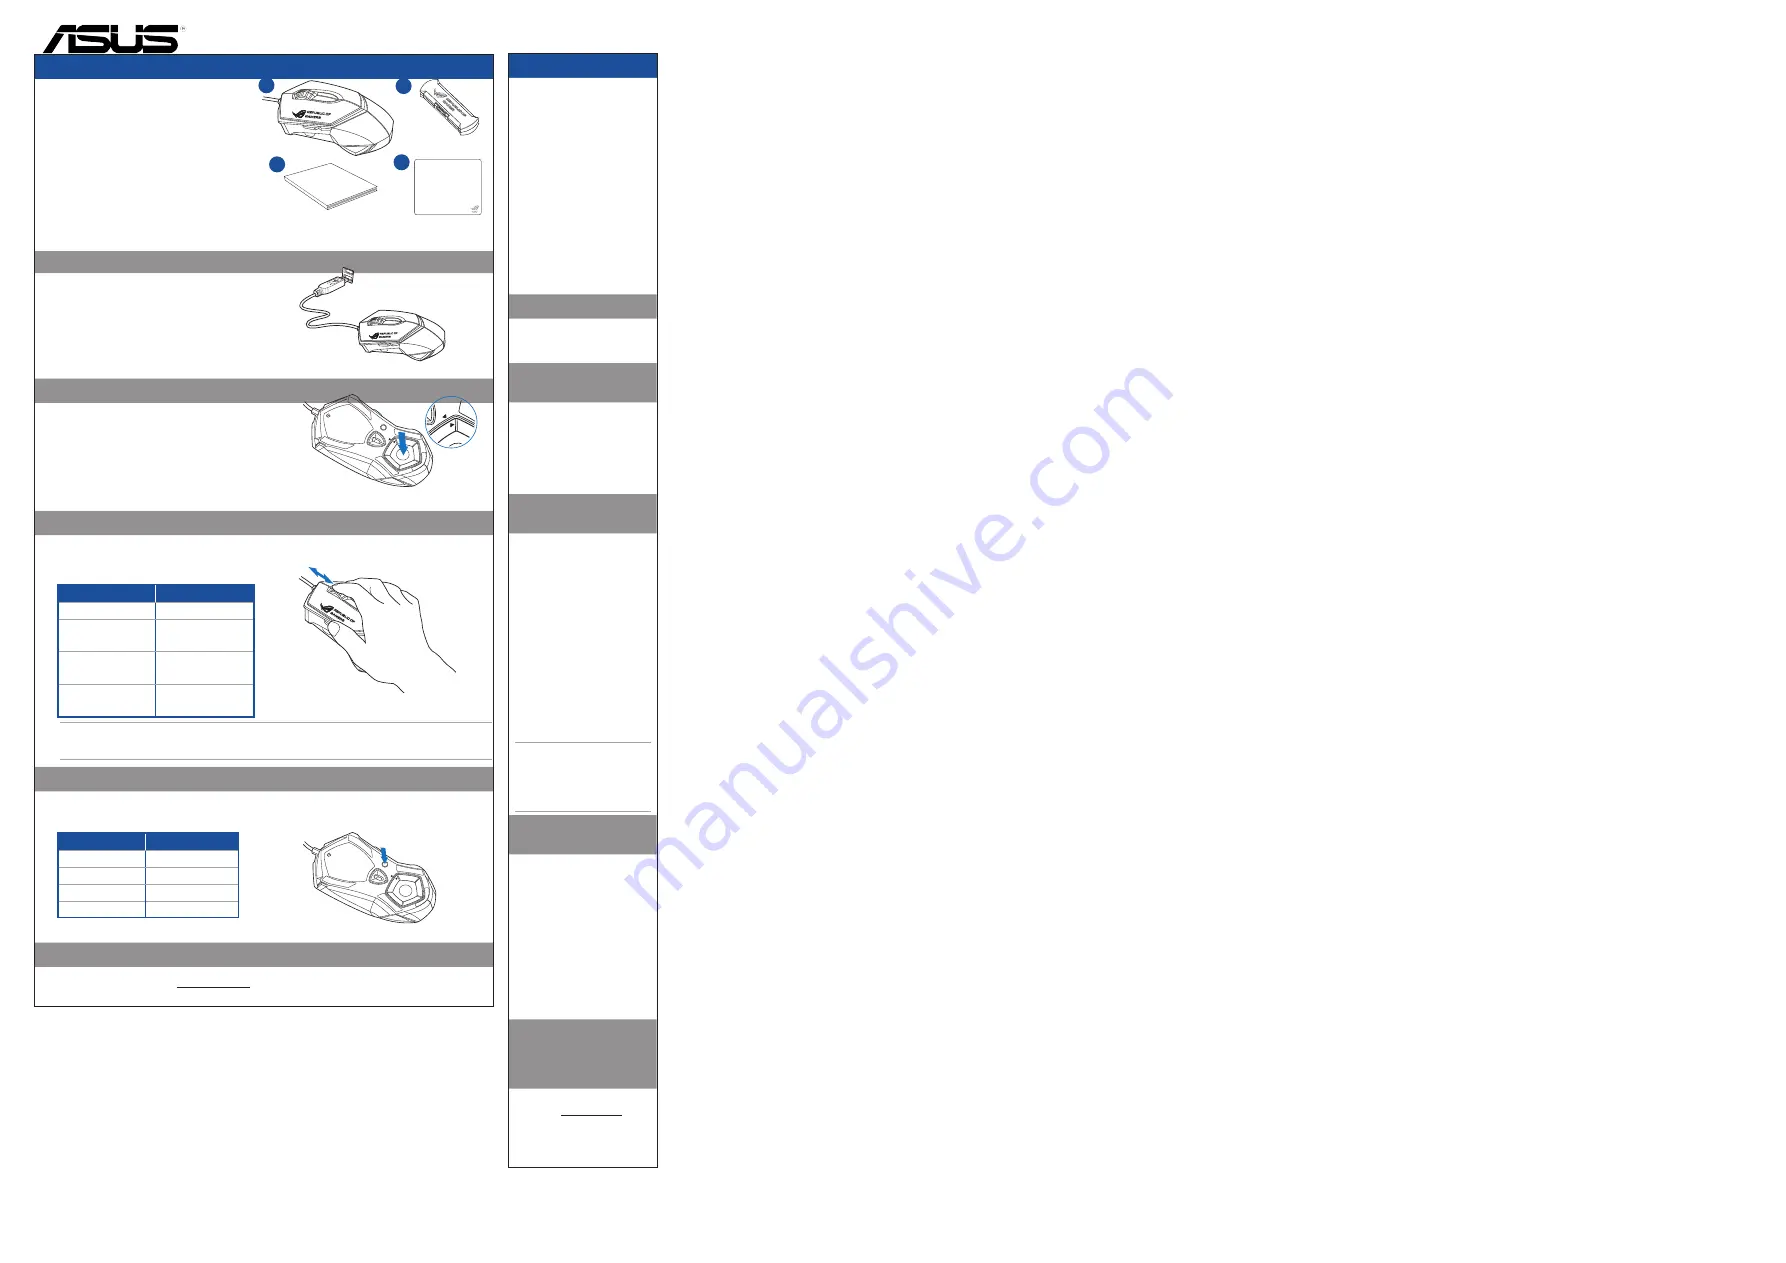
Connecting to your PC
Adjusting your mouse weight
Using the DPI switch
Using the Profile switch
Press the Profile switch found at the bottom of the mouse to select a profile. The mouse’s
left and right LEDs will light up according to the selected profile.
Customizing your mouse (DPI values / Macro commands / Button functions)
Go to the ASUS website at www.asus.com to download and install the latest mouse driver
to customize your mouse's DPI values, macro commands, and button functions.
Your package includes:
a. ASUS GX1000 ROG Gaming Mouse
b. Quick Start Guide
c. Weight block box
d. Mouse pad (not available in lite version)
Specifications:
Product name: Mouse
Model : GX1000
Dimensions (mm): 128(L)x66(w)x43(H)
Weight: 150~170g +/- 5g
Cable length: 1.8m
Resolution: 50 ~ 8200 dpi (adjustable)
Number of LEDs
Indications
1
Level 1 (default: 800 dpi)
2
Level 2 (default: 1600
dpi)
3
Level 3 (default: 3200
dpi)
4
Level 4 (default: 5600
dpi)
Connect your ASUS GX1000 ROG Gaming
Mouse to your computer’s USB port.
• Press the center of the mouse bottom to
open the mouse block carriers.
LED color
Indications
Off
Profile 1
Red
Profile 2
Green
Profile 3
Orange
Profile 4
NOTE: The DPI levels go up and down in a cycle. From level 4, the DPI level will change to
level 1 as you move the DPI switch and then to level 2 and higher levels.
b
a
Quick Start Guide
Press the DPI switch to change the mouse resolution. The DPI indicator lights up as the DPI
level changes. See the table below for the light indications.
• To return the mouse block, align the
triangle on the block with the triangle on
the mouse.
c
d


