3-16
Chapter 3: BIOS setup
Chapter 3
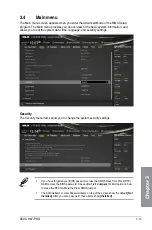
Ai Overclock Tuner [Auto]
This item allows you to select the CPU overclocking options to achieve the desired CPU
internal frequency. Select any of these preset overclocking configuration options:
[Auto]
Loads the optimal settings for the system.
[XMP]
When the XMP (Extreme Memory Profile) mode is selected, the memory
parameters will be optimized automatically
The following item appears only when you set the Ai Overclock Tuner to
[XMP]
.
XMP DDR3-xxxxxxxxxx [Profile #1]
Selects the XMP mode supported by the memory module.
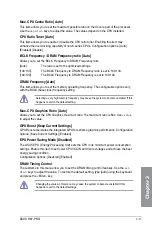
CPU Core Ratio [Auto]
This item allows you to set the CPU core ratio limit per core or synchronize automatically to
all cores.
Configuration options: [Auto] [Sync All Cores] [Per Core]
When the CPU Core Ratio is set to [Per Core], the following items appear:
1-Core Ratio Limit [Auto]
Select
[Auto]
to apply the CPU default Turbo Ratio setting or manually assign a
1-Core Limit value that must be higher than or equal to the 2-Core Ratio Limit.
2-Core Ratio Limit [Auto]
Select
[Auto]
to apply the CPU default Turbo Ratio setting or manually assign a
2-Core Limit value that must be higher than or equal to the 3-Core Ratio Limit.
If you assign a value for 2-Core Ratio Limit, do not set the 1-Core Ratio Limit to
[Auto]
.
3-Core Ratio Limit [Auto]
Select
[Auto]
to apply the CPU default Turbo Ratio setting or manually assign a
3-Core Limit value that must be higher than or equal to the 4-Core Ratio Limit.
If you assign a value for 3-Core Ratio Limit, do not set the 1-Core Ratio Limit and 2-Core
Ratio Limit to
[Auto]
.
4-Core Ratio Limit [Auto]
Select
[Auto]
to apply the CPU default Turbo Ratio setting or manually assign a
4-Core Limit value that must be higher than or equal to the 3-Core Ratio Limit.
If you assign a value for 4-Core Ratio Limit, do not set the 1-Core Ratio Limit, 2-Core Ratio
Limit, and 3-Core Ratio to
[Auto]
.
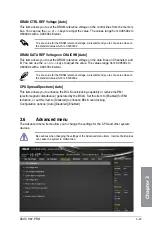
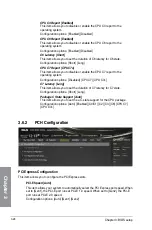
Min. CPU Cache Ratio [Auto]
This item allows you to set the minimum possible ratio on the Uncore part of the processor.
Use the <+> or <-> keys to adjust the value. The values depend on the CPU installed.
Summary of Contents for H-97-PRO
Page 1: ...Motherboard H97 PRO ...
Page 38: ...1 24 Chapter 1 Product introduction Chapter 1 ...
Page 43: ...ASUS H97 PRO 2 5 Chapter 2 To uninstall the CPU heatsink and fan assembly ...
Page 44: ...2 6 Chapter 2 Basic installation Chapter 2 To remove a DIMM 2 1 4 DIMM installation ...
Page 45: ...ASUS H97 PRO 2 7 Chapter 2 2 1 5 ATX Power connection OR ...
Page 46: ...2 8 Chapter 2 Basic installation Chapter 2 2 1 6 SATA device connection OR OR ...
Page 54: ...2 16 Chapter 2 Basic installation Chapter 2 ...
Page 134: ...4 22 Chapter 4 Software support Chapter 4 ...
Page 148: ...A 6 Appendices Appendices ...


