ASUS M4A79 Deluxe
2-17
Chapter 2
2.5
Expansion slots
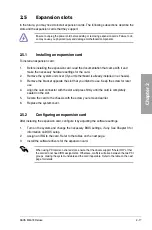
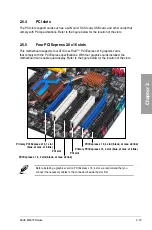
In the future, you may need to install expansion cards. The following subsections describe the
slots and the expansion cards that they support.
2.5.1
Installing an expansion card
To install an expansion card:
1.
Before installing the expansion card, read the documentation that came with it and
make the necessary hardware settings for the card.
2.
Remove the system unit cover (if your motherboard is already installed in a chassis).
3.
Remove the bracket opposite the slot that you intend to use. Keep the screw for later
use.
4.
Align the card connector with the slot and press firmly until the card is completely
seated on the slot.
5.
Secure the card to the chassis with the screw you removed earlier.
6.
Replace the system cover.
2.5.2
Configuring an expansion card
After installing the expansion card, configure it by adjusting the software settings.
1.
Turn on the system and change the necessary BIOS settings, if any. See Chapter 3 for
information on BIOS setup.
2.
Assign an IRQ to the card. Refer to the tables on the next page.
3.
Install the software drivers for the expansion card.
Ensure to unplug the power cord before adding or removing expansion cards. Failure to do
so may cause you physical injury and damage motherboard components.
When using PCI cards on shared slots, ensure that the drivers support “Share IRQ” or that
the cards do not need IRQ assignments. Otherwise, conflicts will arise between the two PCI
groups, making the system unstable and the card inoperable. Refer to the table on the next
page for details.
Summary of Contents for M4A79 DELUXE - Motherboard - ATX
Page 1: ...Motherboard M4A79 Deluxe ...
Page 14: ...xiv ...
Page 20: ...1 6 Chapter 1 Product Introduction Chapter 1 ...
Page 60: ...2 40 Chapter 2 Hardware information Chapter 2 ...


