3-20
Chapter 3: BIOS setup
Chapter 3
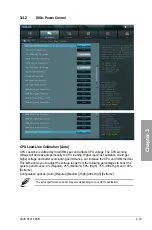
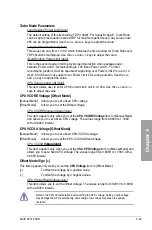
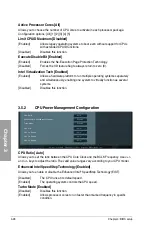
CPU Current Capability [Auto]
This item provides wider total power range for overclocking. A higher value brings a wider
total power range and extends the overclocking frequency range simultaneously.
Configuration options: [100%] [110%] [120%] [130%] [140%]
Do not remove the thermal module while changing the DIGI+ Power Control related
parameters . The thermal conditions should be monitored.
Some of the following items are adjusted by typing the desired values using the numeric
keypad and press the <Enter> key. You can also use the <+> and <-> keys to adjust the
value. To restore the default setting, type [auto] using the keyboard and press the <Enter>
key.
CPU VCORE Boot Up Voltage [Auto]
Use the <+> and <-> keys to adjust the value. The values range from 0.800 to 1.700 with
The values range from 0.800 to 1.700 with
0.005 interval.
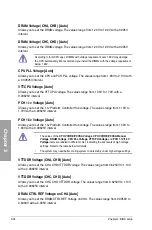
VCCSA Load-line calibration [Auto]
The behavior of the DRAM controller is decided by VCCSA Load-Line. Set to a higher value
for system performance, or to a lower value for better thermal solution.
Configuration options: [Auto] [Regular] [High] [Extreme]
The actual performance boost may vary depending on your CPU and DRAM specification.
Do not remove the thermal module. The thermal conditions should be monitored.
VCCSA Current Capability [100%]
Configuration options: [100%] [110%] [120%] [130%]
] [110%] [120%] [130%]
CPU VCCSA Boot Up Voltage [Auto]
VCCSA Boot Up Voltage [Auto]
Configuration options: [Auto] [Manual]
] [Manual]
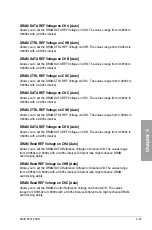
CPU Voltage Frequency [Auto]
Switching frequency will affect the VRM transient response and component thermal. Setting a
higher frequency gets faster transient response.
[Auto]
Allows you to enable or disable the Spread Spectrum item.
[Manual]
Allows you to manually set the frequency with a 10k Hz interval.
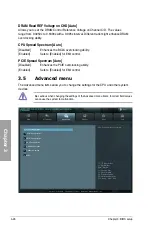
CPU Spread Spectrum [Disabled]
Configuration options: [Disabled] [Enabled]
] [Enabled]
Summary of Contents for P9X79 PRO
Page 1: ...Motherboard P9X79 PRO ...
Page 20: ...1 8 Chapter 1 Product Introduction Chapter 1 ...
Page 58: ...2 38 Chapter 2 Hardware information Chapter 2 9 7 8 5 6 Triangle mark B A B A ...
Page 63: ...ASUS P9X79 PRO 2 43 Chapter 2 2 3 6 ATX Power connection 2 OR OR 1 ...
Page 64: ...2 44 Chapter 2 Hardware information Chapter 2 2 3 7 SATA device connection OR 2 OR 1 ...
Page 158: ...4 34 Chapter 4 Software support Chapter 4 ...
Page 166: ...5 8 Chapter 5 Multiple GPU technology support Chapter 5 ...

